If you were not successful in part 7, open the file called joystick_part8.wire,
located in the wire directory of the CourseWare project. This file contains the
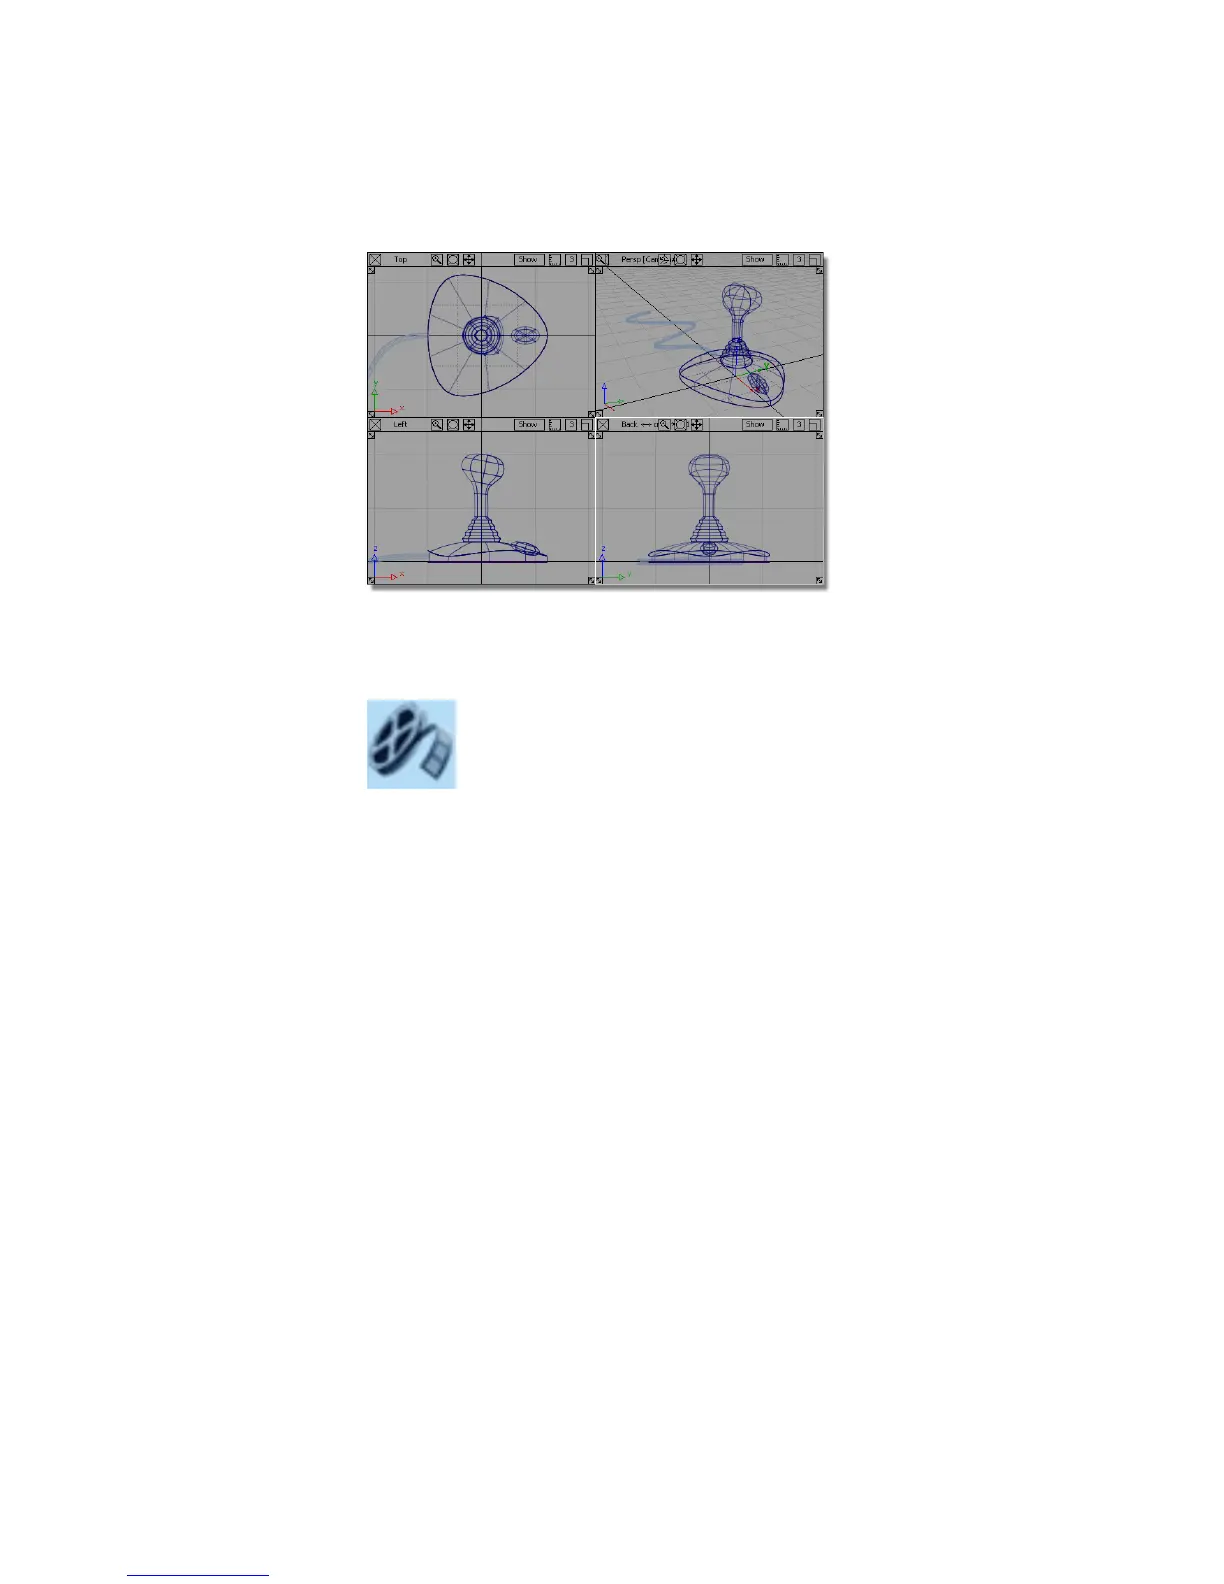
completed model from Part 7.
Watch Part 8 of the tutorial.
Shading the view
In the previous desk lamp tutorial, Diagnostic Shading was used to visualize
the model. In this tutorial, you will use Hardware Shade. Hardware shading
allows for more visual effects and introduces you to the techniques you will
use for rendering in later tutorials.
You will start by making the cable surface pickable, so it can be shaded.
1 On the Layer Bar, press and hold the left mouse button on the Cable
layer, choose Set State, then Pickable to make cable surface active.
2 Tumble the view until you get a good view of the joystick and cable. Hold
down the Shift and Alt (Windows) or Shift and Command (Mac) keys and
use the left mouse button to tumble the view.
Part 8: Visualizing the Model | 265