TIP The hotkey for Layouts > All Windows > All Windows is the F9 function
key. Use this to set the screen to show all four views at any time.
Saving your work
Now, you will save the scene as a new file.
1 Choose File > Save As to open the File Browser.
2 In the File Browser, locate the Lessons directory. Set the Lessons directory
as the Current Project.
3 Save your work in the wire directory of the Lessons project.
4 Name your file myjoystick.wire.
For information on creating the Lessons project, or saving your work, see
Saving your work on page 96.
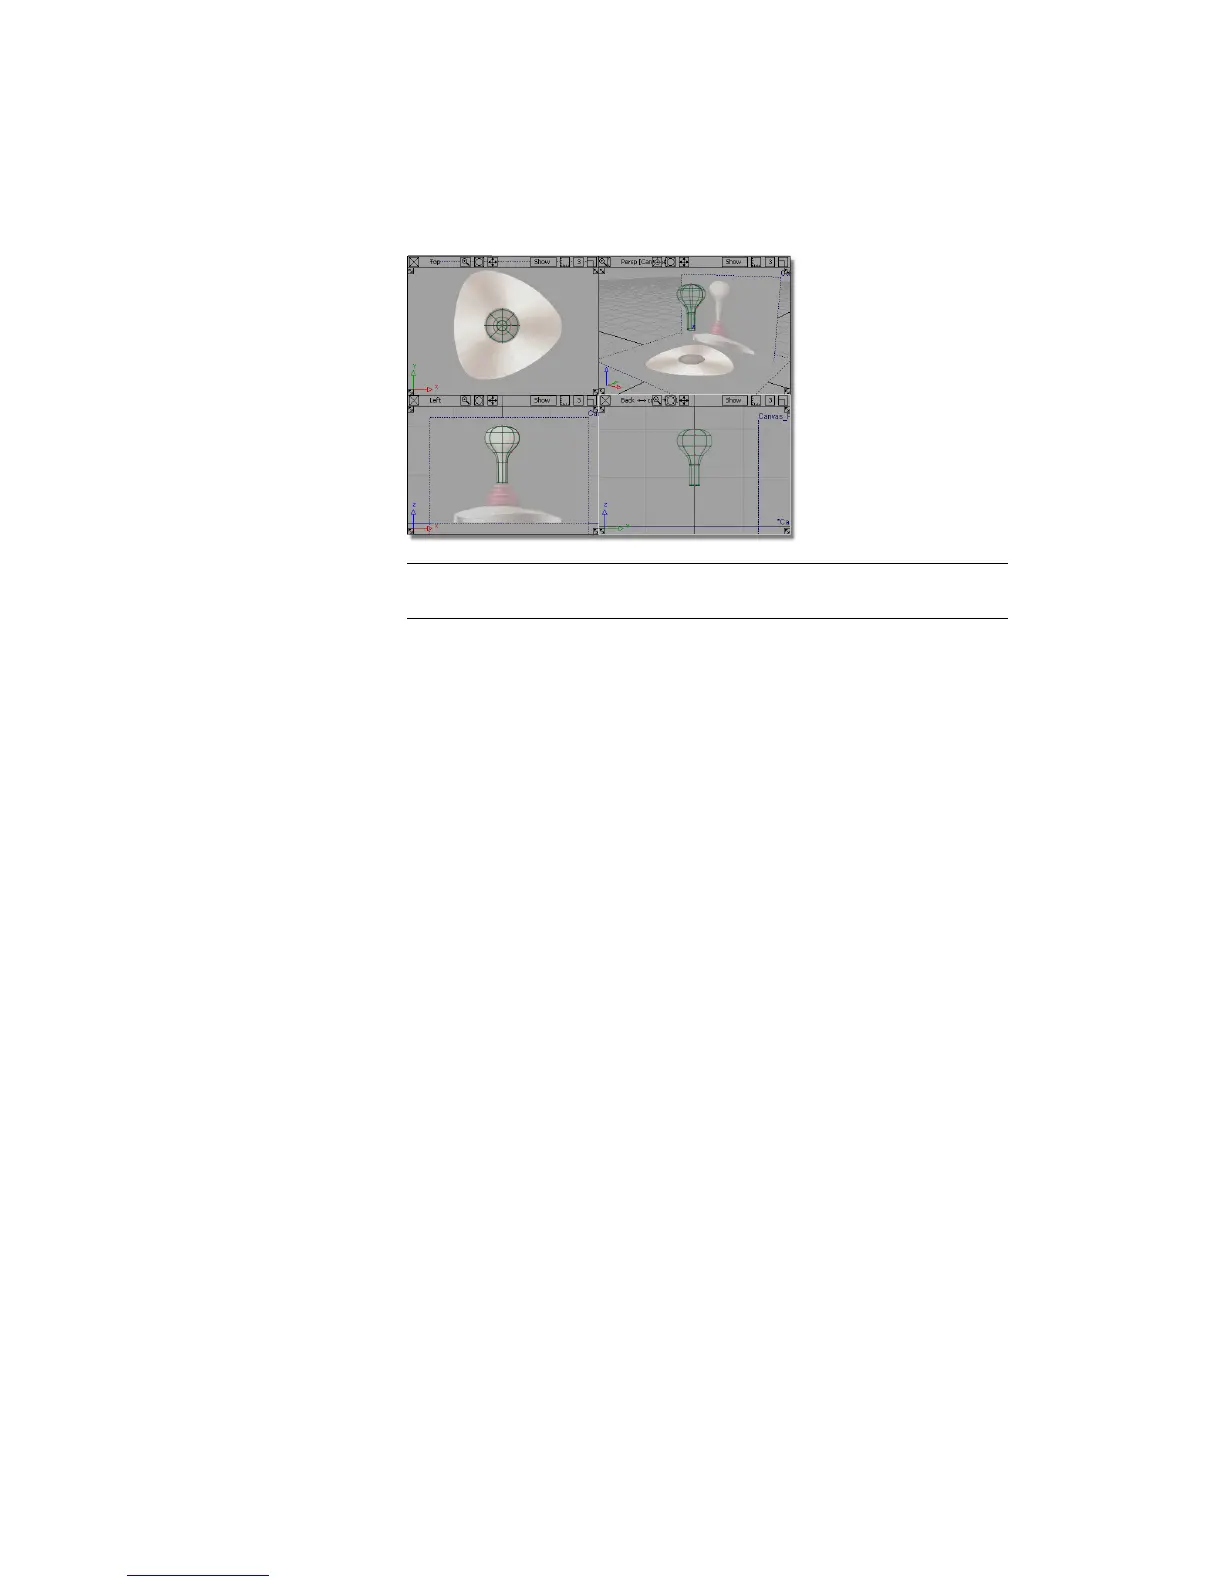
Part 2: Creating the Joystick Base
In this section, you will create the joystick base with skin and planar surfaces.
Opening the tutorial file (optional)
If you successfully completed Part 1, you can proceed directly to the next step,
Creating the Base Outline Curve.
Part 2: Creating the Joystick Base | 173