Part 4: Creating the Handle
In this section, you will create a hole through the vacuum cleaner body to
create a handle. As before, when you built the main body shape, you will
overbuild surfaces to create an intersection.
This time, however, you will not use the intersection and trim tools to create
a sharp-edged shape. Instead, you will use the Surface Fillet tool to create a
rounded edge and trim at the same time.
Opening the tutorial file (optional)
If you successfully completed Part 3, you can proceed directly to the next step:
Creating the handle surface below.
If you were not successful in part 3, open the file called vacuum_part4.wire,
located in the wire directory of the CourseWare project. This file contains the
completed model from Part 3.
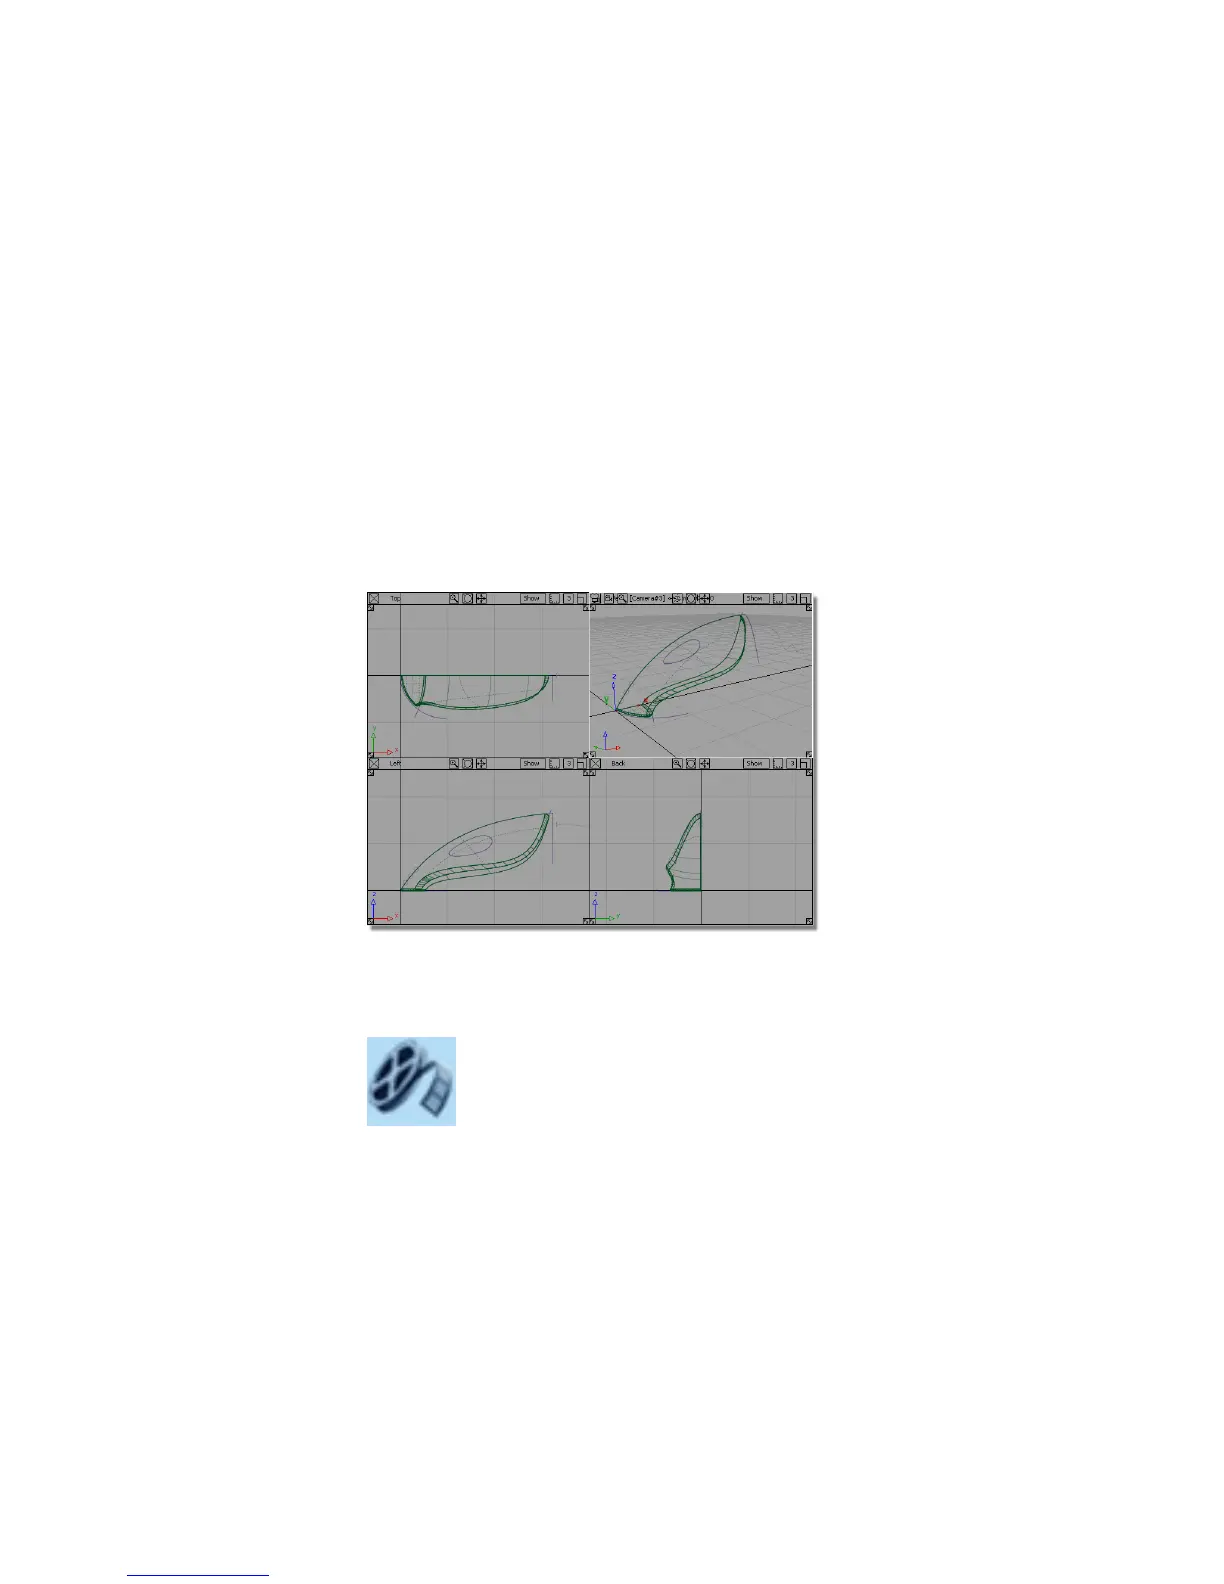
Watch Part 4 of the tutorial.
Part 4: Creating the Handle | 323