If you were not successful in part 4, open the file called joystick_part5.wire,
located in the wire directory of the CourseWare project. This file contains the
completed model from Part 4.
Watch Part 5 of the tutorial.
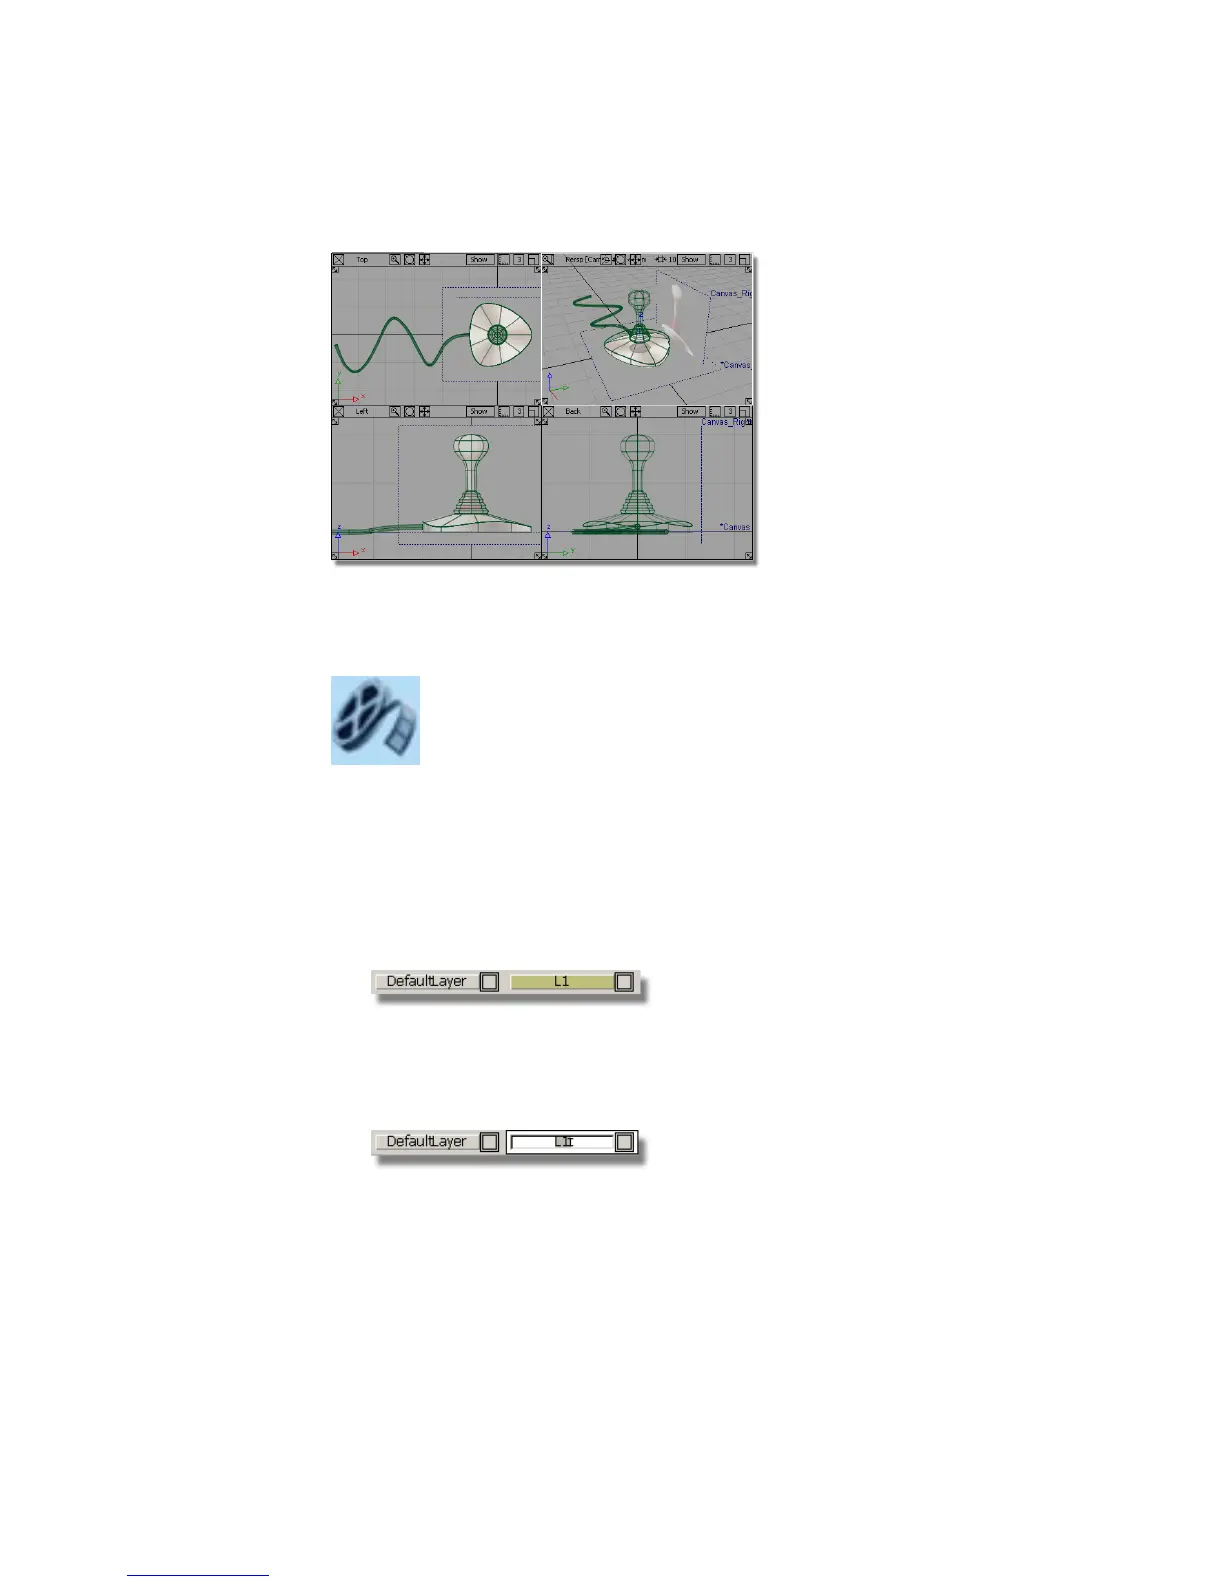
Assigning curves to a layer
Layers are a way of grouping related objects and organizing a scene. By default,
all objects you create are assigned to the Default Layer.
First, create a layer.
1 Choose Layers > New to create a layer.
A new layer button called L1 appears in the Layer Bar. (The Layer Bar is
located just below the prompt line and just above the view window area.)
2 To rename the layer, in the Layer Bar, double-click the L1 layer.
Type the word Curves, and press Enter (Windows) or Return (Mac).
224 | Chapter 5 Modeling a Joystick