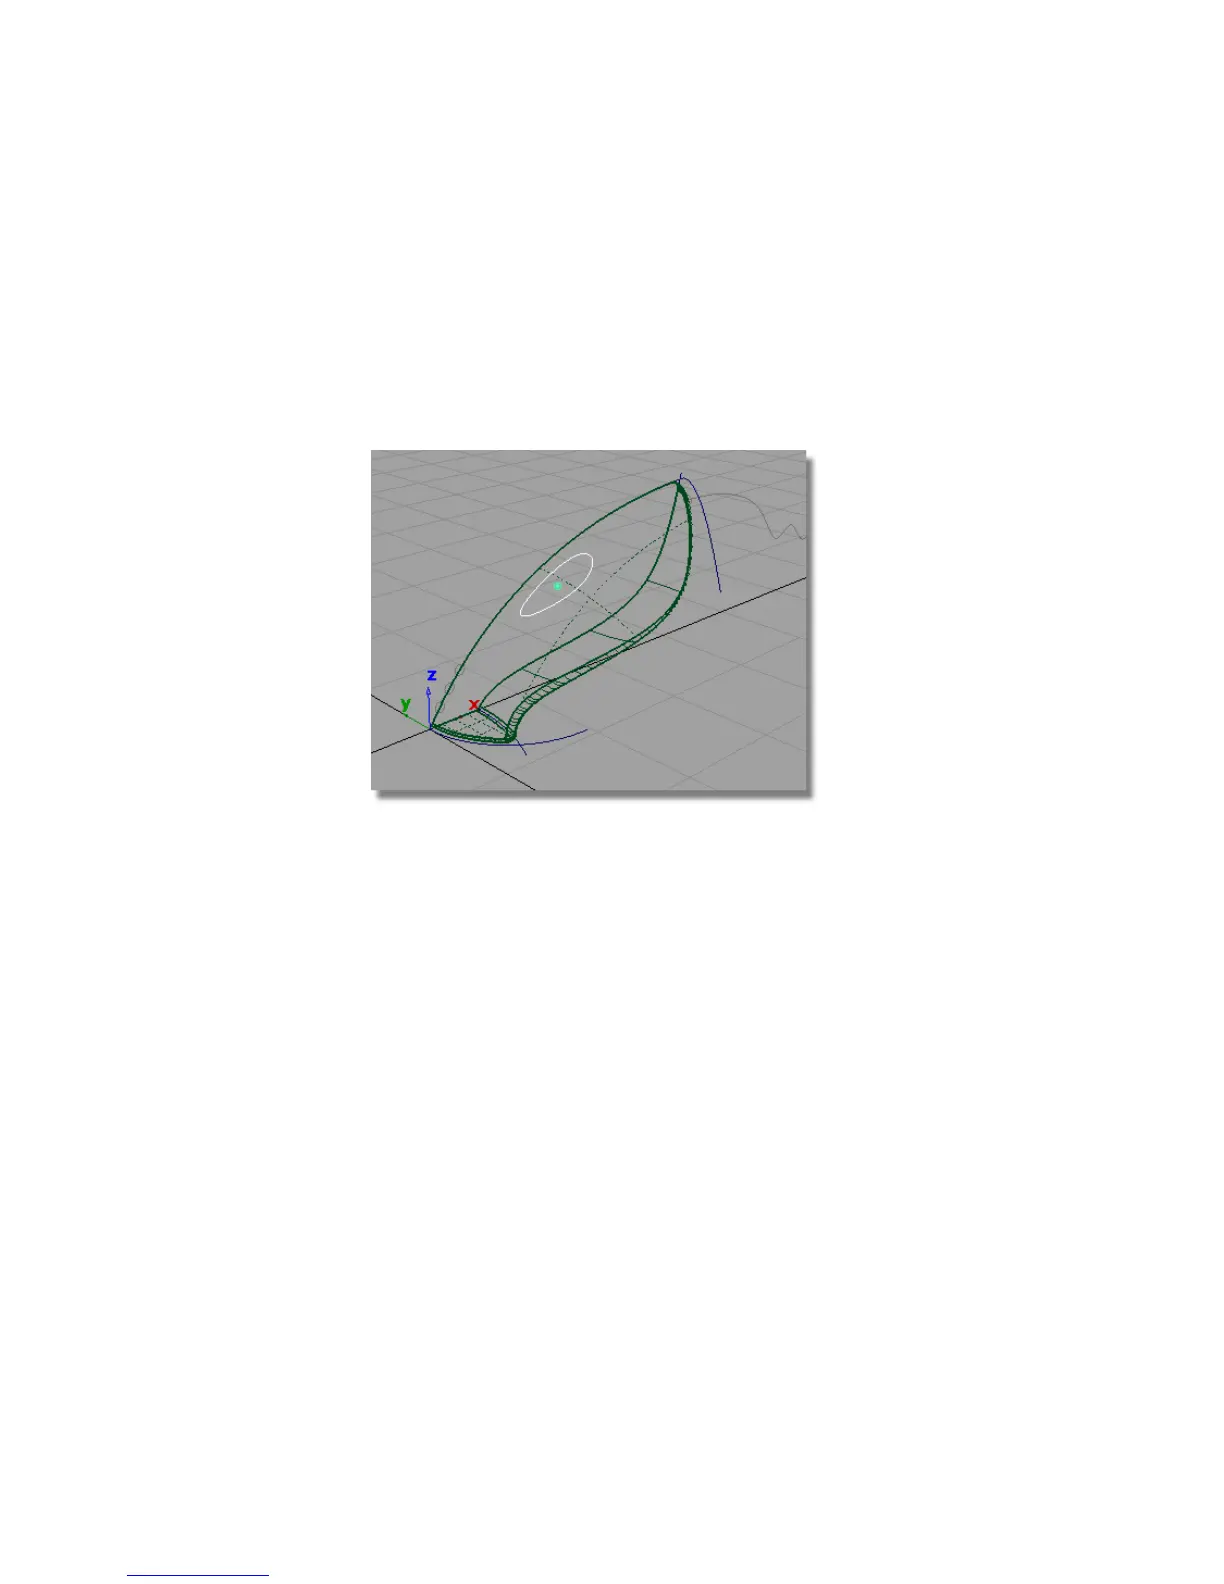
Creating the handle surface
You will create the handle using a skin surface, built from the handle curve
provided in the tutorial file.
First, you will make a copy of the handle curve and move it to the side of the
vacuum, to create the two curves needed for the skin.
1 Choose Pick > Object and select the oval shaped handle curve.
2 Choose Edit > Copy followed by Edit > Paste . The screen appears the
same, but a second curve has been created and placed on top of the
original, and is selected, ready to be moved.
3 Choose Transform > Move . Since you are working in the perspective
view, the mouse buttons can be used to specify a move in the x, y, or z
direction.
Click and hold the middle mouse button and move the second curve in the
negative y-direction. Move the curve so it is well outside the vacuum
body surfaces.
324 | Chapter 6 Modeling a Vacuum Cleaner