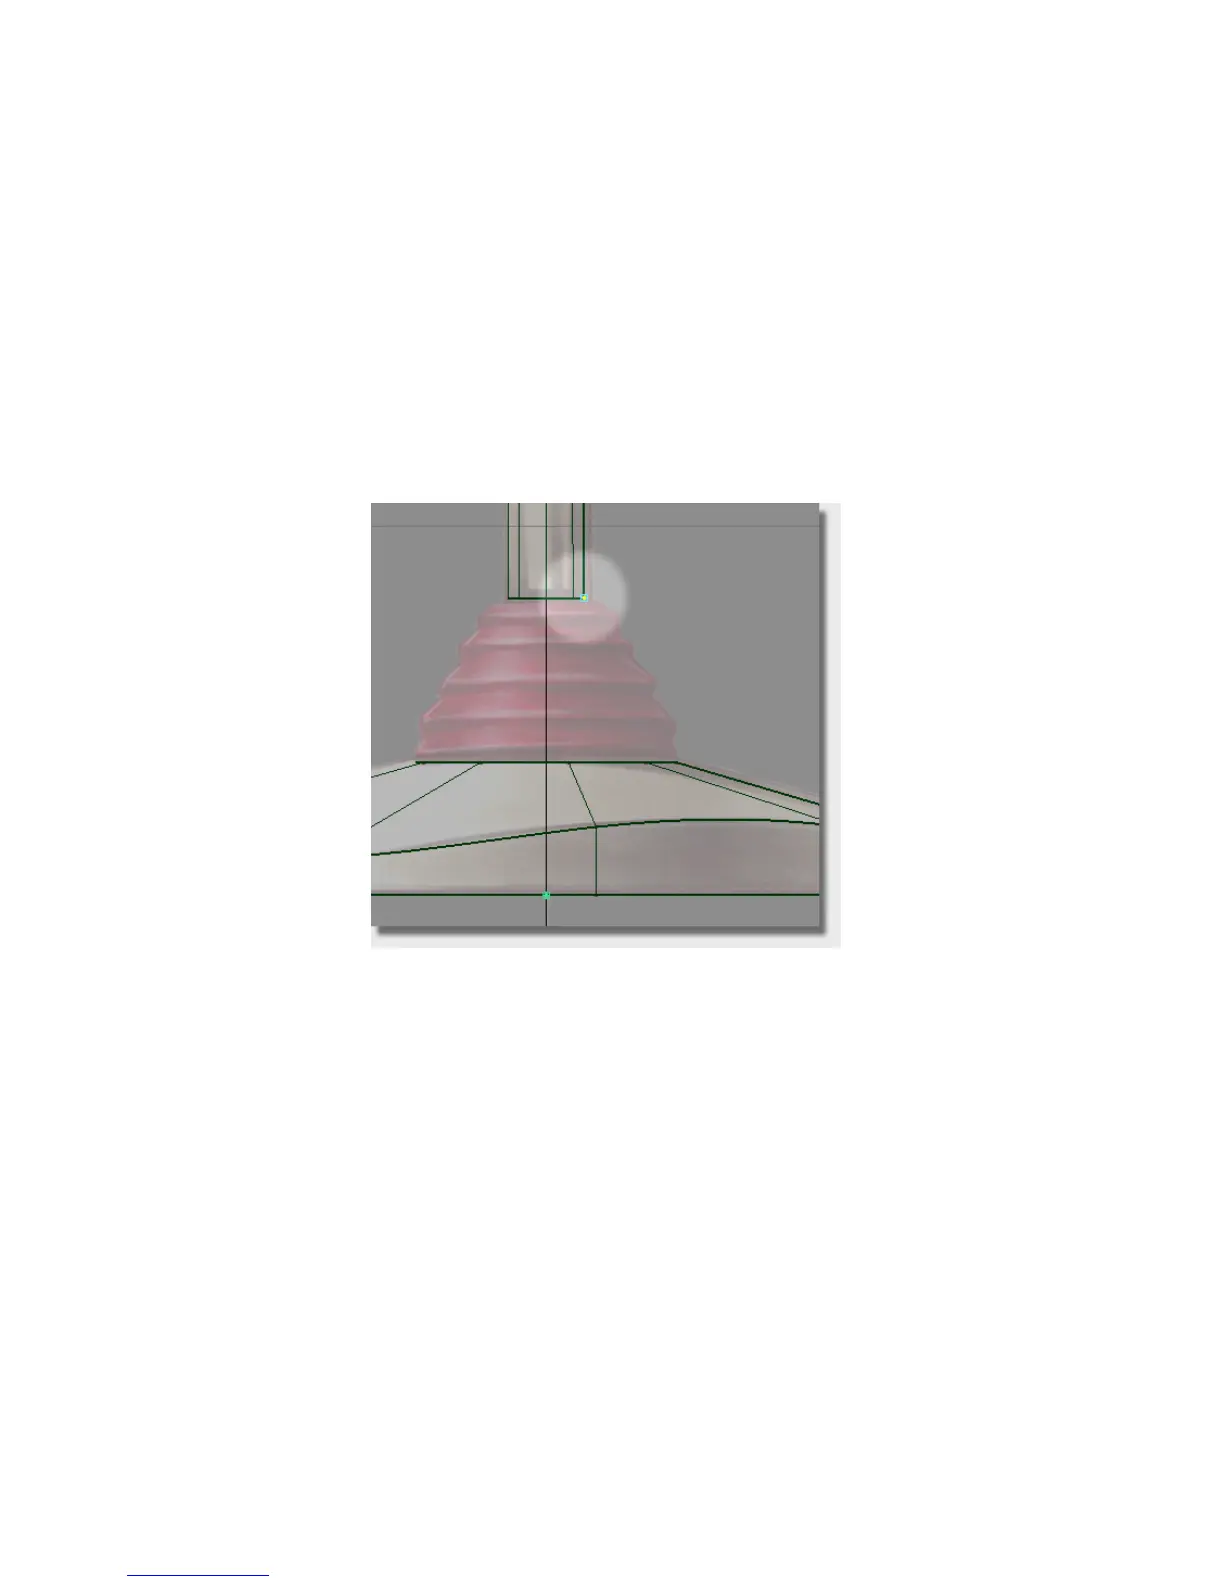
You will start with a single span curve stretched across the gap between
the bottom of the handle and the top of the base. You will use curve
snapping to accurately place the sleeve curve between the end of the
handle and the base curves.
3 Choose Curves > New Curves > New Edit Point Curve.
4 Hold down the Alt + Ctrl (Windows) or Command + Control (Mac) and keys
to turn on curve snapping. Click on the base of the handle to place the
first edit point. Without releasing the mouse button, drag the edit point
until it snaps to the corner.
Keep the Alt + Ctrl (Windows) or Command + Control (Mac) keys held down
and click near the top of the base to place the second edit point. Without
releasing the mouse button, drag the edit point until it snaps to the
corner.
202 | Chapter 5 Modeling a Joystick