OPERATION
4. Press right arrow (D), then SELECT. SET KNIFE SPEED? is displayed.
5. Press SELECT (C) until AUTO RAISE HEIGHT is displayed.
6. Press left arrow (E) or right arrow (D) to change v alue on lower line. Working range is 4.0 to 9.5. At 10.0, the
feature is disab le d and “OFF” is dis pla yed.
7. When finished entering desired values, press PROGRAM to exit programming mode.
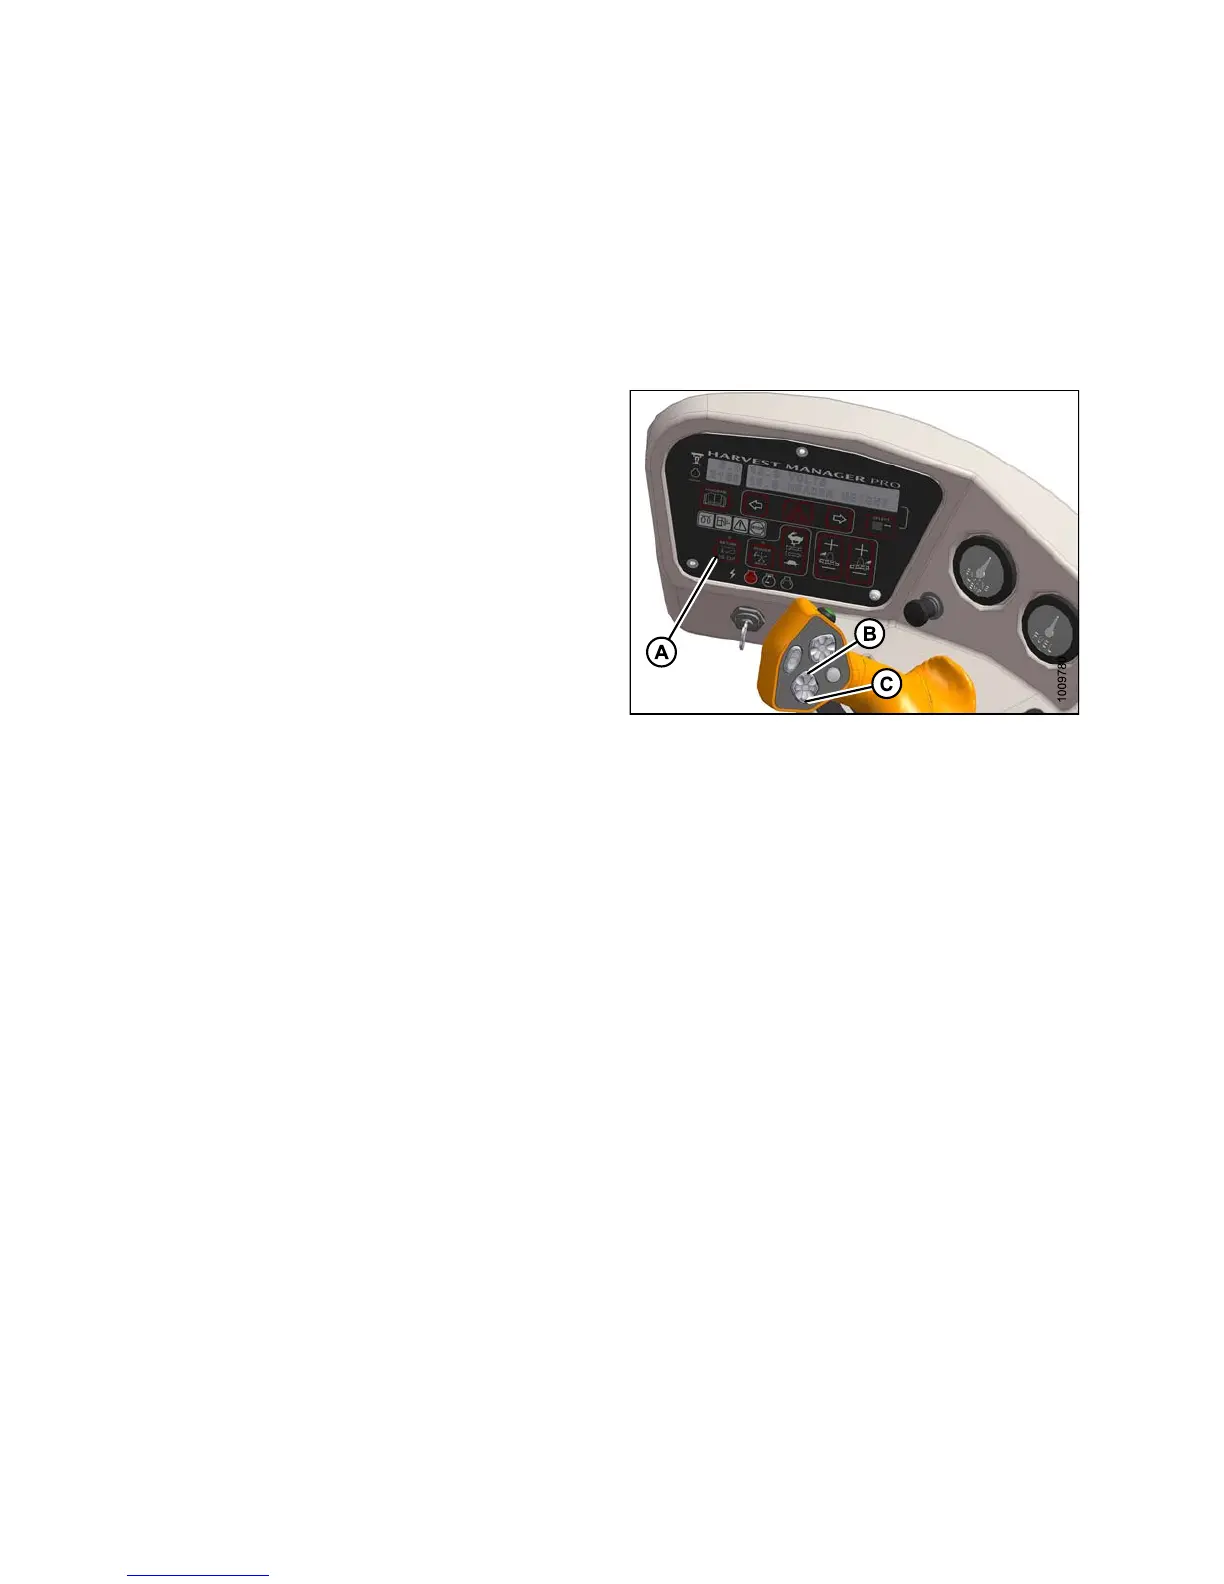
Using the Auto Raise Height Fea ture
IMPORTANT:
The windrow
er must be running with the header
engaged at t
he cutting height and the RETURN TO CUT
switch (A) a
ctivated.
Use the AUTO RAISE HEIGHT feature as follows:
1. To raise the header to the AUTO RAISE HEIGHT
set point, double-click (two clicks within 0.5 second s)
the HEADER UP switch (B) on the ground speed
lever (GSL) .
NOTE:
With AUTO
RAISE HEIGHT turned ON, the
ACRE coun
ter w ill be disabled when header
height gr
eater than preset cutting height.
2. If desir
ed, p res s HEADER UP switch while heade r is
being ra
ised to dis ab le AUTO RAISE HEIGHT and
maintai
n current height .
NOTE:
With AUTO RAISE HEIGHT turned OF F, the
ACRE counter will be disabled when header
height value is greater than 9.5. OFF is displayed
on the cab display module (CDM).
3. To return the header to the preset cutting height,
momentarily press HE A DER D OW N switch (C).
Figure 4.
101: Operator’s Station
4.4.9 Header
Drop Rate
The header should lower gradually when the HEADER DOWN switch is pressed. From full height to ground should
take 3–4 seconds.
If the drop rate requires adjustment, refer to Adjusting Header Drop Rate, page 408.
147649 210 Revision A