Guidance patterns 10 Operations
4.
When you are ready to begin the line tap . The display:
ll Marks your starting point on the map, at the point where you tapped record.
ll Shows the recorded path with a dashed line between the starting point and the vehicle's
current location.
5.
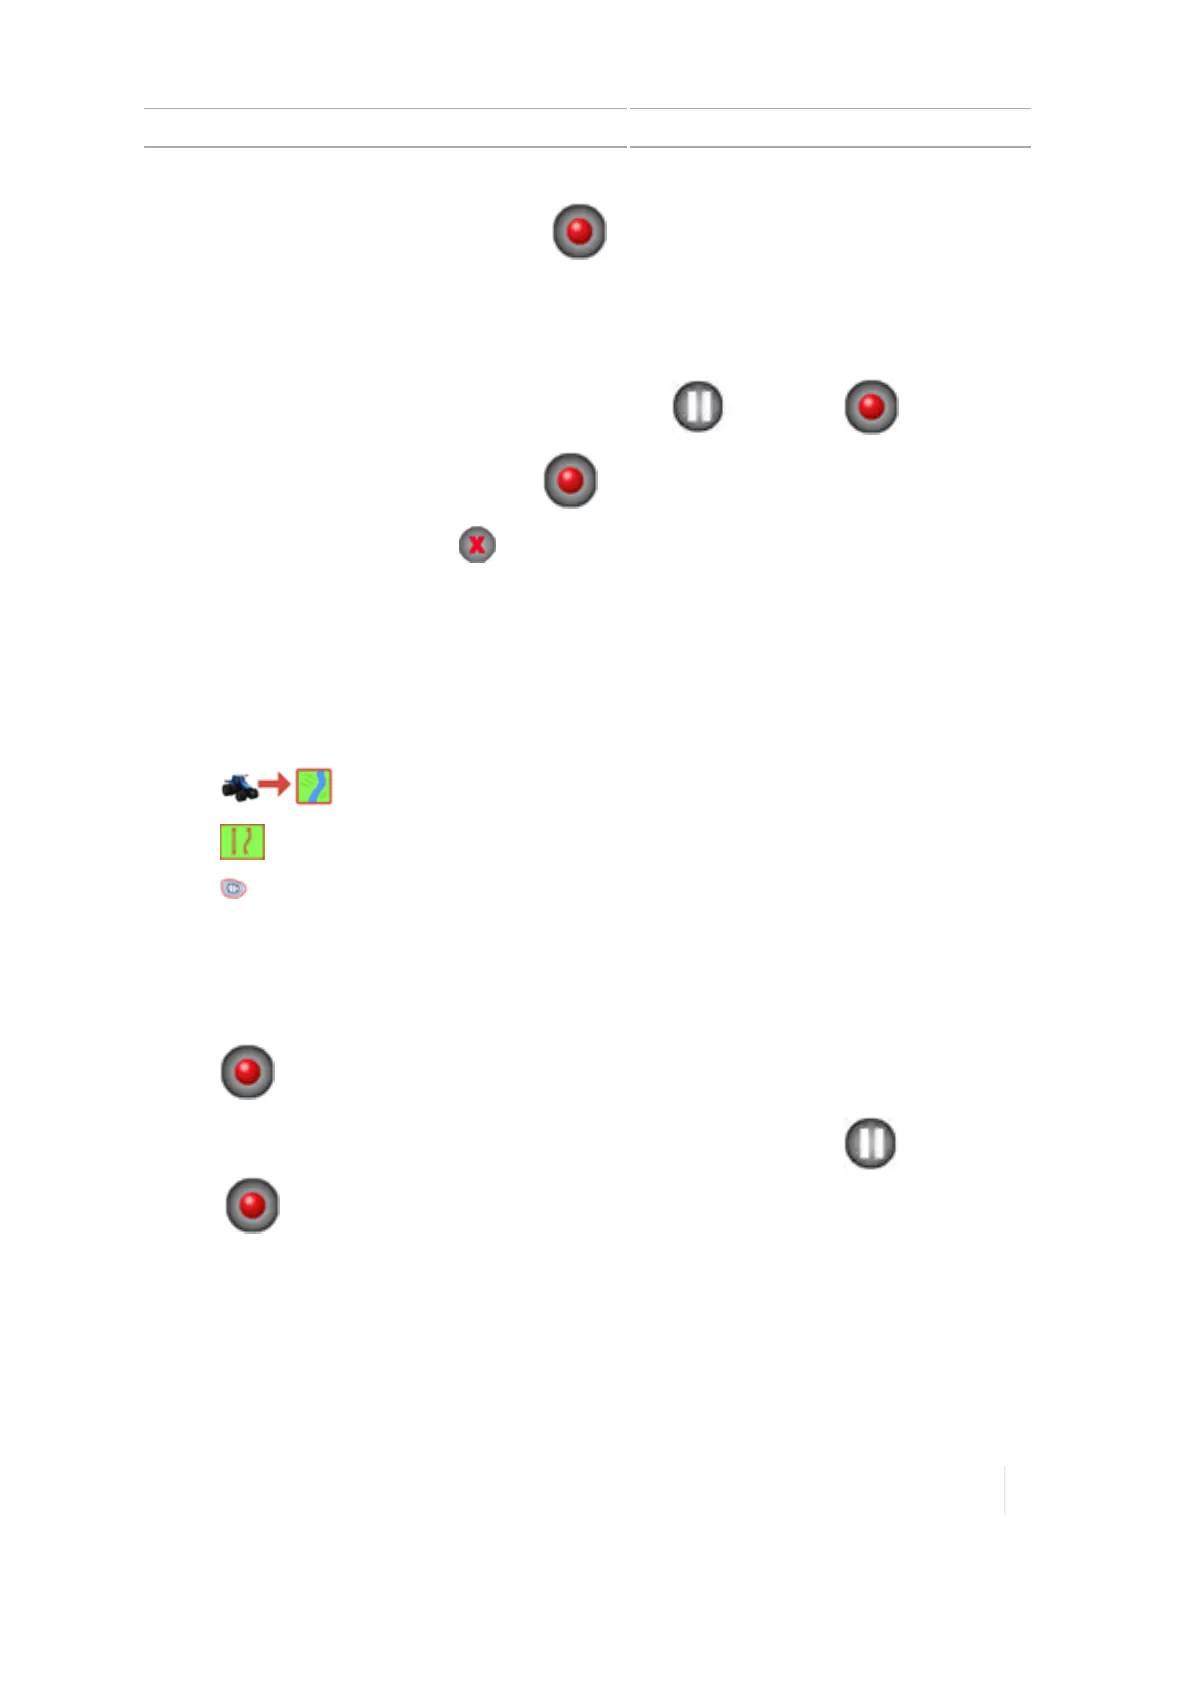
To create a straight line as part of your curved line, tap and then tap again.
6.
When you are at the end of the line, tap .
7.
To cancel theline creation, tap .
Headland and infill pattern creation (Run screen)
1.
Select a vehicle, implement and field. (See Select a field, 182).
Note – The display uses the implement width to place the headland boundary, space the
circuits and project guidance lines for the pattern.
2.
Tap to enter the field.
3.
Tap . The pattern buttons display.
4. Tap . The headlands options display.
5. If the number of circuits is not correct, edit the number you want to create by tapping the
number and entering the correct amount.
6. Optionally, select the type of infill pattern you want by tapping the correct button (AB, A+ or
curve).
7.
Tap and begin driving the perimeter of the field.The display:
ll
Marks the position you were at when you tapped record. You can tap and then
again, as required.
l Shows the recorded path with a dashed line.
l The controls for the infill line (if any) appear below the headland recording controls.
8. If you are using an infill pattern, create the line for your infill pattern. See instructions for the
type of line you are creating:
Version 1.075, Revision C TMX-2050 Display User Guide 253