Screen shots 2 Display basics
Insert a USBdrive
1. Move the display so you that can see the USBsocket on the side or back of the display.
2. Pull the rubber cover off the USBsocket.
3.
Insert the USB drive into the USB socket. On the display bar, a USB icon is displayed.
Remove USBDrive
CAUTION – Do not remove the USB drive from the socket while the display is writing to or from the drive. This
will corrupt the data.
1. Move the display so you that can see the USBsocket.
2. Make sure the LED light of the USB drive is not blinking (indicating data transfer is occurring).
3. Pull the USB drive out of the USB socket.
4. Press the rubber cover back onto the USBsocket.
Screen shots
Occasionally, you may want to save an image of the touch screen, for example to provide
information for troubleshooting purposes. When you take a screen shot, the display saves a .jpg file
to a Pictures folder on the USB drive.
To take a screen shot:
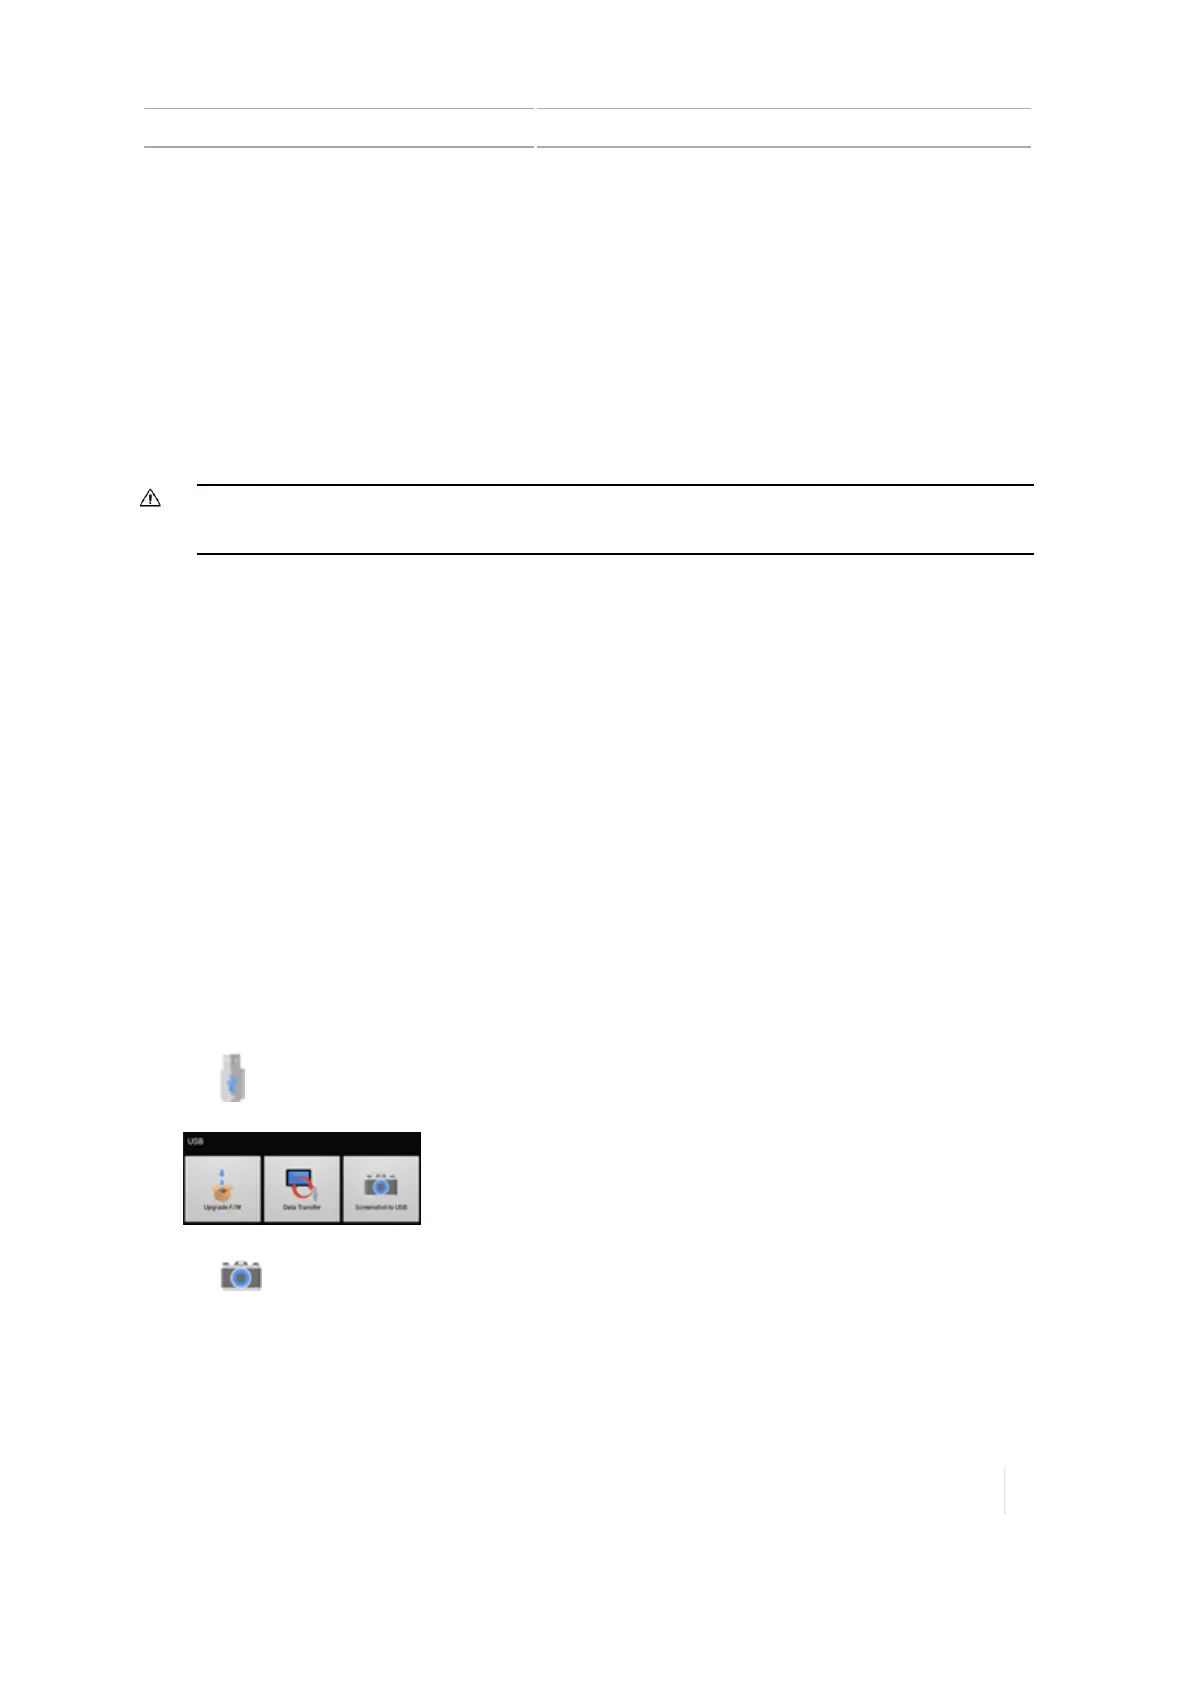
1. Insert a USBdrive in one of the USBports on the display. (See USB socket, 74.) The display bar
will show a USB icon.
2. Tap the right side of the bar at the bottom of the display. The notification list slides up.
3.
Tap . The USB menu displays.
4.
Tap to take a capture of the screen.
5. The display stores your screen shot on the USB drive.
Version 1.075, Revision C TMX-2050 Display User Guide 75