Phaser 6500/WorkCentre 6505 Service Manual Xerox Internal Use Only 5-23
Print-Quality Troubleshooting
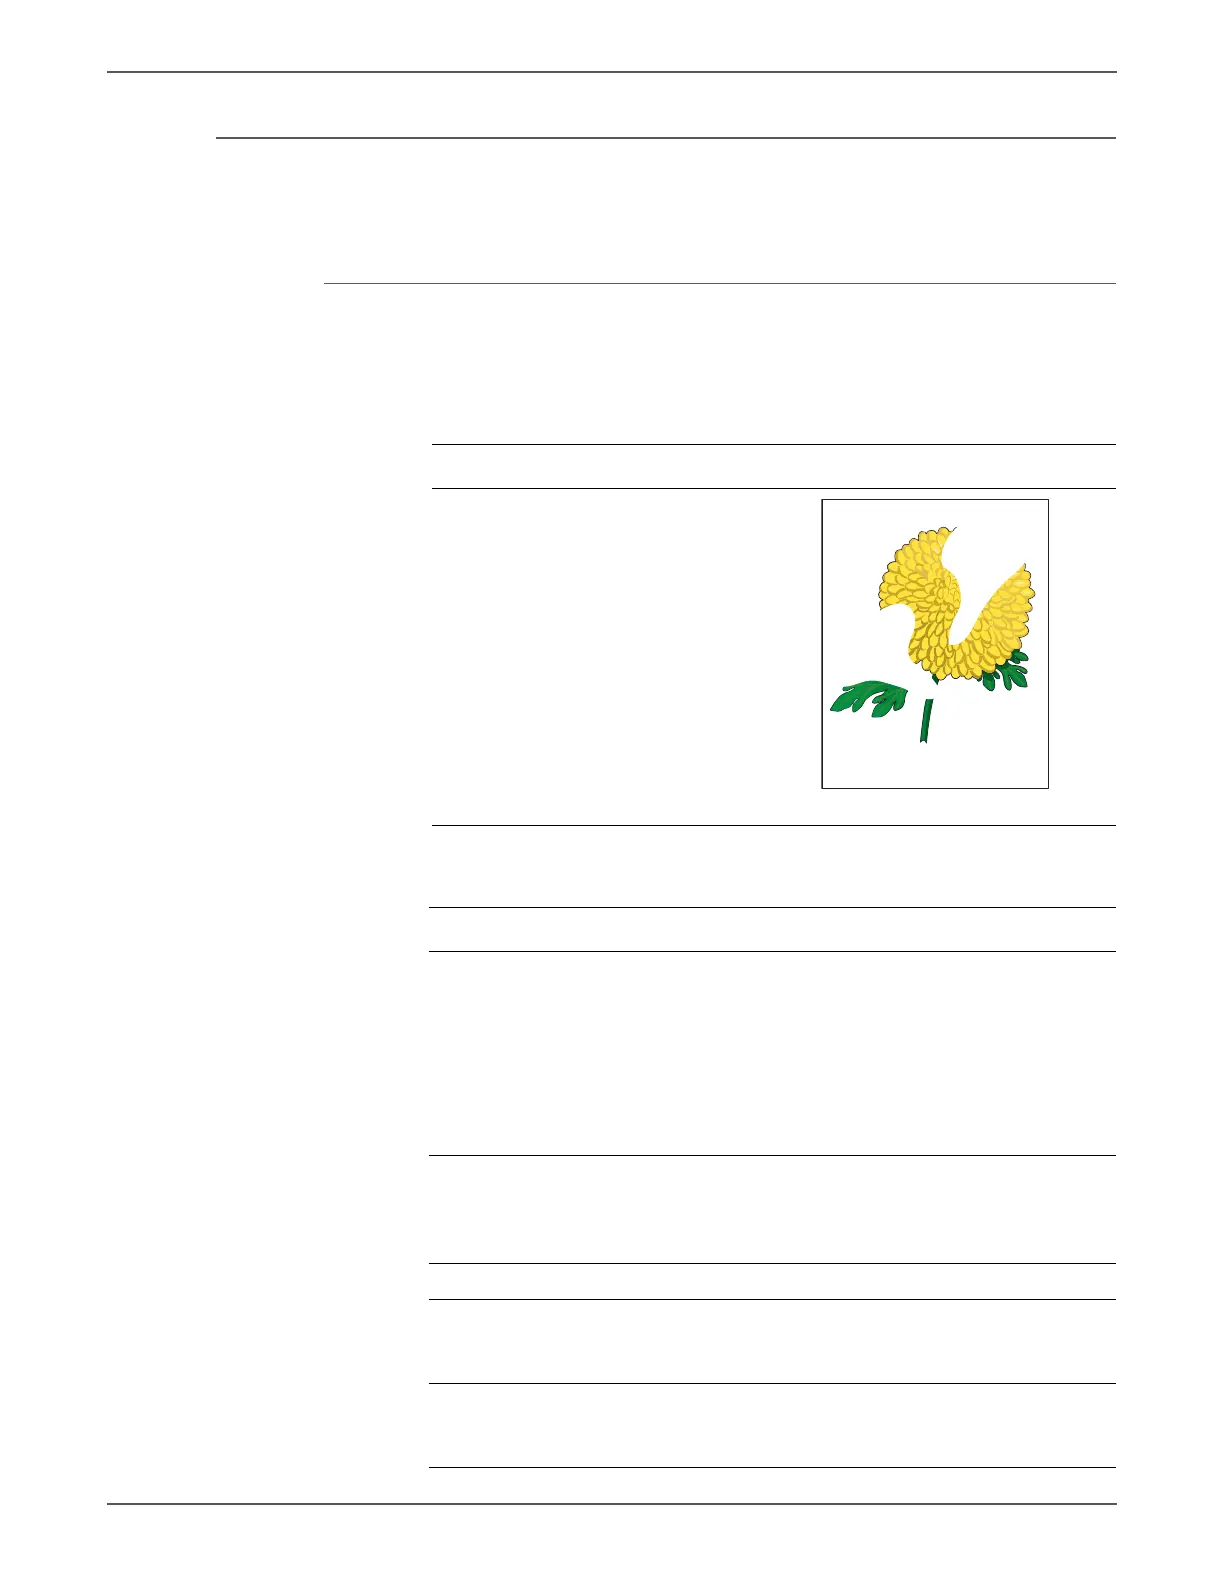
Partial Band
There are areas of the image that are extremely light or are missing in a limited
area on the paper.
Initial Actions
• Check the paper transfer path.
• Ensure there are no debris on the transfer path.
Troubleshooting Reference Table
Applicable Notes Example Print
Imaging Unit, PL4.1.21
Laser Unit, PL4.1.99
Transfer Belt, PL6.1.7
IP Board, PL8.1.7
MCU Board, PL8.2.13
Troubleshooting Procedure
Step Actions and Questions Yes No
1 Print the Contamination Check test
print (page 5-49): Tes t Pri nt >
Contamination Chk
Compare any blank areas with the
Pitch Chart (page 5-50).
Do any of the blank areas appear at
regular intervals, and match the
chart?
Replace the
corresponding
parts.
Go to step 2.
2 Check the media condition
Is the media dry and approved for
use?
Go to step 4. Replace with
dry, approved
media, then go
to step 3.
3 Is the image printed correctly? Complete Go to step 4.
4 Print an Engine Test print
(page 4-47).
Is the test print printed correctly?
Replace the IP
Board
(page 8-120).
Go to step 5.
5 Inspect the Transfer Belt surface.
Is the transfer belt damaged?
Replace the
Transfer Belt
(page 8-112).
Go to step 6.

 Loading...


