The second cylinder moves to the top of the first cylinder.
Release the Ctrl and Alt (Windows) or Control and Command (Mac) key to
turn off curve snap mode.
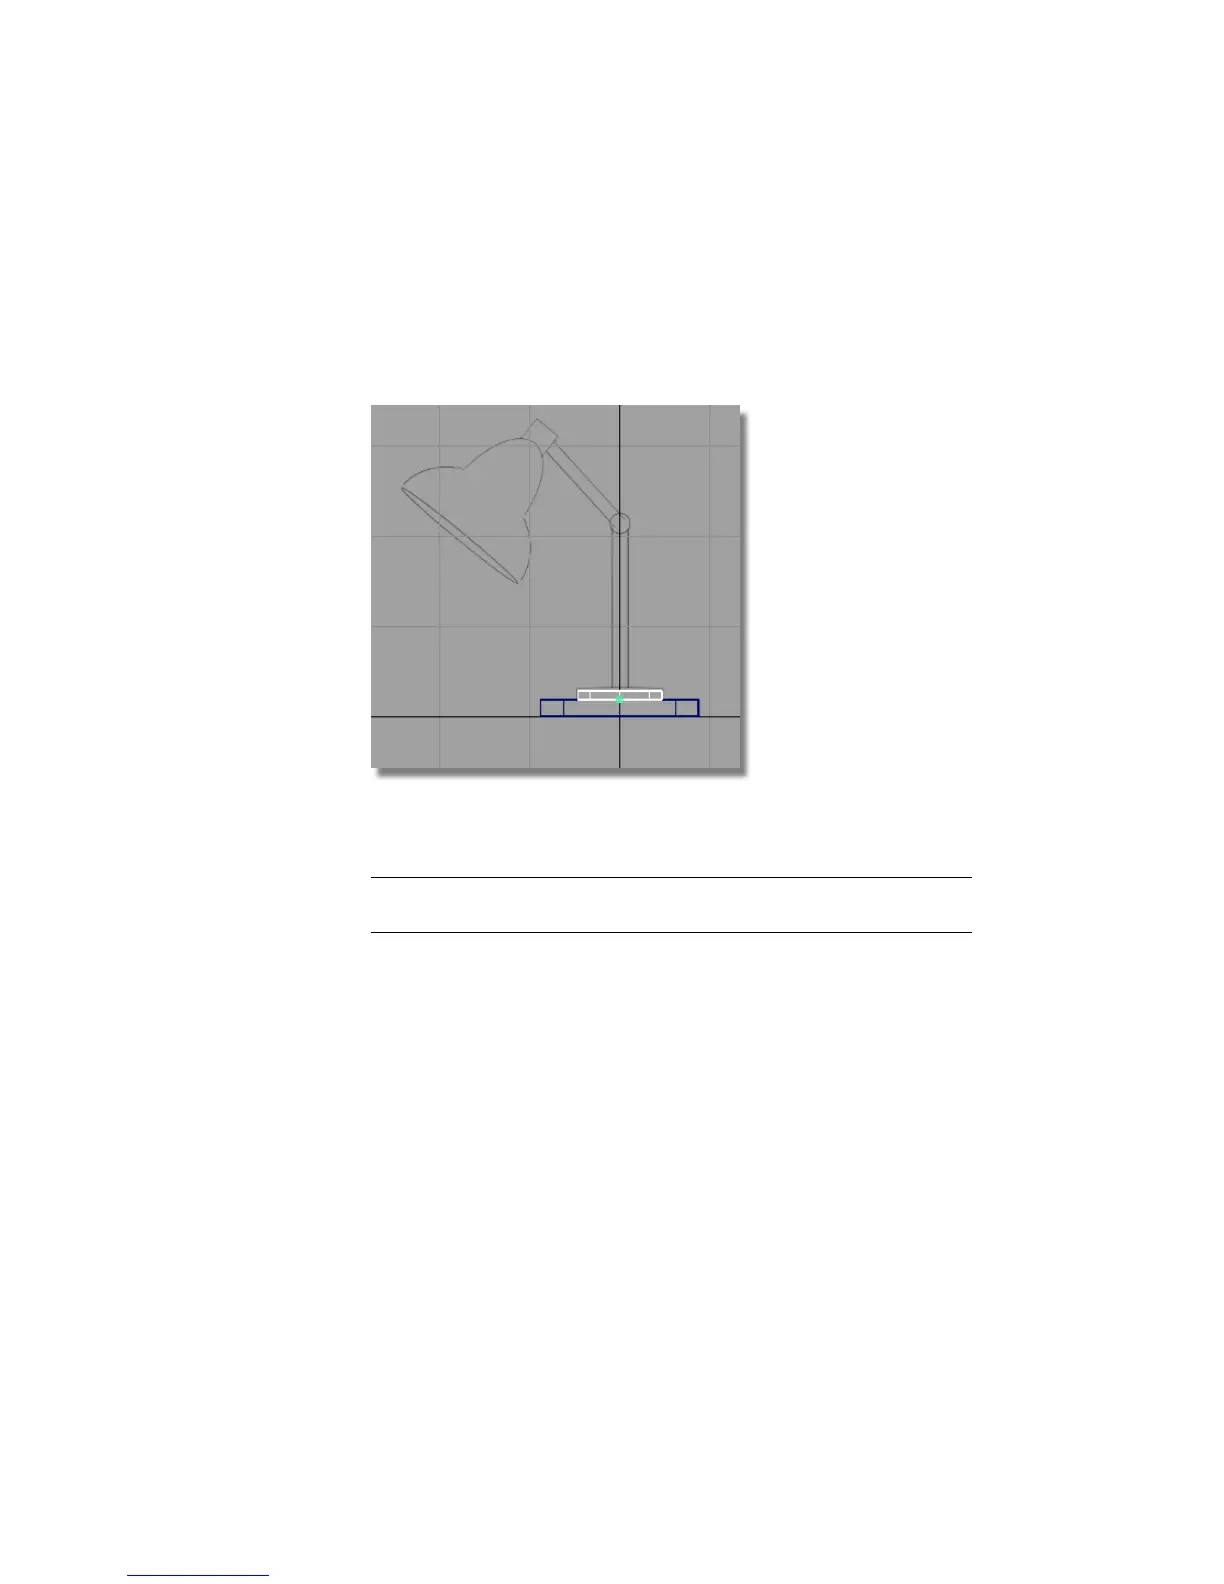
7 Choose Transform > Scale and use the left mouse button to scale the
cylinder to match the width shown in the sketch.
8 Choose Transform > Non-p Scale and use the right mouse button to adjust
the height of the cylinder to match the sketch.
NOTE When clicking and dragging the mouse, click in the background, away
from all objects. This ensures that no objects get accidentally picked or scaled.
Creating the lamp pillar
The same technique can be used to create the main pillar of the lamp stand.
1 With the second cylinder still selected, use Edit > Copy
followed by Edit > Paste
to create a third cylinder.
108 | Chapter 4 Introduction to 3D