A control vertex appears.
This is the first CV of the curve and is displayed as a small box.
5 Release the Alt (Windows) or Command (Mac) key to turn off grid snap
mode.
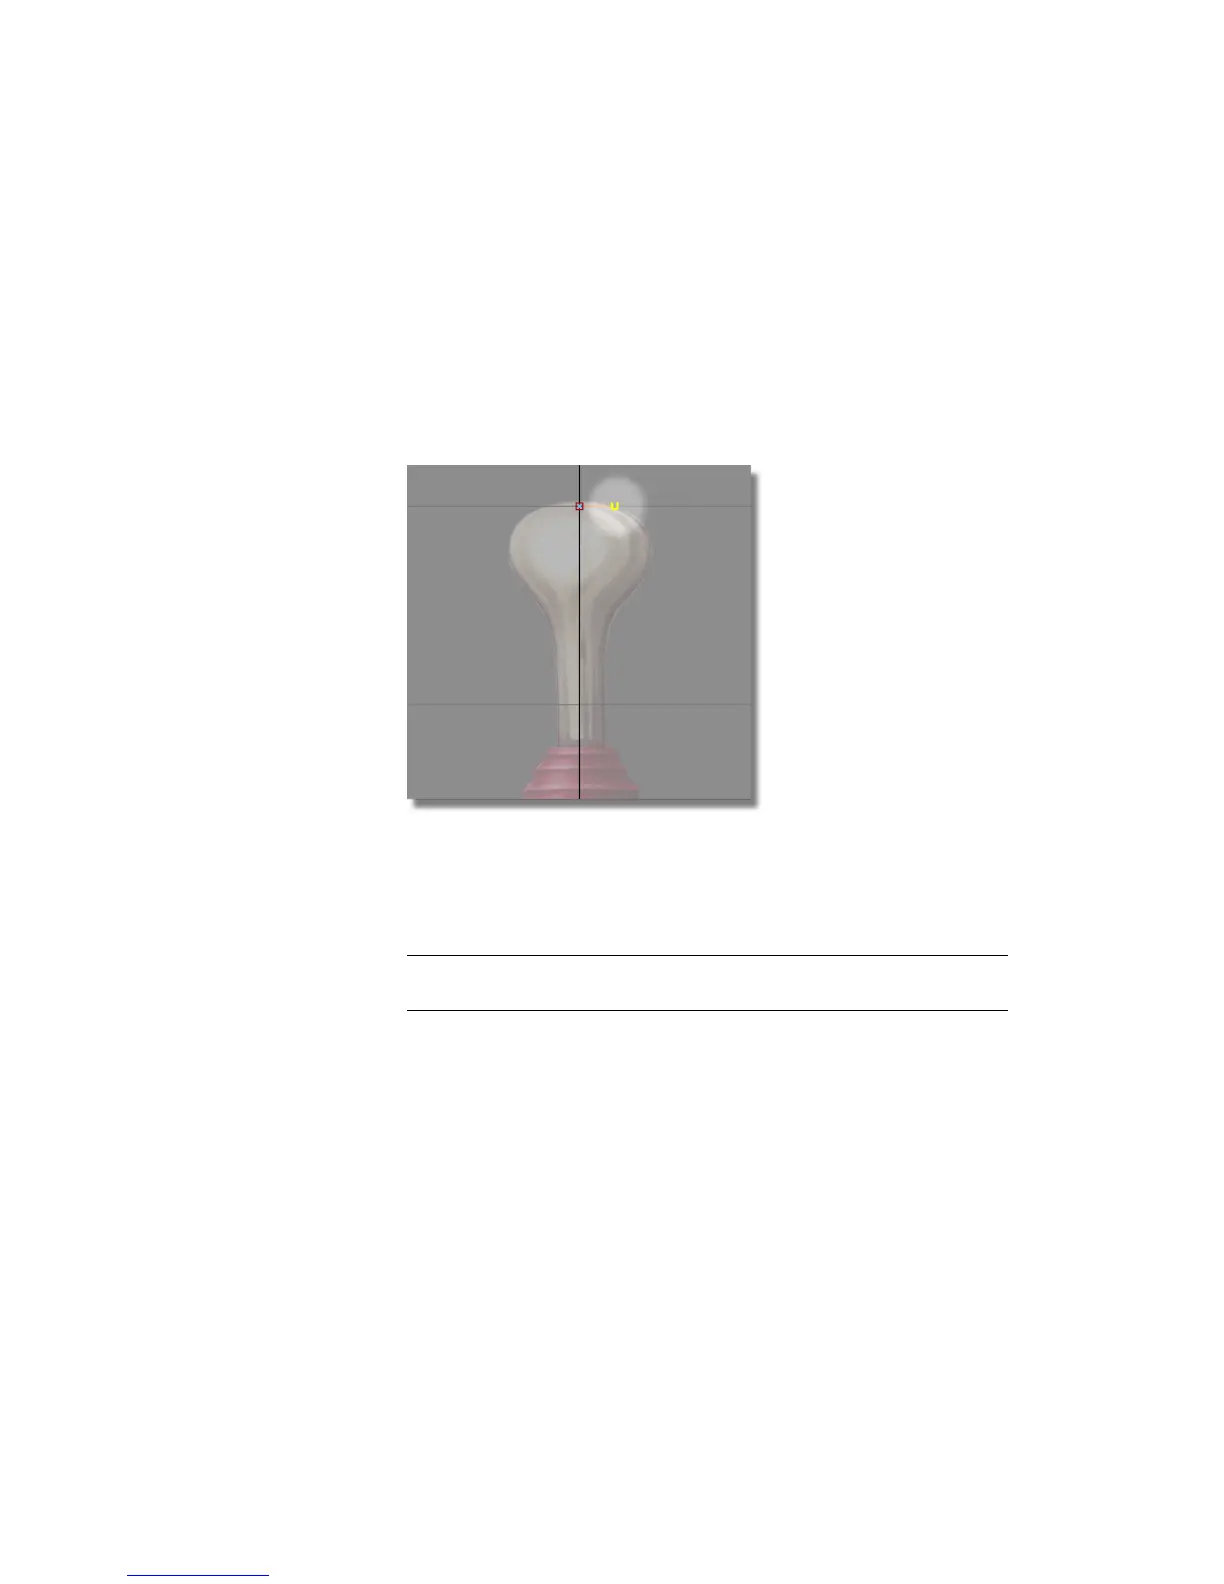
6 Press and hold the middle mouse button to the right of the first CV to create
the second CV. Move the mouse button to position the CV, then release
the middle mouse button.
The second CV is displayed as a small U.
By using the middle mouse button, the second CV is horizontally aligned
with the first CV. Having these two CVs aligned horizontally helps to
avoid a bump or dimple in the top when you revolve the surface.
NOTE The straight red line joining the first and second CVs is not the curve.
It is the hull. Hulls connect all the CVs on a curve.
7 Press and hold the left mouse button along the edge of the joystick handle
outline to create the third CV. Move the mouse to position the CV and
then release the left mouse button.
Part 1: Creating the Joystick Handle | 161