4
© 2011 - 2015 TOSHIBA TEC CORPORATION All rights reserved e-STUDIO5540C/6540C/6550C/5560C/6560C/6570C
DISASSEMBLY and REPLACEMENT
4 - 67
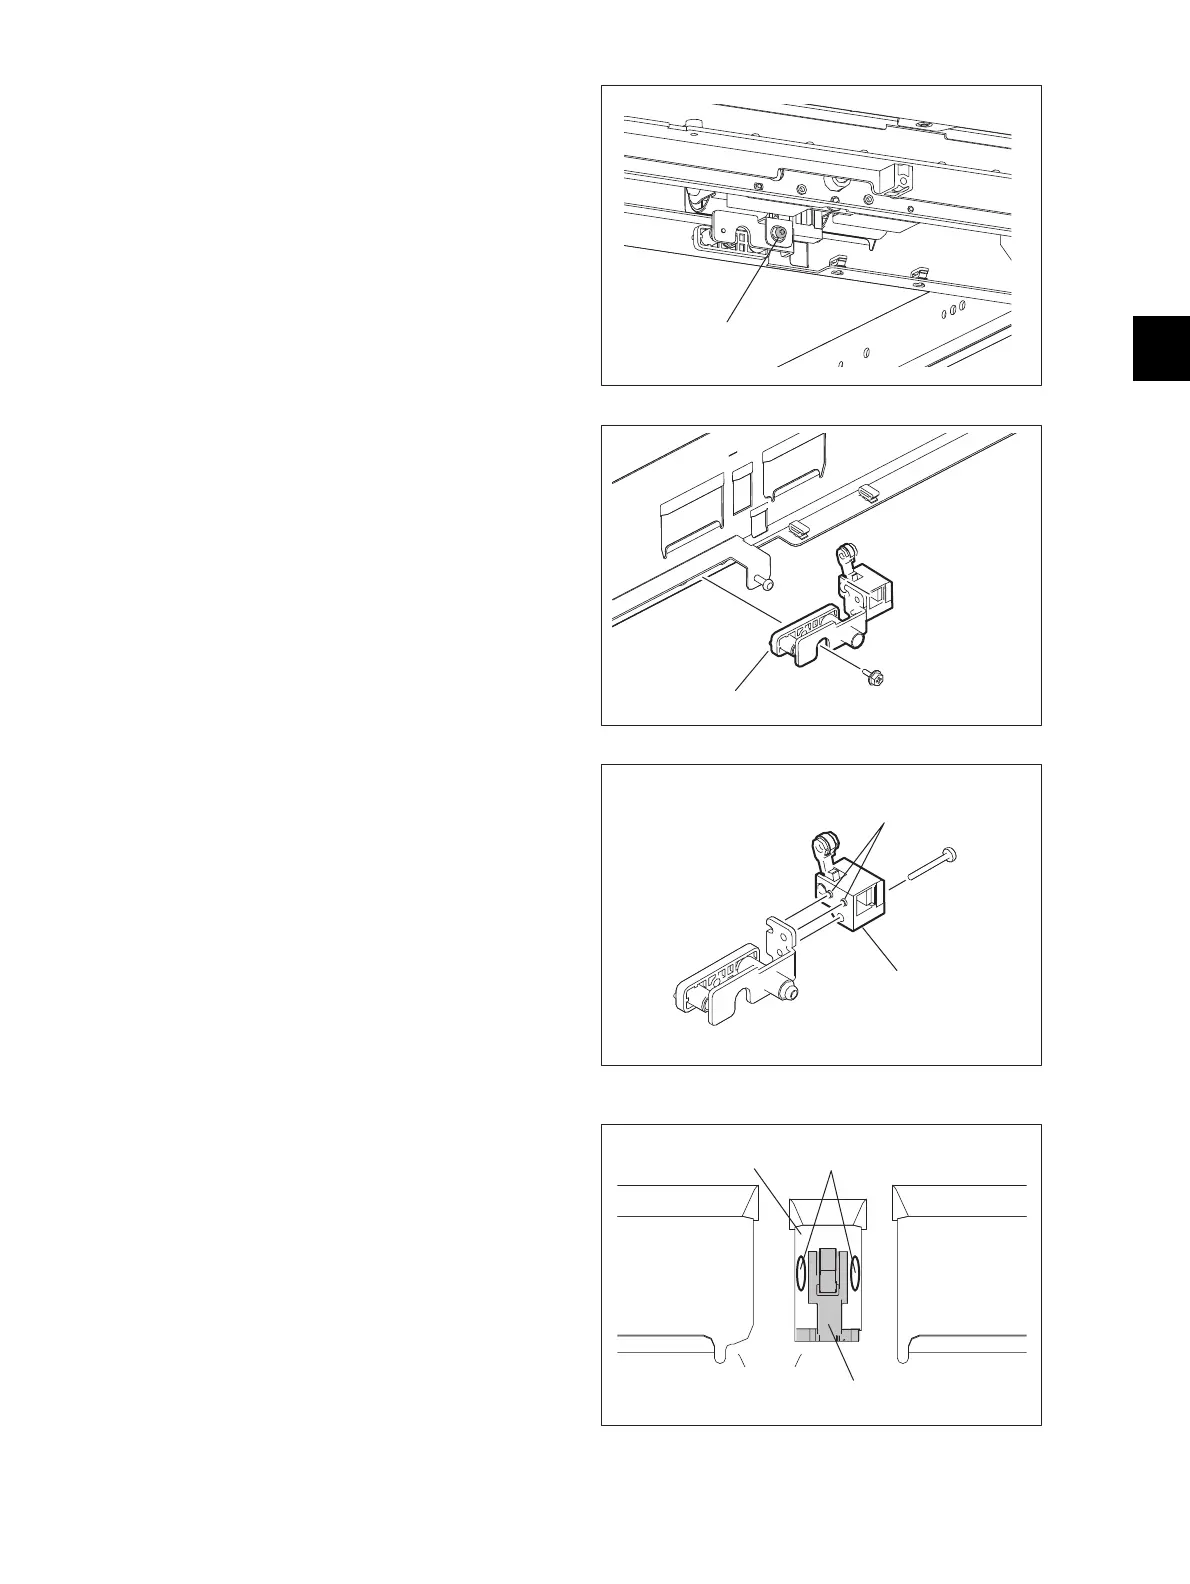
(3) Remove or fully loosen the adjustment
screw.
Fig. 4-193
(4) Disconnect 1 connector.
(5) Remove 1 screw and take off the media
sensor by tilting it down.
Fig. 4-194
(6) Disconnect 1 connector.
(7) Remove 2 screw and take off the media
sensor.
Notes:
1. When the media sensor (S69) is
replaced, perform position adjustment for
a new sensor after it was installed. P.
6-83"6.7.1 Adjustment of the media
sensor position"
2. When installing, be sure that the 2 dowels
of the bracket sensor are inserted
correctly.
3. After the sensor is installed, be sure that
both sides of the sensor installation hole
(fig. A) are not in contact with the sensor.
Fig. 4-195
Fig. 4-196
 Loading...

