e-STUDIO5540C/6540C/6550C/5560C/6560C/6570C © 2011 - 2015 TOSHIBA TEC CORPORATION All rights reserved
DISASSEMBLY and REPLACEMENT
4 - 210
4.10.7 Reverse section stationary jam detection sensor (S60)
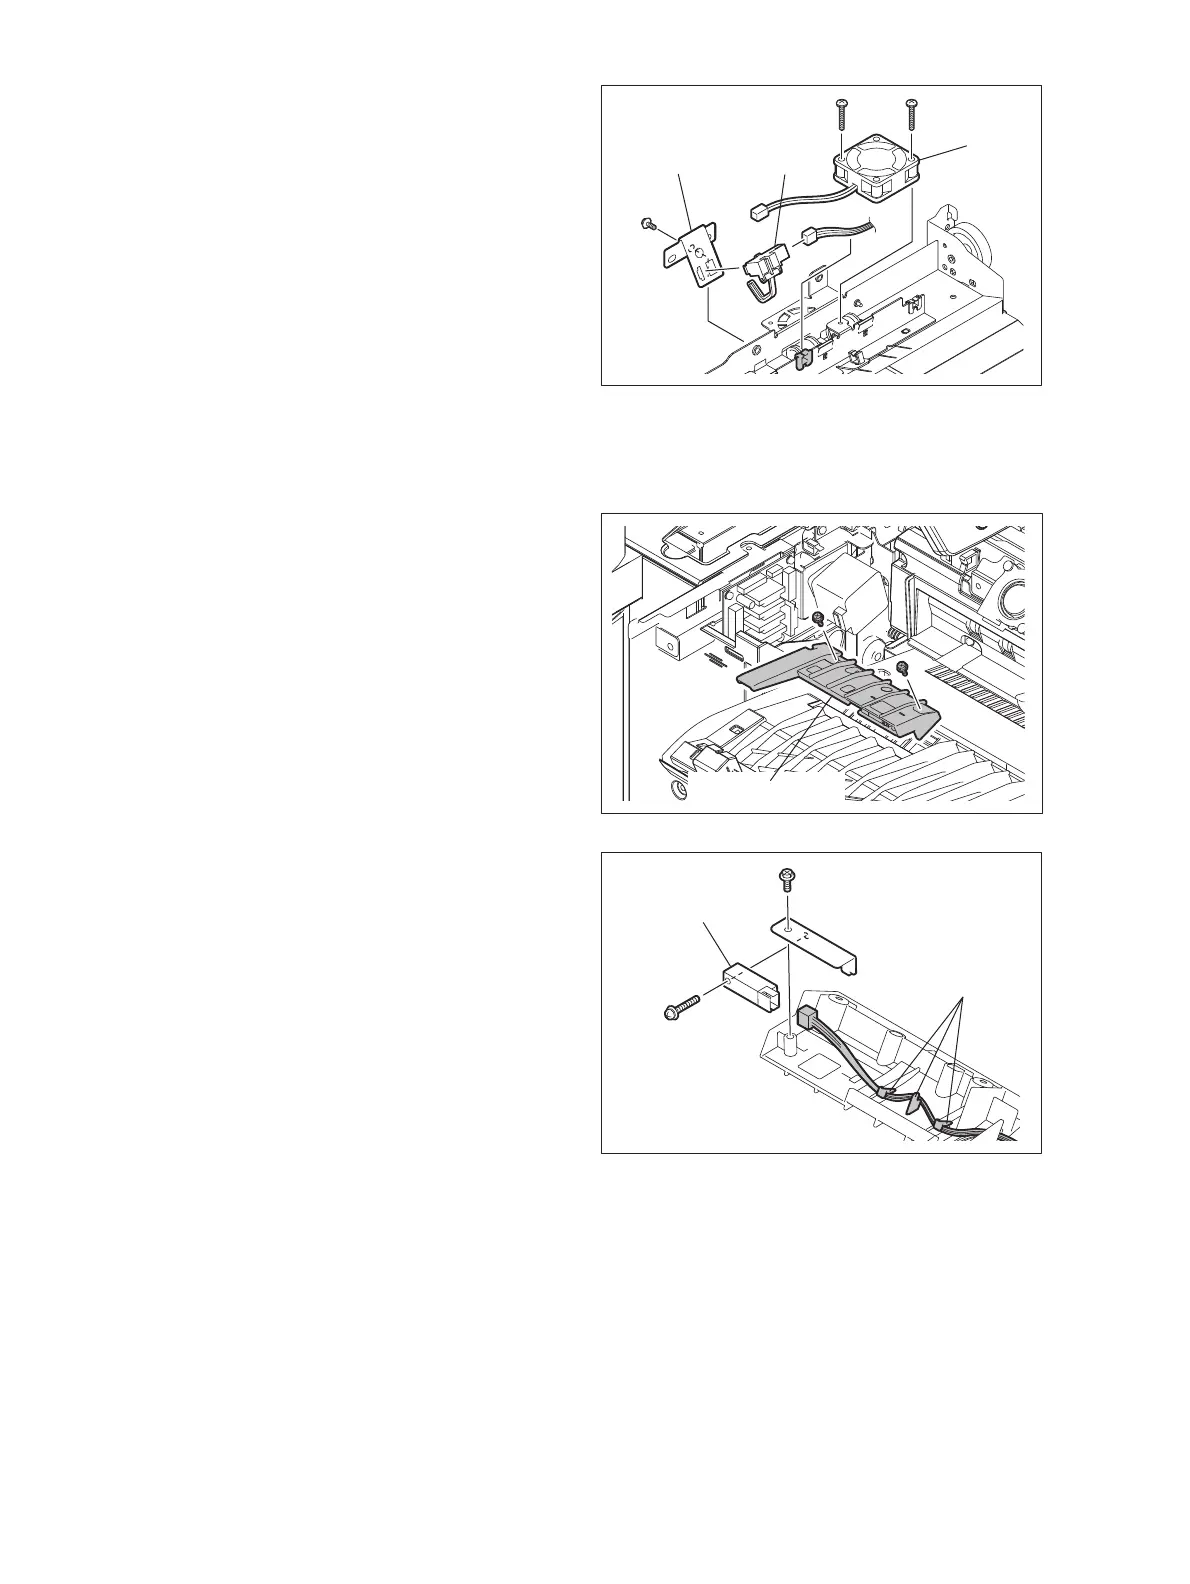
(4) Remove 2 screw and take off the lower exit
section cooling fan-1 [1].
(5) Remove 1 screw and disconnect the
connector. Then take off the sensor bracket
[2].
(6) Take off the lower paper exit sensor [3] from
the sensor bracket.
Fig. 4-608
(1) Take off the receiving tray.
P. 4-3"4.1.8 Receiving tray"
(2) Remove 2 screws and then take off the
sensor bracket.
Fig. 4-609
(3) Release the harness from the 3 hooks [1]
and then disconnect the connector.
(4) Remove 2 screws and take off the reverse
section stationary jam detection sensor [2]
from the sensor bracket.
Fig. 4-610
 Loading...

