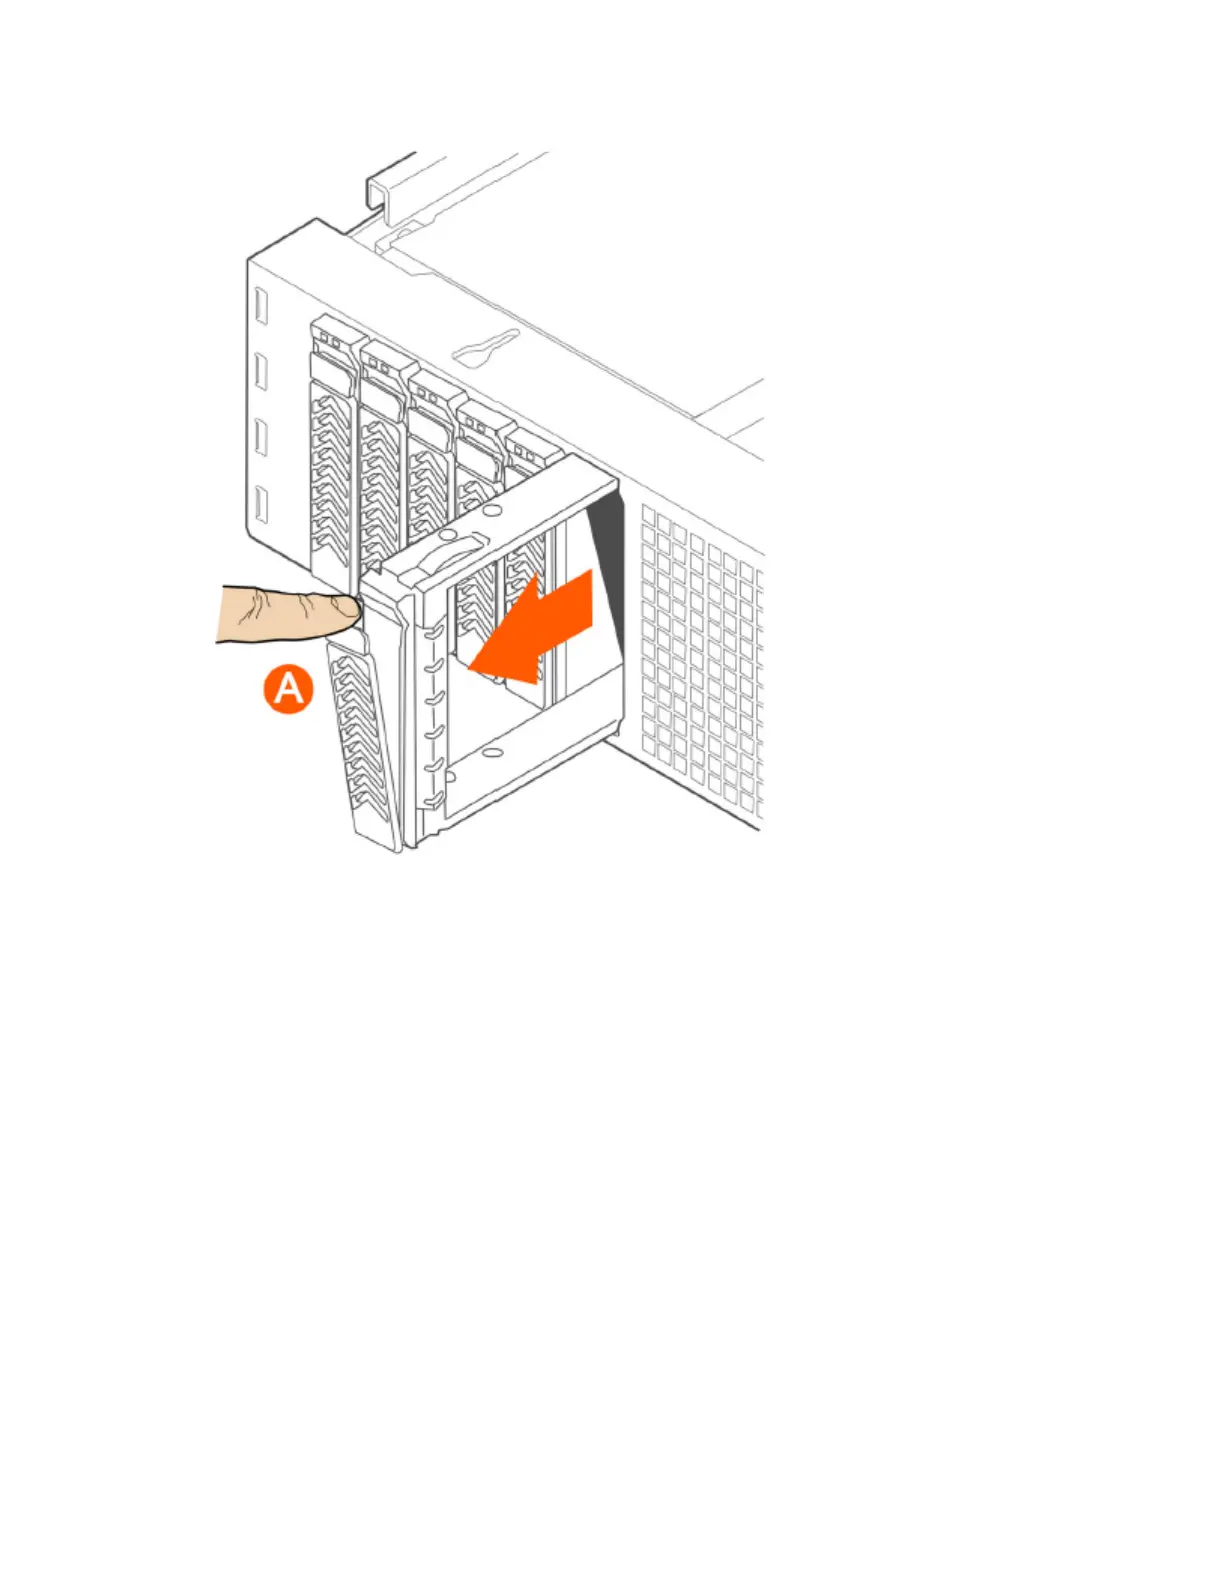
Figure 261: Removing the drive carrier
Installing a Hard Drive in a Carrier
Follow these steps to install a hard drive in a drive carrier.
1. If a drive is already installed (that is, if you are replacing the drive), remove it by unfastening
the four screws that attach the drive to the drive carrier (see A in Figure 262: Removing the
hard drive on page 446). Set the screws aside for use with the new drive.
2. Lift the drive out of the carrier (see B in Figure 262: Removing the hard drive on page 446).
SmartCell Gateway 200/Virtual SmartZone High-Scale for Release 3.4.1 Administrator Guide
445
Replacing Hardware Components
Installing or Replacing Hard Disk Drives