3. Go to your web browser's default download location and look for a file named
guestpass[number].csv.
4. Using Microsoft Excel
®
or a similar application, open the CSV file.
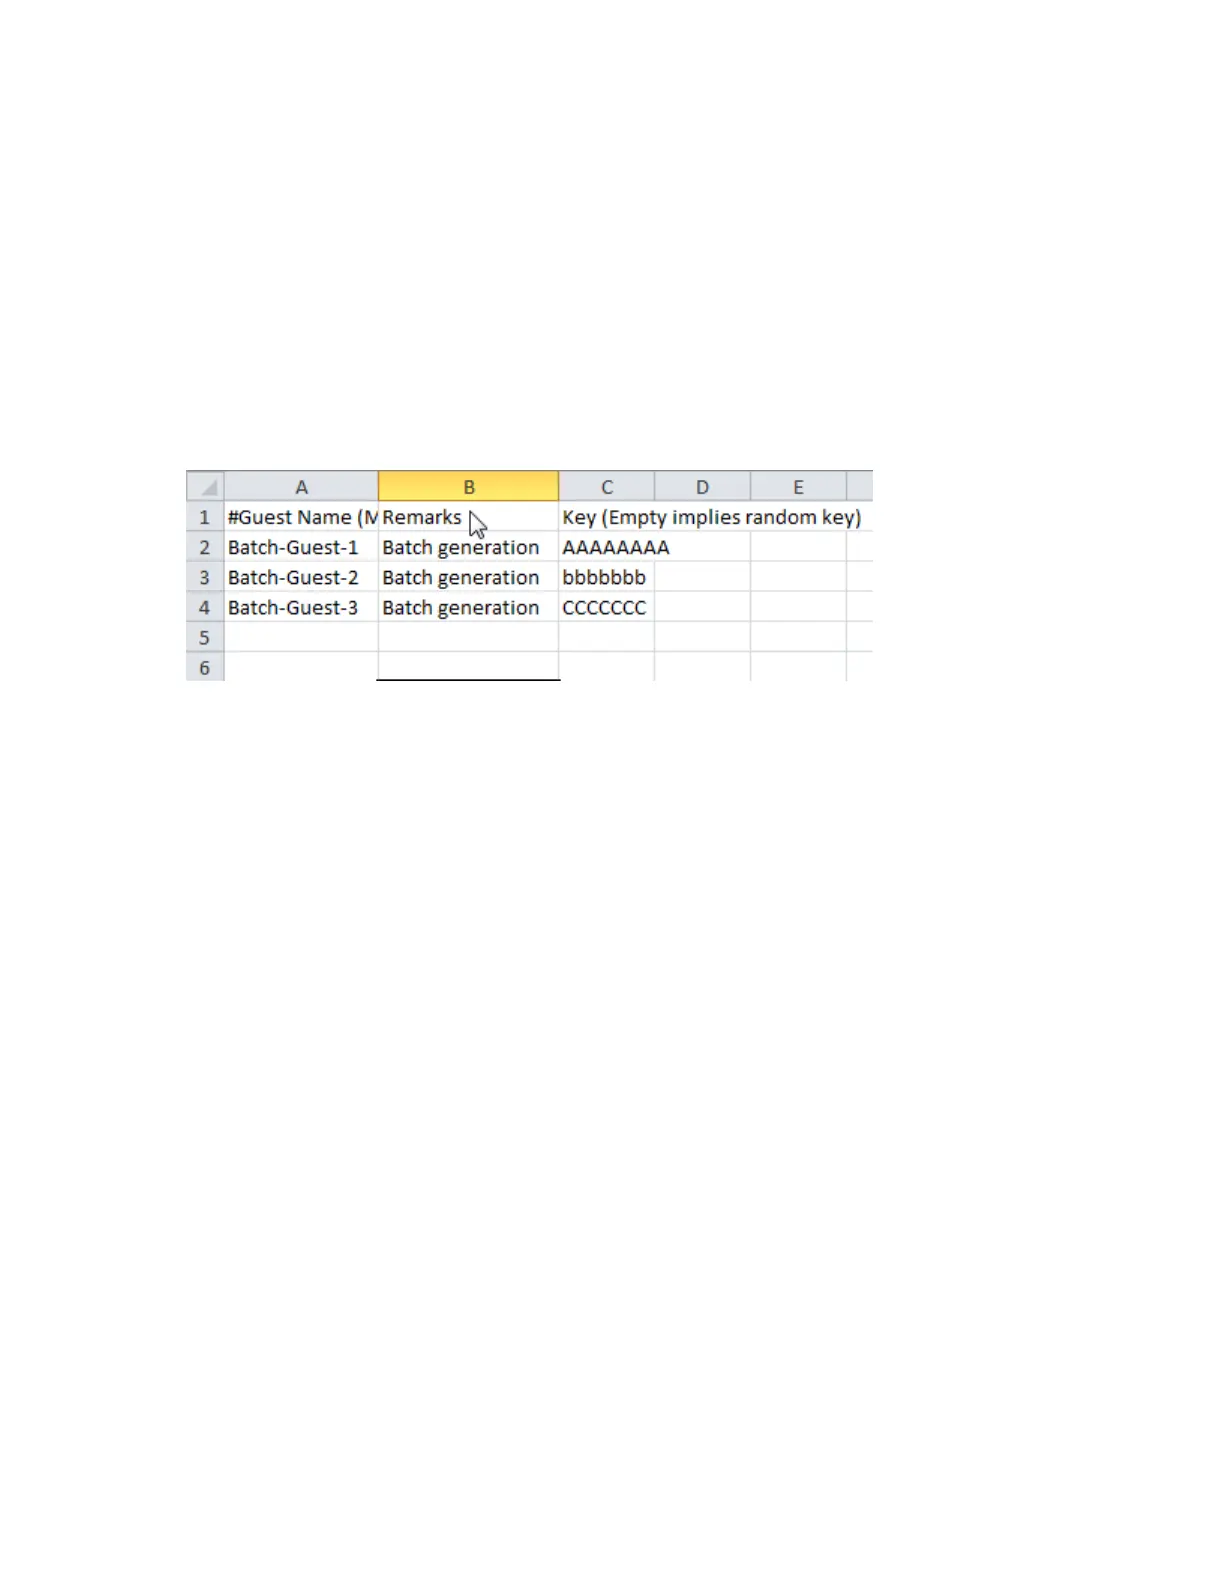
The CSV file displays the details of the guest passes, including:
• Guest Name
• Remarks
• Key
• Expiration Date
You have completed exporting the last generated guest passes to CSV.
Figure 184: A sample CSV of generated guest passes when opened in Excel
®
Sending the Guest Pass via Email
You can email the guest passes you generate to guest users.
NOTE: To send guest passes via email, you must have added an external email server to the
controller. For more information, see Configuring the SMTP Server Settings on page 207.
1. Select the guest passes that you want to send via email by selecting the check boxes before
them.
2. Click Email.
The Recipient Email form appears on the right side of the page (see Figure 185: Use the
Recipient Email form to specify who will receive the guest passes via email on page 331).
3. Click Add New.
4. In the box that appears below, type the email address to which you want to send the guest
passes.
5. To add another recipient, click Add New again, and then type another email address.
6. When you have finished adding all the email recipients, click Send Email.
A dialog box appears and informs you that the emails have been sent to the message queue
successfully
7. Click OK to close the dialog box.
You have completed sending guest passes via email.
SmartCell Gateway 200/Virtual SmartZone High-Scale for Release 3.4.1 Administrator Guide
330
Working with Local, Guest, and Remote Users
Working with Local, Guest, and Remote Users