© 2009 Schneider Electric All Rights Reserved 5
80043-740-01 NC Standard and Hinged Trim Fronts
02/2009 Installing Low Amp Hinged Trim
ENGLISH
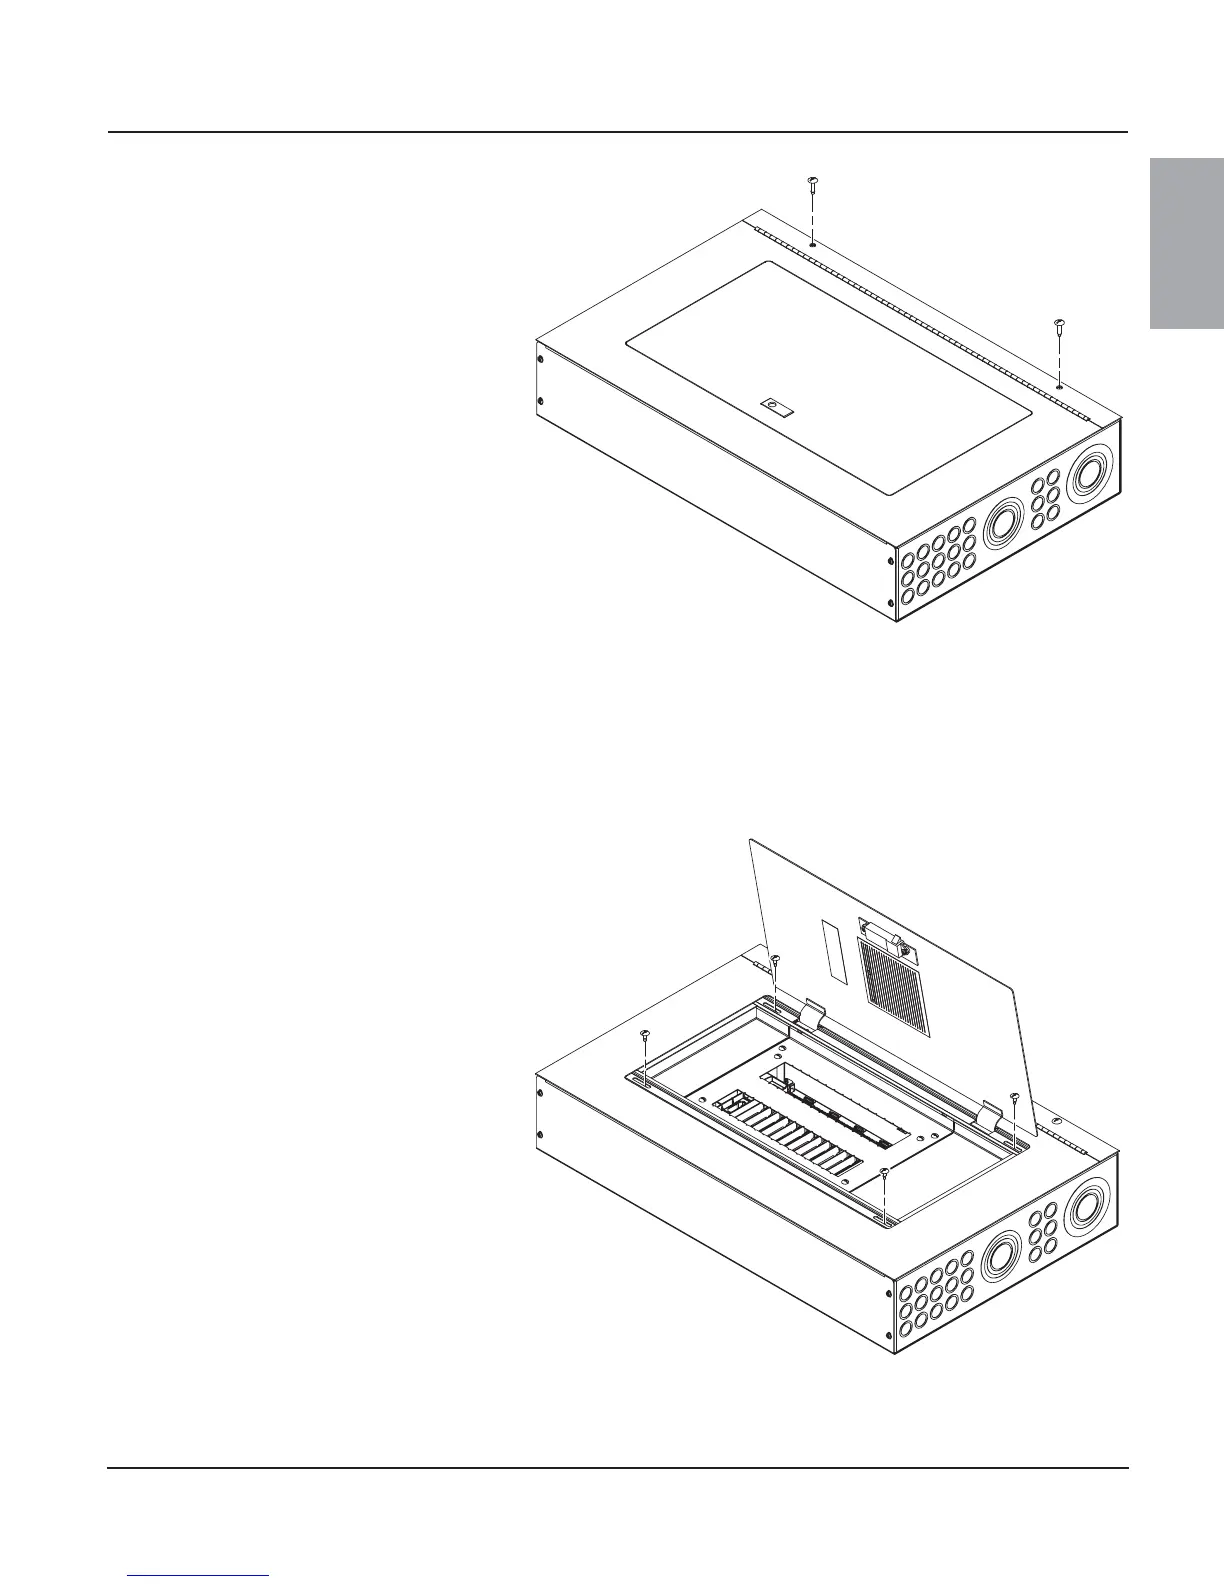
3
Align screw holes in the trim front with the
spring nuts on the enclosure lip and fasten with
the 1/4-20 x 1-in. screws, included in the kit.
4
Open the trim front door. Align the screw holes
in the trim front door recesses with the screw
holes in the panelboard deadfront and fasten
with the 10-32 x 19/32-in. self-threading screws,
included in the kit.
NOTE: For flush-mounted applications, elevate
the interior to the proper position. Refer to the
information manual provided with the
panelboard for more information.