SAMPLING > Sample Edit 1–1: Sample Edit
587
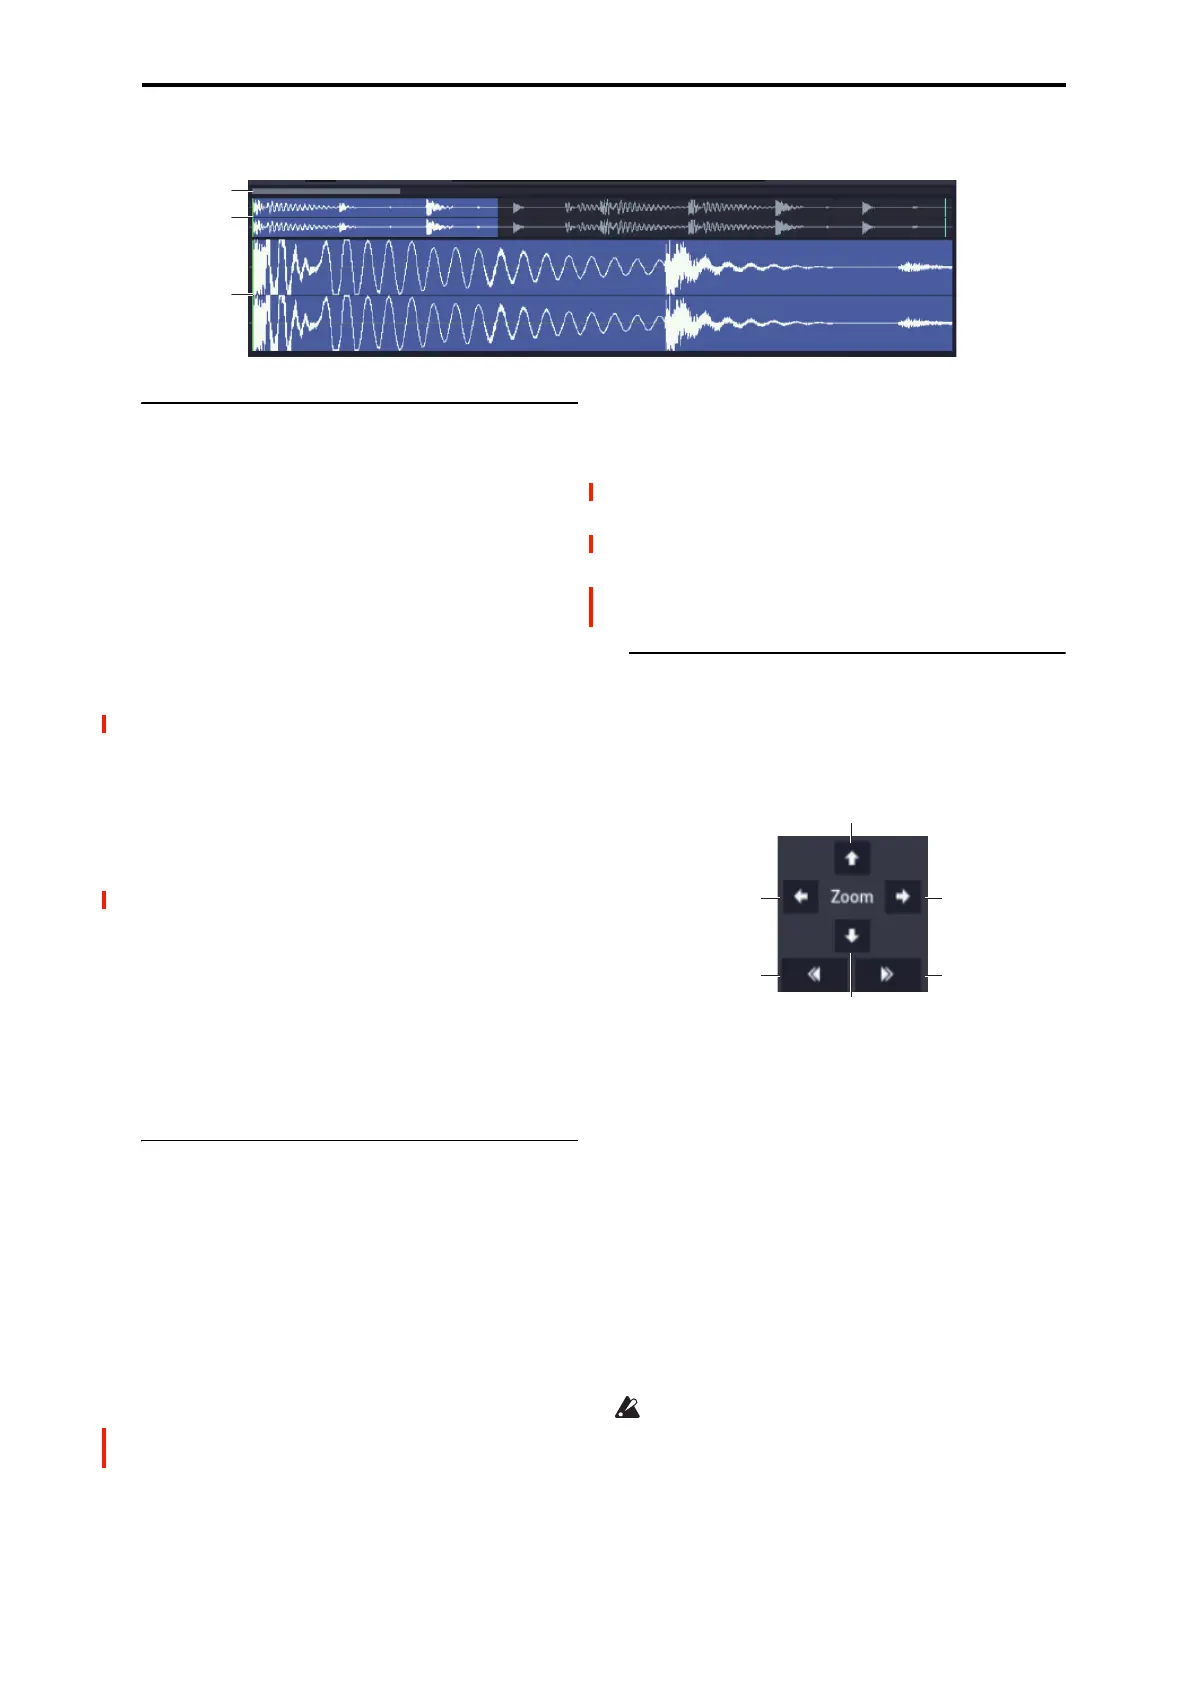
Sample waveform display
1–1d: Edit Range
Start [000000000…]
End [000000000…]
This specifies the range (start address and end address) of
the sample that will be edited by page menu commands.
(This is shown in sample address units.)
The range you specify here will be highlighted in the Sample
waveform display.
To audition the selected range, press the SAMPLING
START/STOP button or Play button. The sample in the area
between Start and End will sound at the pitch of the
currently selected key (displayed in green) (“Keyboard” 0–
1a).
Use Zero [Off, On]
On (checked): When setting Start and End, it will be
possible to select these only to locations where the
waveform level is ±0 (i.e., where the waveform crosses the
center line of the Sample waveform display). You can use
the VALUE dial, +/− buttons, and numeric keys 0–9 to
automatically search for zero-crossing addresses. By using
the numeric keys you can search for the zero-crossing
address nearest to the value that you input.
Off (unchecked): Start and End can be set in increments of
one. This is the normal setting.
Edit Range PLAY/STOP
The “Edit Range” will play back when you press the Play
button. During playback, this is shown as STOP.
1–1e: Grid
Grid [Off, On]
On (checked): A grid (vertical lines) is superimposed on the
sample waveform display. Use “Resolution” and Te m po to
adjust the grid spacing. Use this setting when you want to cut
or edit sample data in units of BPM values or beats.
The starting point of the grid is specified by the Sample Start
setting in P2: Loop Edit. If Loop is off, the grid is displayed
starting at the Start address. If Loop is on, the grid is
displayed starting at the Loop Start address. The grid
indicates the state of the sample when it is played at the
currently selected base key (displayed in green).
(“Keyboard” 0–1a)
Resolution [ , 3, , 3, , 3, , 3, ]
This specifies the resolution of the grid. The grid is defined
by this setting and “Tempo.”
Tempo [040.00…480.00]
This specifies the spacing of the grid. The grid is defined by
this setting and Resolution.
You can also set this by using the TAP button.
Tip: If you don’t know the tempo of the sample, set the
tempo by pressing the TAP button several times in rhythm
with the playback.
Note: 240.00 is the maximum value that you can set using
the TAP button.
1–1f: ZOOM
ZOOM
These buttons let you zoom-in and zoom-out the Sample
waveform display along the horizontal axis (sample
addresses) or vertical axis (sample level).
By zooming-in on the horizontal direction, you can move
from the overall display where the waveform is shown as a
solid line (1X magnification) to 2X or 4X magnification.
(With 1X magnification, the display resolution of the LCD
will be the same as the resolution of the sample addresses.
For example if you change the sample address by one, the
vertical line in the LCD that indicates the sample address
will move in steps of one pixel.) In the vertical axis, you can
zoom-in from 1X (full range display) to 512X (or 1024X in
the case of stereo display).
Zoom-In/zoom-out will occur starting at the Start or End
points you specify. (If a different parameter is selected when
you zoom-in or -out, the zoom-in/out will be based on the
last-selected point. If you re-select the Start or End points
when the display is zoomed in or out, the display range will
be adjusted so as to show the selected point.)
If the zoom ratio is low (1X or less), the Sample
waveform display may differ slightly from the displayed
waveform before and after waveform editing, but this
does not affect the playback sound. If this occurs, raising
the zoom ratio will make the display accurate.
Zoom-in vertically
Zoom-out vertically
Zoom-out horizontally
Zoom-in horizontally
Maximum
horizontal zoom-out
1x horizontal zoom-in

 Loading...


