SAMPLING mode
576
Top Key [C-1…G9]
Specifies the highest key in the zone of the index. The zone
is defined by this Top Key.
For example, suppose that you set a Top K ey of B2 for index
001/002, and a Top K ey of B3 for index 002/002. This
means that the zone of index 001 will be B2 and lower, and
the zone of index 002 will be C3–B3.
Range
This indicates the zone (area) that was determined by the
Top K e y setting.
The sample selected by Sample Select will sound in this
area. The zone for each index can also be viewed in
“Keyboard.”
Create
This creates an index. Use this when you wish to add a
sample to a multisample.
When you press the Create button, a new index will be
created according to the Create Zone Preference (0–1e, 3–
1c) parameters Position, Zone Range, and Original Key
Position.
If you wish to delete an index or exchange indexes, use
Multisample Edit page.
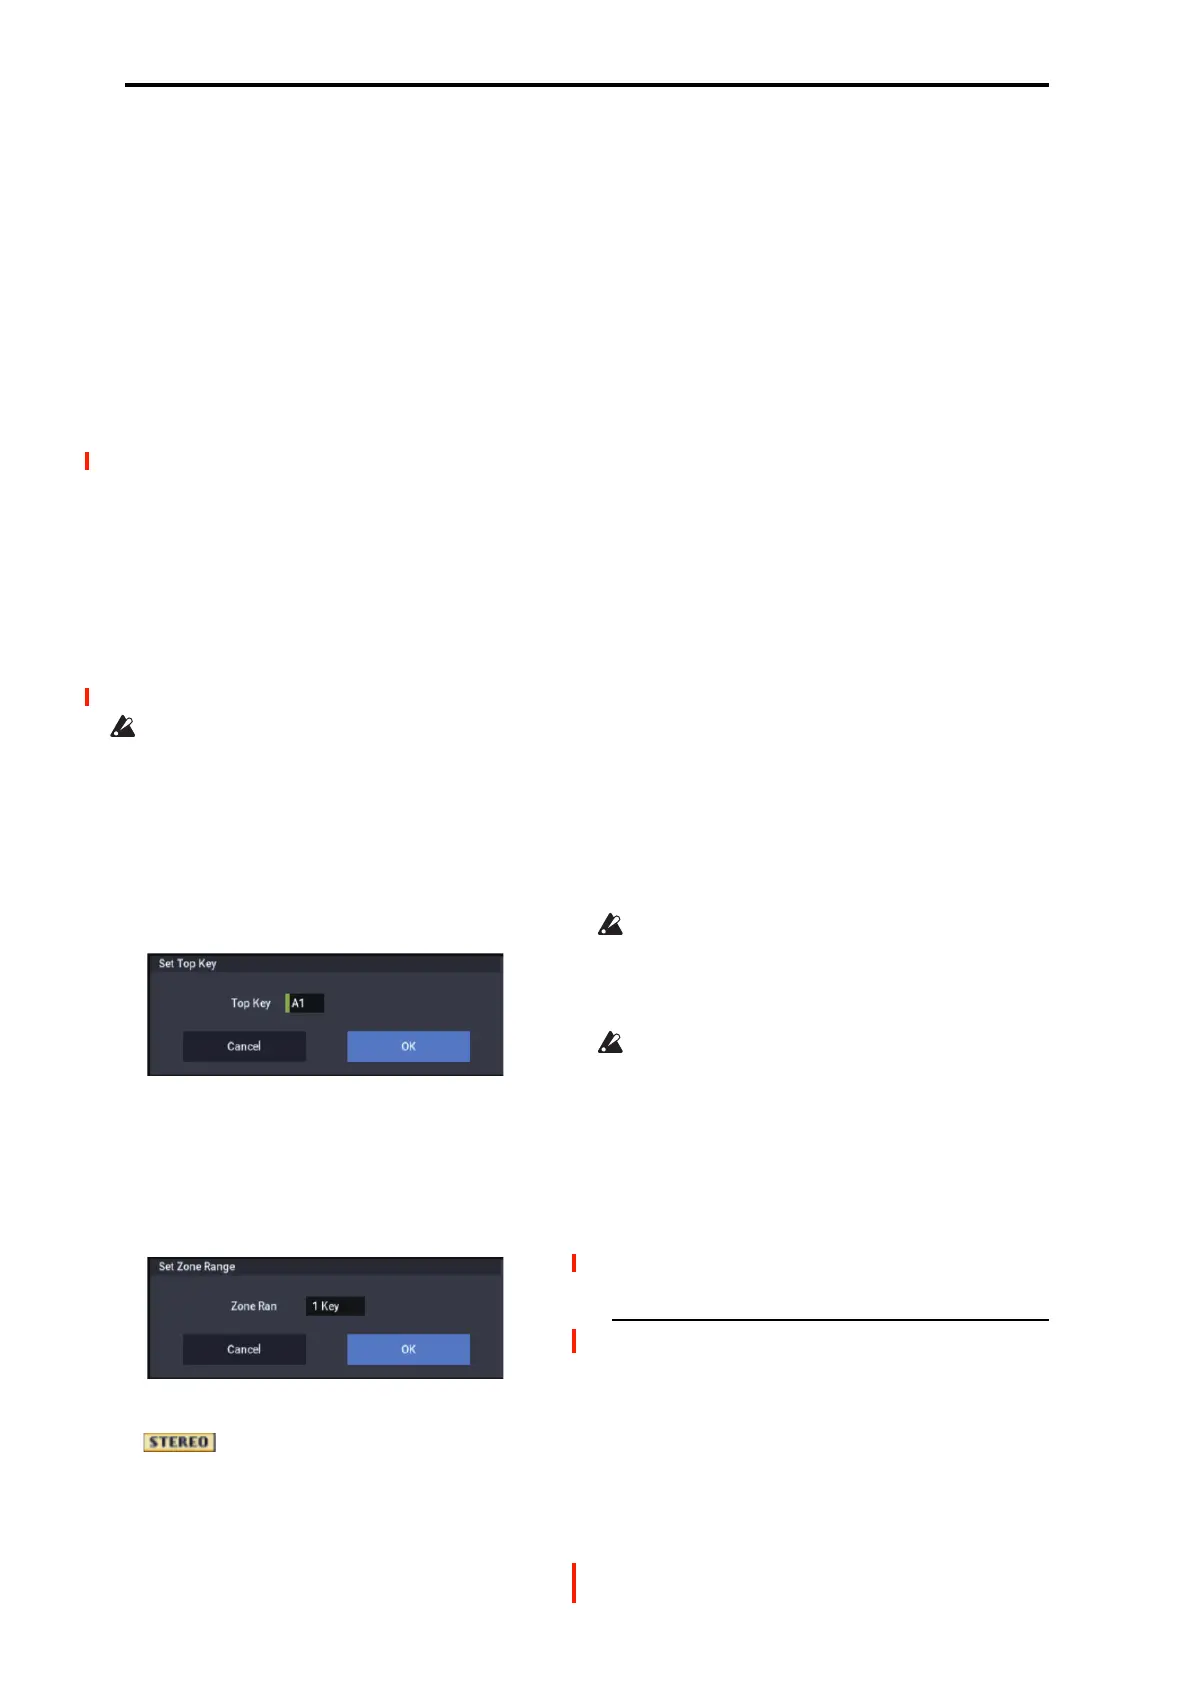
If when you execute Create (0–1b, 3–1b) or Insert (3–
1b) it is not possible to create a new index according to
your Create Zone Preference settings, one of the
following dialog boxes will appear. If you wish to create
a new index, perform the following procedure.
• Set Top Key: Select Index 001, set Position (0–1e, 3–
1c) to Left (to Selected Index), and execute Create or
Insert to open the dialog box. So that a new index can be
created at the left of index 1, re-set the Top Key setting,
and press the OK button.
• Set Zone Range: If you execute Create when it is not
possible to create a new index according to the Create
Zone Preference settings, the following dialog box will
appear. This dialog box will also appear if you execute
Insert when it is not possible to create a new index with
the contents of the Cut or Copy. Re-set the Zone Range,
and press the OK button.
Stereo
A indication will appear here if you have selected
a stereo multisample or sample, or if you recorded a sample
with Mode (0–1d) set to Stereo.
About stereo multisamples and stereo
samples
Stereo multisamples: Under the following conditions, two
multisamples will be handled as a stereo multisample.
• If you checked Stereo when creating a new multisample
(i.e., selected a new multisample in Multisample Select
0–1a)
• If you executed the MS Mono To Stereo page menu
command
• If you sampled with Mode (0–1d) set to Stereo
In these cases, a stereo multisample will be created
automatically using the following criteria.
1) The last two characters of the two multisample names will
be -L and -R respectively, and the earlier portion of the
names are identical.
2) The two multisamples will have the same number of
indexes, and their zone settings are identical.
Stereo samples: Under the following condition, two
samples will be handled as a stereo sample.
• When the samples were recorded with Mode (0–1d) set
to Stereo
• If you executed the Sample Mono To Stereo page menu
command
In these cases, a stereo multisample will be created
automatically using the following criteria.
1) The last two characters of the sample name will be
-L and -R respectively, and the earlier portion of the names
are identical.
2) Two samples that satisfy condition 1) for stereo
multisamples are selected.
Stereo multisamples and samples are distinguished
internally by their names. If you use Rename MS or
Rename Sample menu commands to modify
multisample or sample names, please pay attention to the
above conditions.
As a condition of a stereo sample, the sampling rates
must be identical. You can verify the sampling rate of a
sample by using the page menu command “Rate
Convert.” Be aware that if you use Rate Convert to
convert the -L and -R samples to differing sampling rates,
they will no longer be handled as a stereo sample.
ADC OVERLOAD !
If the signal level from AUDIO INPUT 1 & 2 jacks is too
high, the “ADC OVERLOAD !” indication will appear.
You’ll need to adjust the Analog Input Setup, or the output
level of your external audio source.
0–1c: Rec Level [dB]
Recording Level [–Inf, –72.0…+18.0]
This adjusts the signal level at the final stage of sampling.
For more information, see “Setting levels” on page 27, “Tips
for eliminating distortion when using the analog inputs” on
page 27, and “Avoiding extraneous noise” on page 27.
Level Meter
This adjusts the signal level at the final stage of sampling.
This setting can also be made in the Recording– Audio Input
page.

 Loading...


