SEQUENCER mode
532
*5 When Save to=RAM, when Convert to Program=On
*6 If IFX=Off, set to [Source Audio]. If Stereo, turn Stereo
Pair off.
If IFX=IFX1…12, set to REC1/2 (Stereo) or REC1 (Mono).
*7 If IFX=IFX1…12, specify the Bus Select of that
IFX1…12. If effects are chained, specify the last IFX in the
chain.
*8 If the source audio Mode=Stereo, Multi REC is turned
On, and a stereo pair is set to REC as the To track, set the
From Track “REC Bus” to REC1/2.
Bounce All Tracks To Disk
This command bounce-records all tracks in the song to a
single WAVE file (stereo).
Simply use the dialog box to specify the bounce-recording
destination song and the name of the file that will be created,
and press the OK button. The WAVE file will be created
automatically.
1. Use “Song Select” to select the song you want to
bounce.
2. Select “Bounce All Tracks To Disk” to open the dialog
box.
3. Use “Drive Select,” “Open,” and “Up” to select the
directory in which the WAVE file will be saved.
4. Use “Name” to specify the filename of the WAVE file
that will be created by bounce-recording.
5. Press the OK button to execute the command. If you
decide to cancel, press the Cancel button.
The bounce-source song will start playing, and recording
will begin simultaneously. When song playback ends,
bounce-recording will end.
Copy Tone Adjust
For more information, see “Copy Tone Adjust” on page 118.
Reset Tone Adjust
For more information, see “Reset Tone Adjust” on page 119.
Show EQ Graphic
This calls up a floating window, showing a graphic
representation of the selected Track’s EQ settings. You can
leave the window open as you work; as you change EQ
settings, or select different Tracks, the graphic will update
accordingly.
The window will cover the parameters for some of the
Tracks on either the right or left sides of the display. If you
select one of these Tracks, the window will automatically
move to the other side of the display.
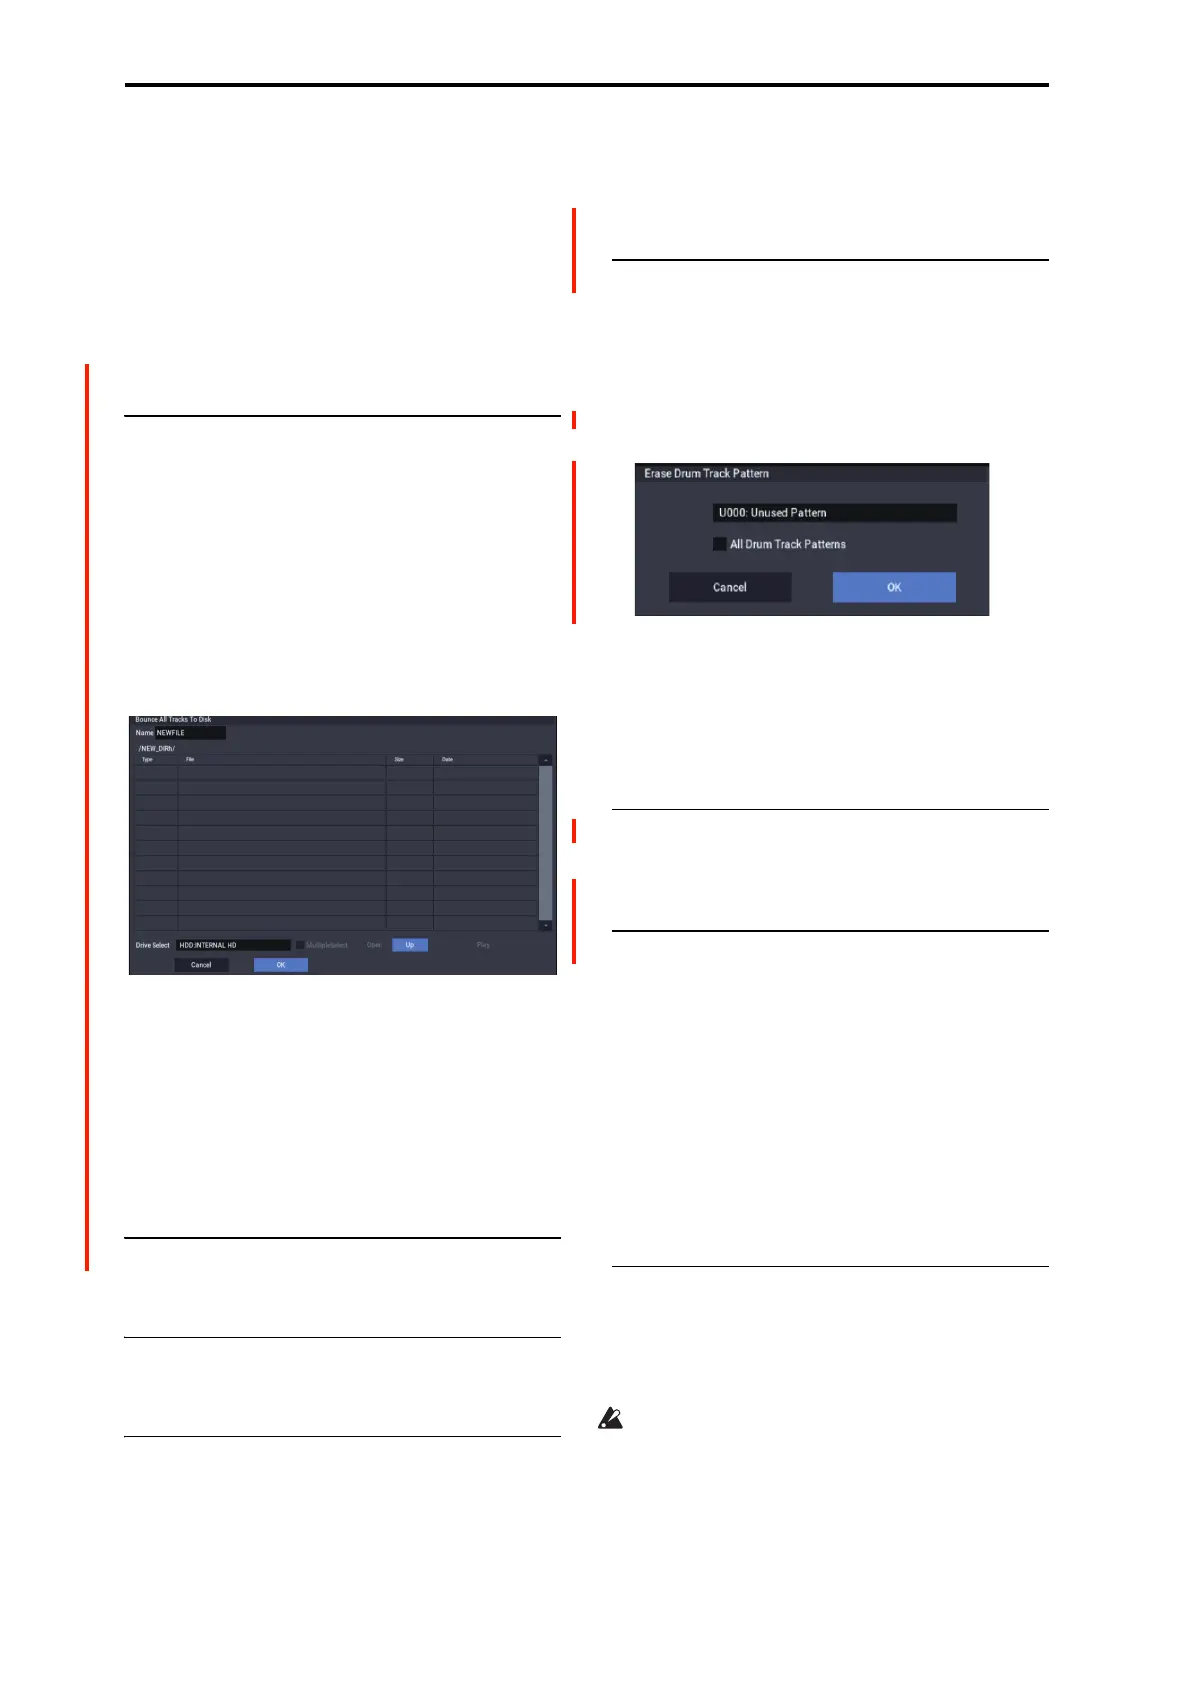
Erase Drum Track Pattern
Erase Drum Track Pattern is available on the Pattern Edit
and Pattern Name tabs of the Pattern/RPPR page, as well as
the Drum Track page.
This erases the specified drum track pattern.
1. Select “Erase Drum Track Pattern” to open the dialog
box.
2. Select the user drum track pattern you want to erase.
3. If you check All Drum Track Patterns, all user drum
track patterns will be erased.
4. To execute the Erase Drum Track Pattern command,
press the OK button. To cancel, press the Cancel
button.
Copy X-Y Envelope
For more information, see “Copy X-Y Envelope” on
page 119.
Detune BPM Adjust
This command is available on the Pitch tab of the Track
Parameters page. This command can be used only when the
Detune parameter is currently selected; otherwise, the menu
selection will be grayed out.
Detune BPM Adjust changes the tempo of all loops within
a Program by changing the Track’s Detune parameter. The
sample data itself is not altered. Since this alters the pitch of
the loop along with the tempo, it’s generally suited only to
un-pitched percussive loops.
For more information, see “Detune BPM Adjust” on
page 437.
MIDI Step Recording
Step recording allows you to specify the length and velocity
of each note numerically, and to input MIDI data, the
pitches, from the keyboard. You can also use the on-screen
buttons to enter Rests or Ties.
If you use step recording to input data into a track that
already contains sequence data, all data will be erased
from the From Measure and subsequent measures. If
after recording, you decide to revert to the prior data, use
the Compare function.

 Loading...


