SAMPLING mode
614
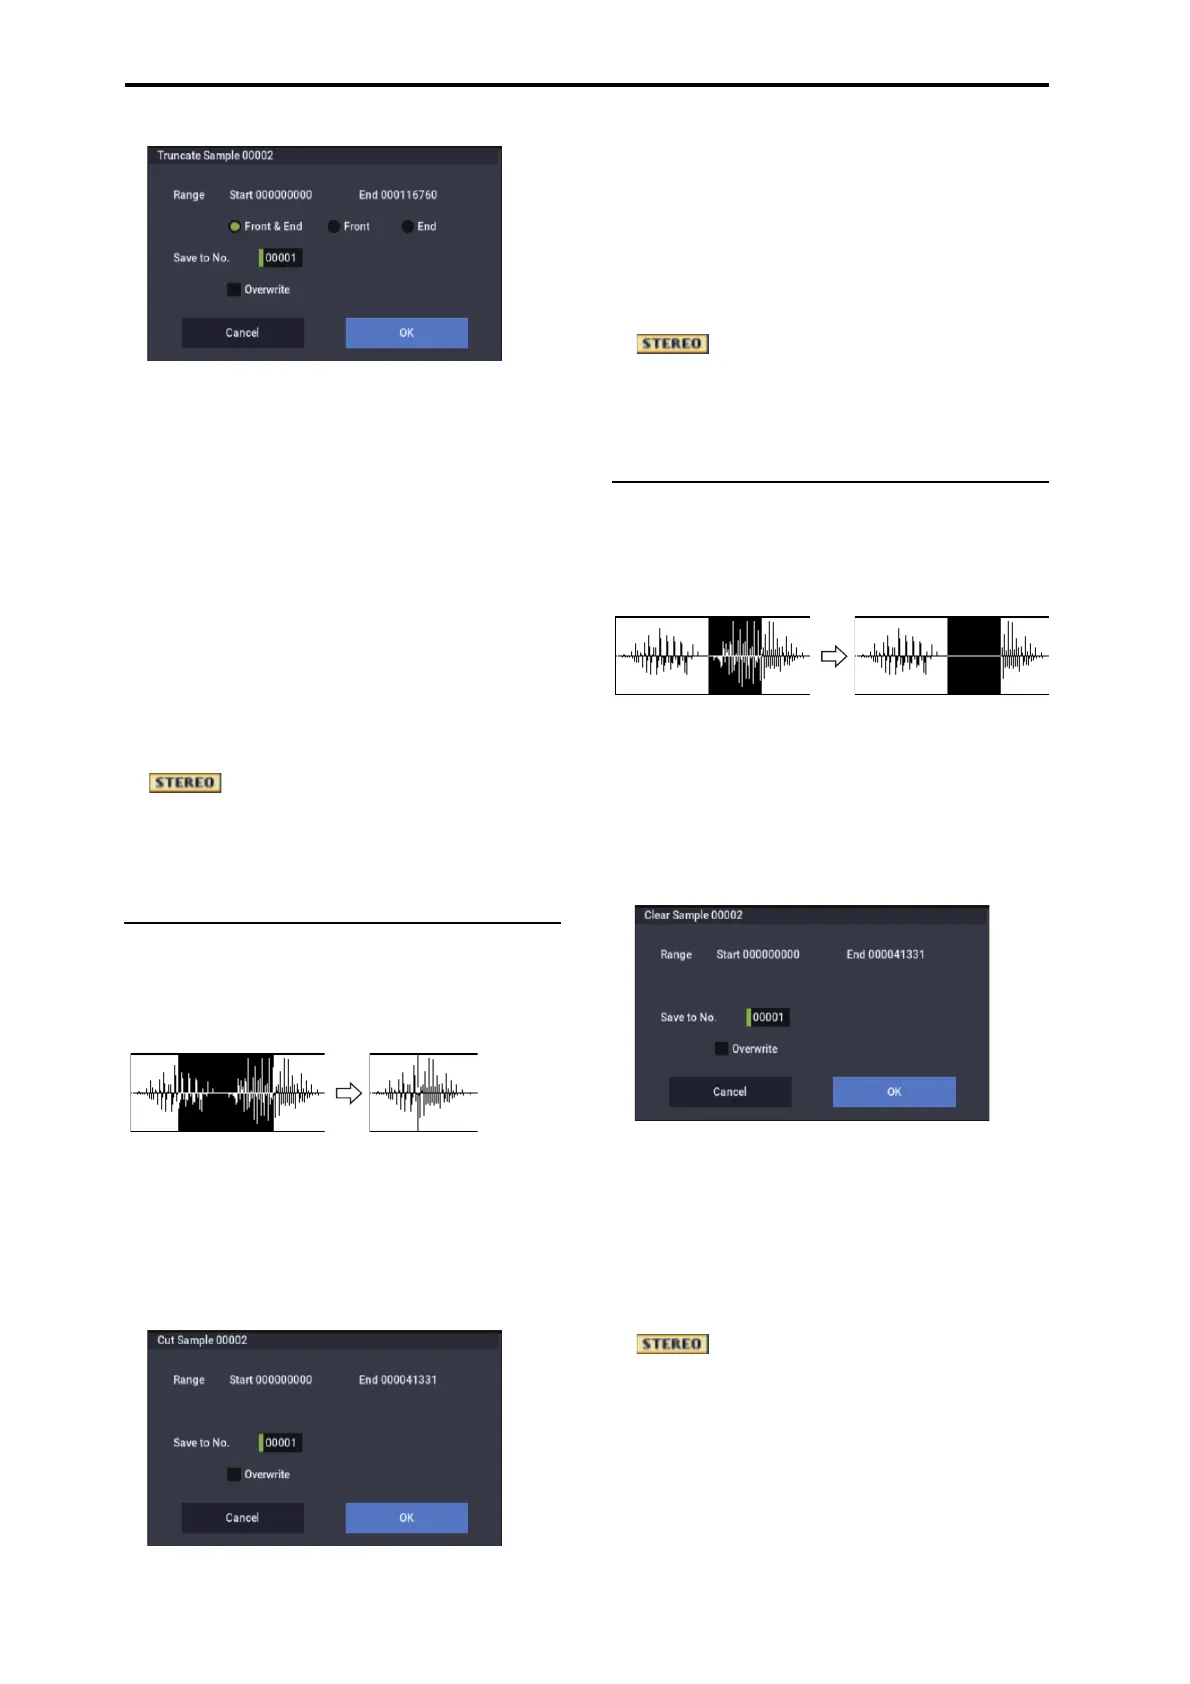
3. The editing range will be shown in Range Start and
End.
4. Use the radio buttons to select the portion that will be
deleted.
Front & End: The sample data that lies before the Start
and after the End will be deleted.
Front: The sample data that lies before the Start will be
deleted.
End: The sample data that lies after the End will be
deleted.
5. In Save to No., specify the save destination sample
number.
By default, an unused sample number will be selected.
If Overwrite is checked, the sample number will be fixed
to the current sample, and cannot be changed. See “About
Overwrite” on page 605.
For stereo samples, use “Save to No.(L)” and
“(R)” to specify the save-destination of the L and R
channels.
6. To execute the Truncate command, press the OK
button. To cancel, press the Cancel button.
Cut
This command deletes the data between the Start and End
points. Sample data located after the deleted portion will be
moved toward the beginning of the sample.
1. Use Sample Select (1–1b) to select the sample that you
wish to edit, and use Start and End to specify the
editing range.
You can press the SAMPLING START/STOP button or
Play button to hear the portion that will be deleted by the
Cut command.
2. Select Cut to open the dialog box.
3. The range to be edited is shown by Range Start and
End.
4. In Save to No., specify the save destination sample
number. By default, an unused sample number will be
selected.
If Overwrite is checked, the sample number will be fixed
to the current sample, and cannot be changed. See “About
Overwrite” on page 605.
For stereo samples, use “Save to No.(L)” and
“(R)” to specify the save-destination of the L and R
channels.
5. To execute the Cut command, press the OK button. To
cancel, press the Cancel button.
Clear
This command converts the data between the Start and End
points to zero values. Sample data before and after the edited
range will not move.
1. Use Sample Select (1–1b) to select the sample that you
wish to edit, and use Start and End to specify the
editing range.
You can press the SAMPLING START/STOP button or
Play button to hear the portion that will be changed to
zero-level by the “Clear” command.
2. Select “Clear” to open the dialog box.
3. The range to be edited is shown by Range Start and
End.
4. In Save to No., specify the save destination sample
number. By default, an unused sample number will be
selected.
If Overwrite is checked, the sample number will be fixed
to the current sample, and cannot be changed. See “About
Overwrite” on page 605.
For stereo samples, use “Save to No.(L)” and
“(R)” to specify the save-destination of the L and R
channels.
5. To execute the Clear command, press the OK button.
To cancel, press the Cancel button.

 Loading...


