Future Delivery Message
148 ◆ Chapter 2: Features UX Mail Manual
Step 4 To have the Future Delivery Department name appear on the Distribution List and Mailbox
Options reports:
4.1 CUSTOMIZE: MAILBOX OPTIONS EDIT: FUTURE DELIVERY: DEPARTMENT (PAGE 368).
- This information appears on the Distribution List (page 495) and Mailbox Options
(page 497) reports.
✔ By default, there is no Department name programmed.
Step 5 Optionally review the following reports:
- Reports: MAILBOX OPTIONS REPORT (PAGE 497)
- Reports: MAILBOX DIRECTORY REPORT (PAGE 499)
- Reports: MAILBOX NUMERIC LIST REPORT (PAGE 500)
- Reports: MAILBOX ACCESS COUNT REPORT (PAGE 501)
- Reports: MESSAGE USAGE REPORT (PAGE 511)
Operation
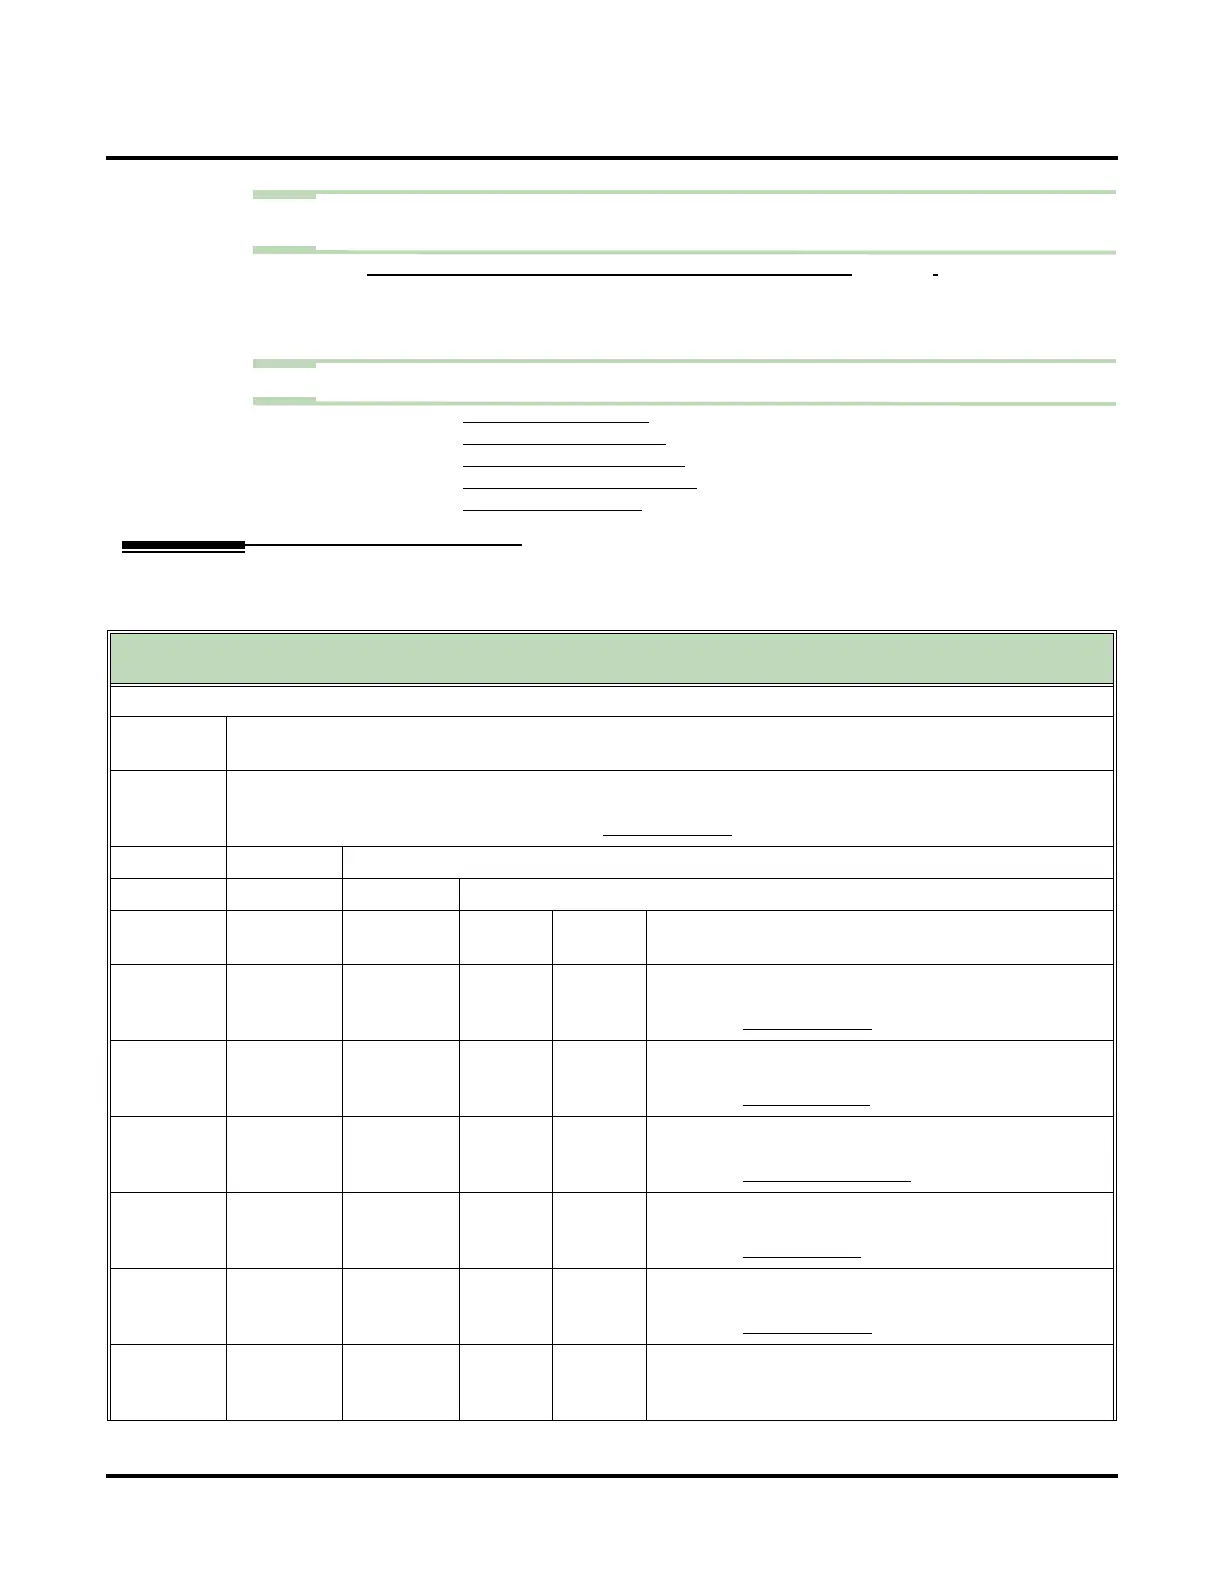
Recording a Future Delivery Message
(If you don’t see a Soft Key, press More> until it appears.)
Log onto your mailbox.
[FtrDlv]
Access Future Deliver Message.
• Alternately dial
FD (33).
Record Message +
[Done].
• Alternately dial
#.
• For more on the recording options, see
MESSAGE RECORD (PAGE 220).
Enter the mailbox number to receive the message.
Do one of the following.
a.
N/A
Enter an additional mailbox to receive the message (up
to 10).
b.
[Send]
Send the message.
• Alternately dial
#.
• See
MESSAGE RECORD (PAGE 220) for more.
c.
[Urgnt]
Mark the message as urgent.
• Alternately dial
*U (*8).
• See
URGENT MESSAGE (PAGE 302) for more.
d.
[Cnfdl]
Mark the message as confidential.
• Alternately dial
*C (*2).
• See
CONFIDENTIAL MESSAGE (PAGE 106) for more.
e.
[Rcpt]
Request a return receipt.
• Alternately dial
*R (*7).
• See
RETURN RECEIPT (PAGE 269) for more.
f.
[Names]
Specify recipients by name.
• Alternately dial
*N (*6).
• See MESSAGE RECORD (PAGE 220) for more.
g.
[Cncl]
Cancel the previous mailbox entry and back up so you
can select another destination.
•Dial
*.