•
Pressing [OK] evokes the Current Patient Dialog and you can enter a Patient
immediately. After entering the patient data and returning to scan mode using the [Start
Exam] button the image or cine will be stored automatically and a message will show in
the message window.
•
Pressing [Cancel] cancels the dialog and returns to Scan Mode. No Patient has been
entered and pressing [P1] will lead to the same dialog.
Note
Check the checkbox, if you do not want this message to appear again.
12.2.2 Manipulating Files on the Clipboard
Use the trackball keys to delete, export to CD or reload the pictures.
12.2.2.1 Reload from the Clipboard
Press the left trackball key to reload the full screen image.
12.2.2.2 Export from the Clipboard
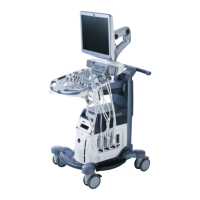
1. Press the right trackball key to mark an image for export onto an external device.
The Export Index appears in the lower, left hand corner of the image.
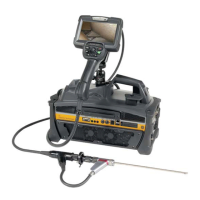
2. The next step will happen after pressing the [End Exam] hardkey. The export dialog will pop
up, see 'Data Transfer Menu'
on page 12-25
Should you choose to cancel the export, you will be asked to confirm this with [Yes].
12.2.2.3 Deletion from the Clipboard
Position the cursor over an image and press the upper trackball key to mark an image for
deletion. The deletion mark, a red cross, appears across the image..
Note
The image(s) will be deleted after ending the exam. There will be no confirmation dialog.
Archive
12-8
Voluson® S6/S8 Basic User Manual
5433669-100 Revision 4