•
The Trackball, the [Home] key, or the arrow keys on the keyboard can set the left margin
of the image annotation.
4.9.3 Indicator
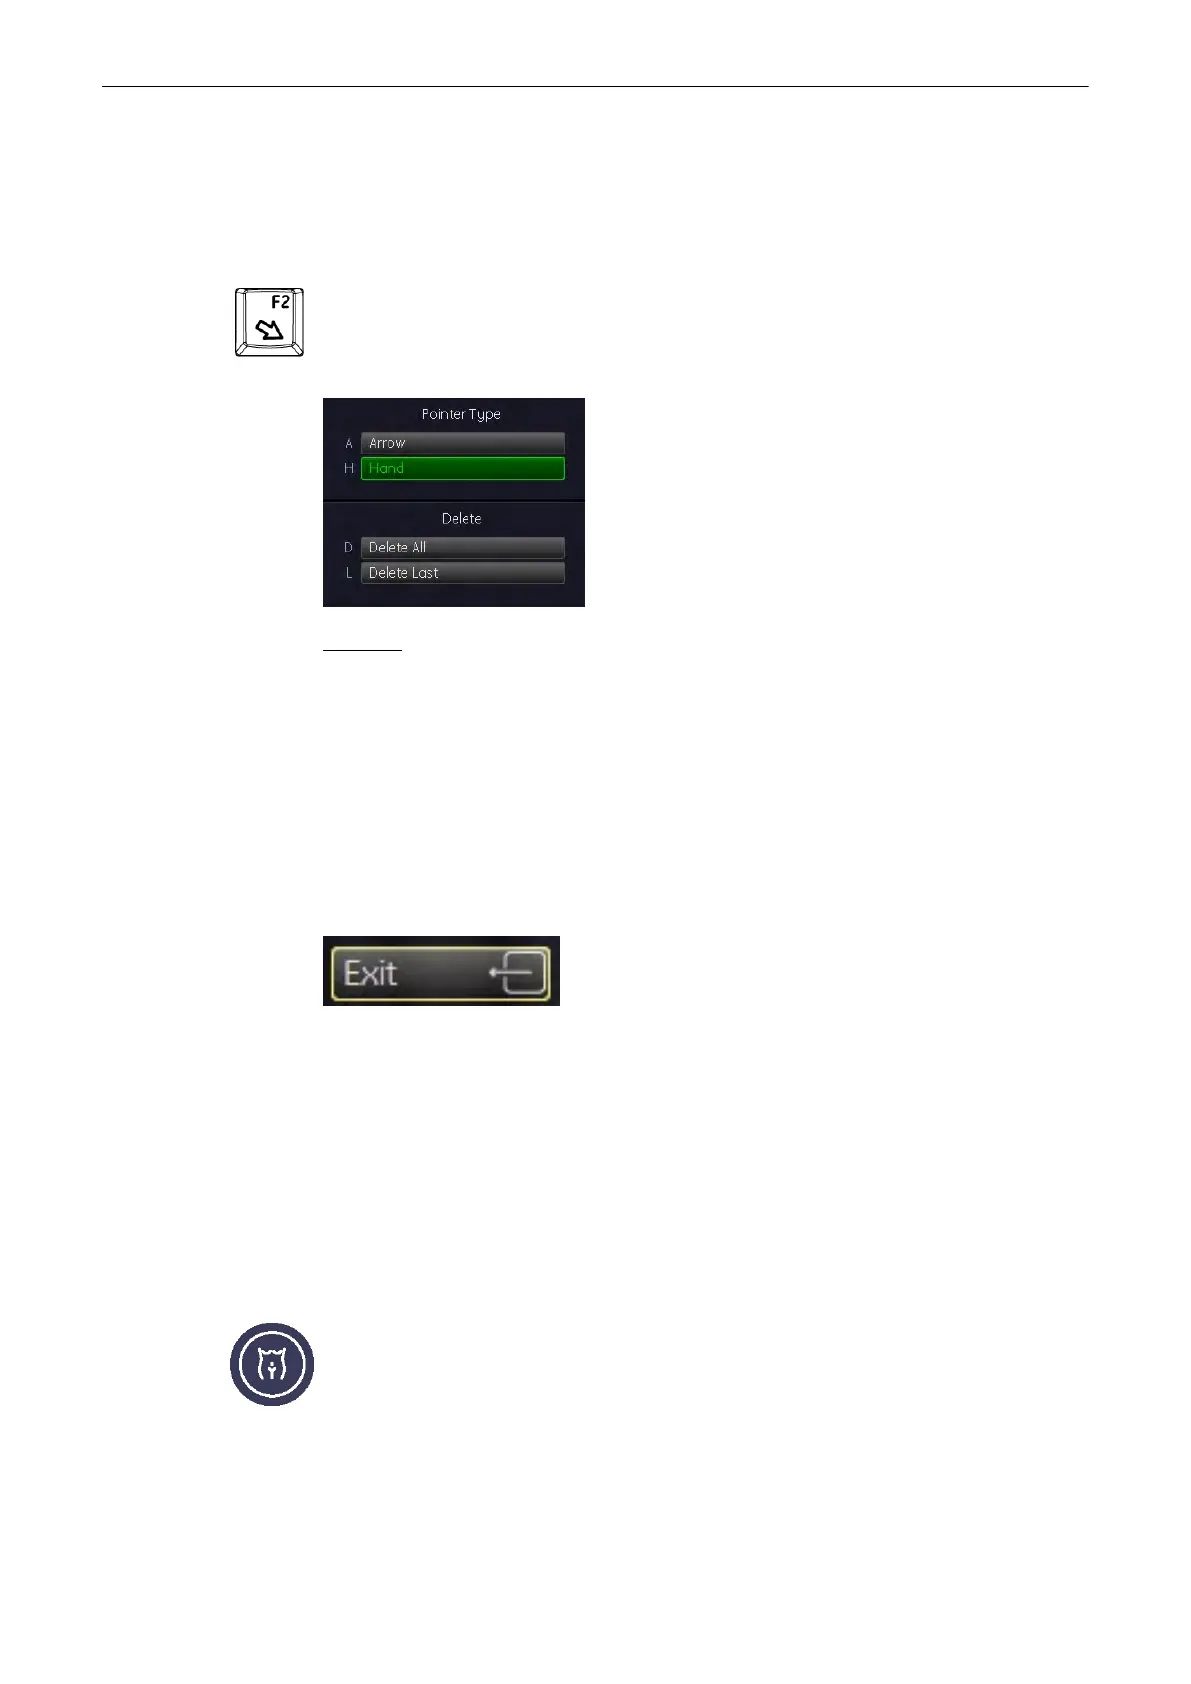
Indicator key [F2] on the keyboard Pressing the [F2]
key causes the menu area to change to
the Indicator menu.. The last used Indicator (or by default the first indicator on the menu)
appears on the screen.
Operation:
1.
Switch on the indicator function (hard key). The last selected indicator appears in the
middle of the annotation area.
2. Select the type of indicator you want, or use the current indicator .
3. Position the indicator using the trackball.
4. Adjust the direction of the indicator (digipot , 360˚ rotation possible)
5. Enter the indicator by pressing the right or left trackball key [Set].
6. A new indicator is set by repeating procedures 3. through 5. When the trackball is moved
the next indicator appears.
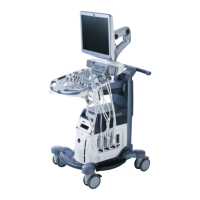
The Indicator function is switched off but the previous entered indicator remains uncleared.
Return to the last active menu.
4.9.4 Pictogram
Pictogram Display (body marks)
For the documentation of the scan position on the patient, a selection of graphic body symbols
(body marks) is available. A short bright line indicates the scan position. This line can be
positioned freely on the bodymark symbol.
Pressing the [Bodymark]
key causes the menu area to change to the Bodymark menu. The
previously used bodymark is shown on the screen.
Operating the System
4-30
Voluson® S6/S8 Basic User Manual
5433669-100 Revision 4