Lantronix SISPM1040-xxxx-L3 Web User Guide
33856 Rev. A https://www.lantronix.com/ 12
Initial Switch Configuration
After powering up the switch for the first time, you can perform the initial switch configuration using a web browser
or CLI. For managing switch features using the CLI, refer to the CLI Reference for details.
To begin with the initial configuration stage, you must reconfigure your PC’s IP address and subnet mask so as to
make sure the PC can communicate with the switch. After changing PC’s IP address (for example,
192.168.1.250), you can then access the Web UI of the switch using the switch’s default IP address as shown
below.
The initial switch configuration procedure is as follows:
Note: The switch factory default IP address is 192.168.1.1. The factory default Subnet Mask is 255.255.255.0.
Initial Switch Configuration via Web Browser
1. Power up the PC that you will use for the initial configuration. Make sure the PC has the Ethernet RJ45
connector to be connected to the switch via standard Ethernet LAN cable.
2. Reconfigure the PC’s IP address and Subnet Mask as below, so that it can communicate with the switch.
The method to change the PC’s IP address, for example, for a PC running Windows® 7/8.x/10, is as follows:
a) Type “network and sharing“ into the Search box in the Start Menu.
b) Select Network and Sharing Center.
c) Click on Change adapter settings on the left of the PC screen. Note: You can also skip steps a to c by
pressing WinKey+R and type ”ncpa.cpl” command to get directly to step 3.
d) Select the radio button Use the following IP address and enter in the IP for the PC (e.g., any IP address
not in use, and between 192.168.1.2 and 192.168.1.254), Subnet mask (e.g., 255.255.255.0), and Default
gateway that corresponds with your network setup. Then enter your Preferred and Alternate DNS server
addresses.
e) Click OK to change the PC’s IP address.
Note: Be sure to record all your PC’s current IP settings to be able to restore them later.
3. Power up the switch to be initially configured and wait until it has finished its start-up processes.
4. Connect the PC to any port on the switch using a standard Ethernet cable, and check the port LED on the
switch to make sure the link status of the PC’s is OK.
5. Run your Web browser on the PC and enter the factory default IP address to access the switch’s Web
interface.
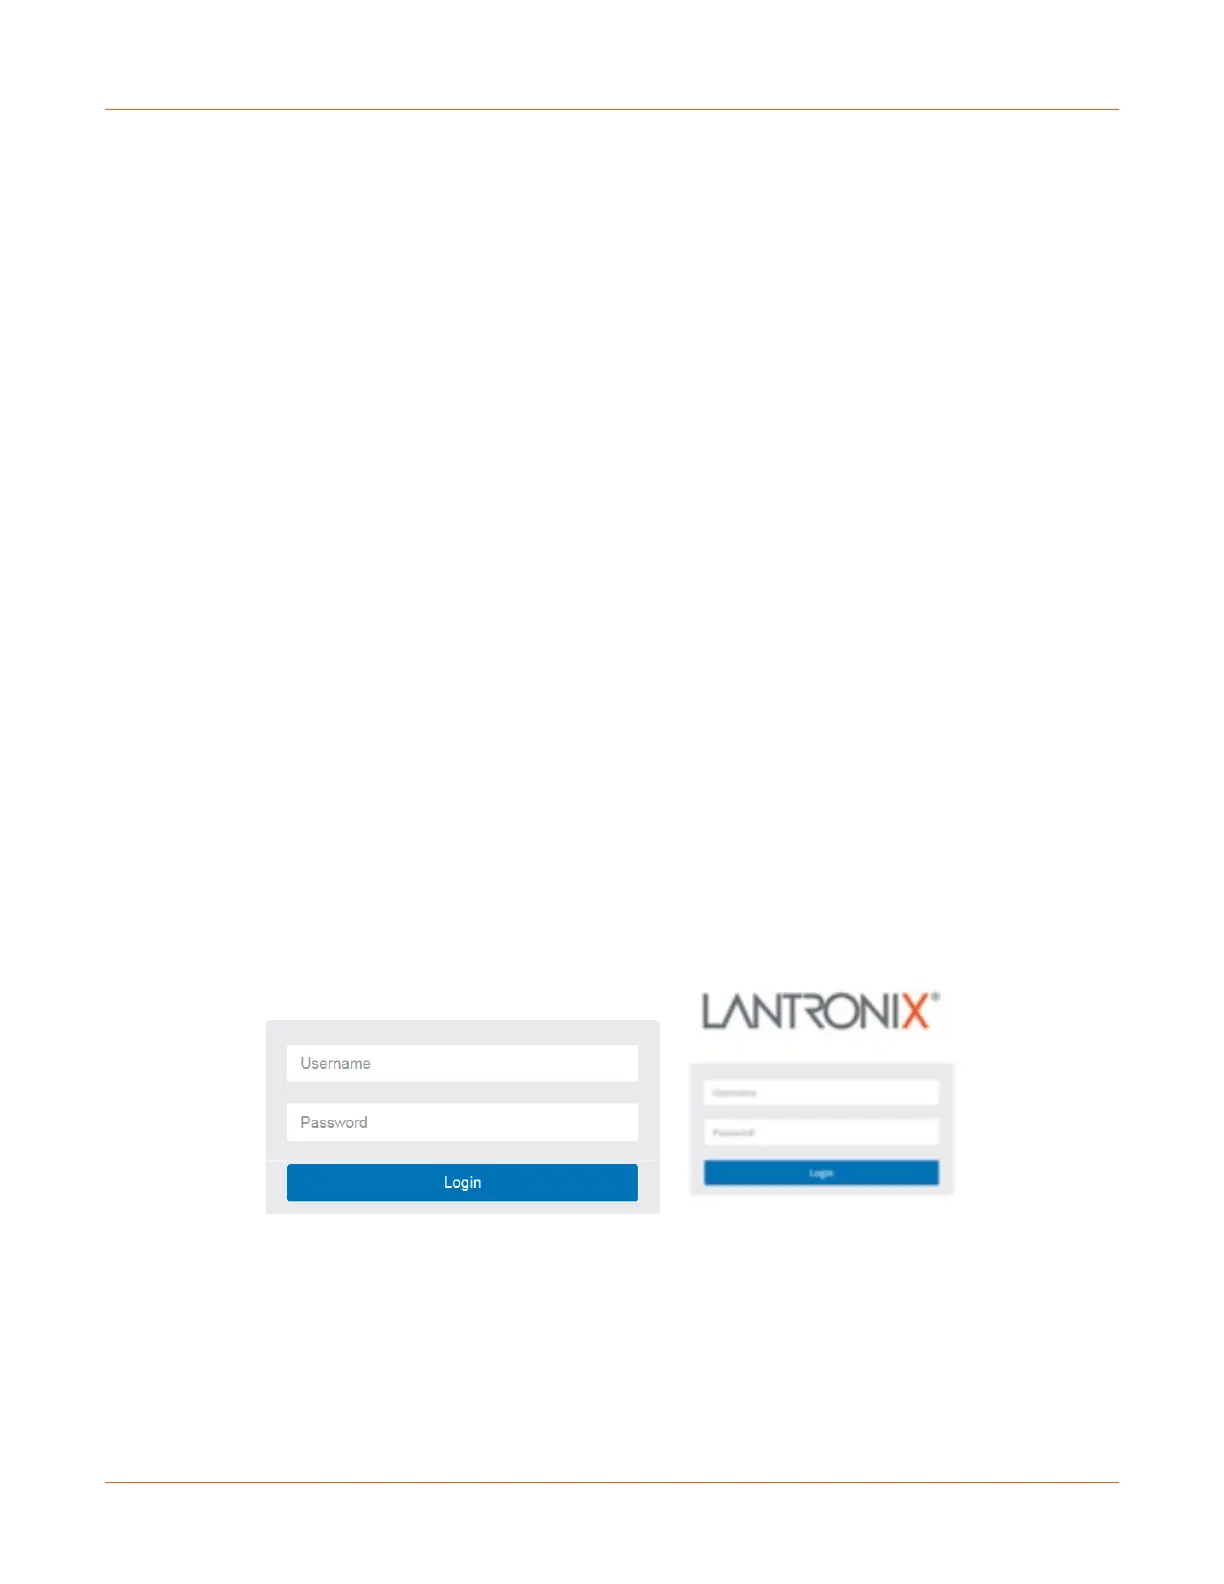
If your PC is configured correctly, you will see the switch login page as shown below.
Web UI Login page
If you do not see the above login page, perform the following steps:
- Refresh the web page.
- Check to see if there is an IP conflict issue.
- Clean browser cookies and temporary internet files.
- Check your PC settings again and repeat step 2.
6. Enter the factory default username and password in login page and click “Login” to log into the switch.
Note: The factory default Username and Password are both admin.

 Loading...