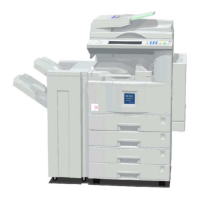
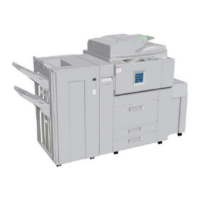
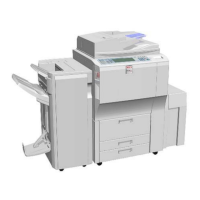
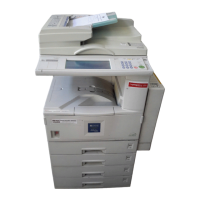
COPIER (B234/B235/B236/D101/D102/D103)
SM 1-33 B234/B235/B236/D101/D102/D103
Installation
1.3.3 COMPLETING THE INSTALLATION
Setting Paper Sizes for the Paper Trays
1. Set the required paper sizes for all paper trays.
Unit Name No. Setting
Copier 1st Tray 1
SP5019 002
2nd Tray 2 Automatic side fence detection.
3rd Tray 3 Automatic side fence detection.
A4/LT LCT (B832) 1st Tray 4 Paper size dial at rear of tray
2nd Tray 5 Paper size dial at rear of tray.
3rd Tray 6
SP5019 007
A3/DLT LCT (B834) 1st Tray 4 Automatic side fence detection.
2nd Tray 5 Automatic side fence detection.
3rd Tray 6 Automatic side fence detection.
Bypass Tray (B833) --- 7 Automatic side fence detection.
Cover Inserter (B835) 1
st
and 2
nd
Tray --- Automatic side fence detection.
NOTE: If the customer wants to use a custom size, they must press the Tray
Paper Settings button, then press the icon for the appropriate tray.
Then they must press the Paper Size tab, select ‘Custom Size’, then
input the required paper size.
2. Attach the appropriate paper size decal to each tray (decals are provided in the
accessories bag).
3. Attach the face-up decal to the ADF.
4. Check copy quality and machine operation.
NOTE: The first time the ADF is used, dust on the ADF transport belt will
transfer to the exposure glass. To remove this dust, perform SP6008-3
(DF Output Check) for 3 minutes, then check the exposure glass for
dust and remove it.
5. Input the supply name with SP5841 (Supply Name Settings).
6. Install the stamp data (SP5853). (5.10.5)
7. Input the following telephone numbers with SP 5812.
• Service technician telephone number: SP 5812 001
• Service technician fax number: SP 5812 002
• For ordering consumables: SP 5812 003
• Sales representative: SP 5812 004
8. Install the language firmware if necessary.
 Loading...
