4. Hardware orientation
4.1 Front panel
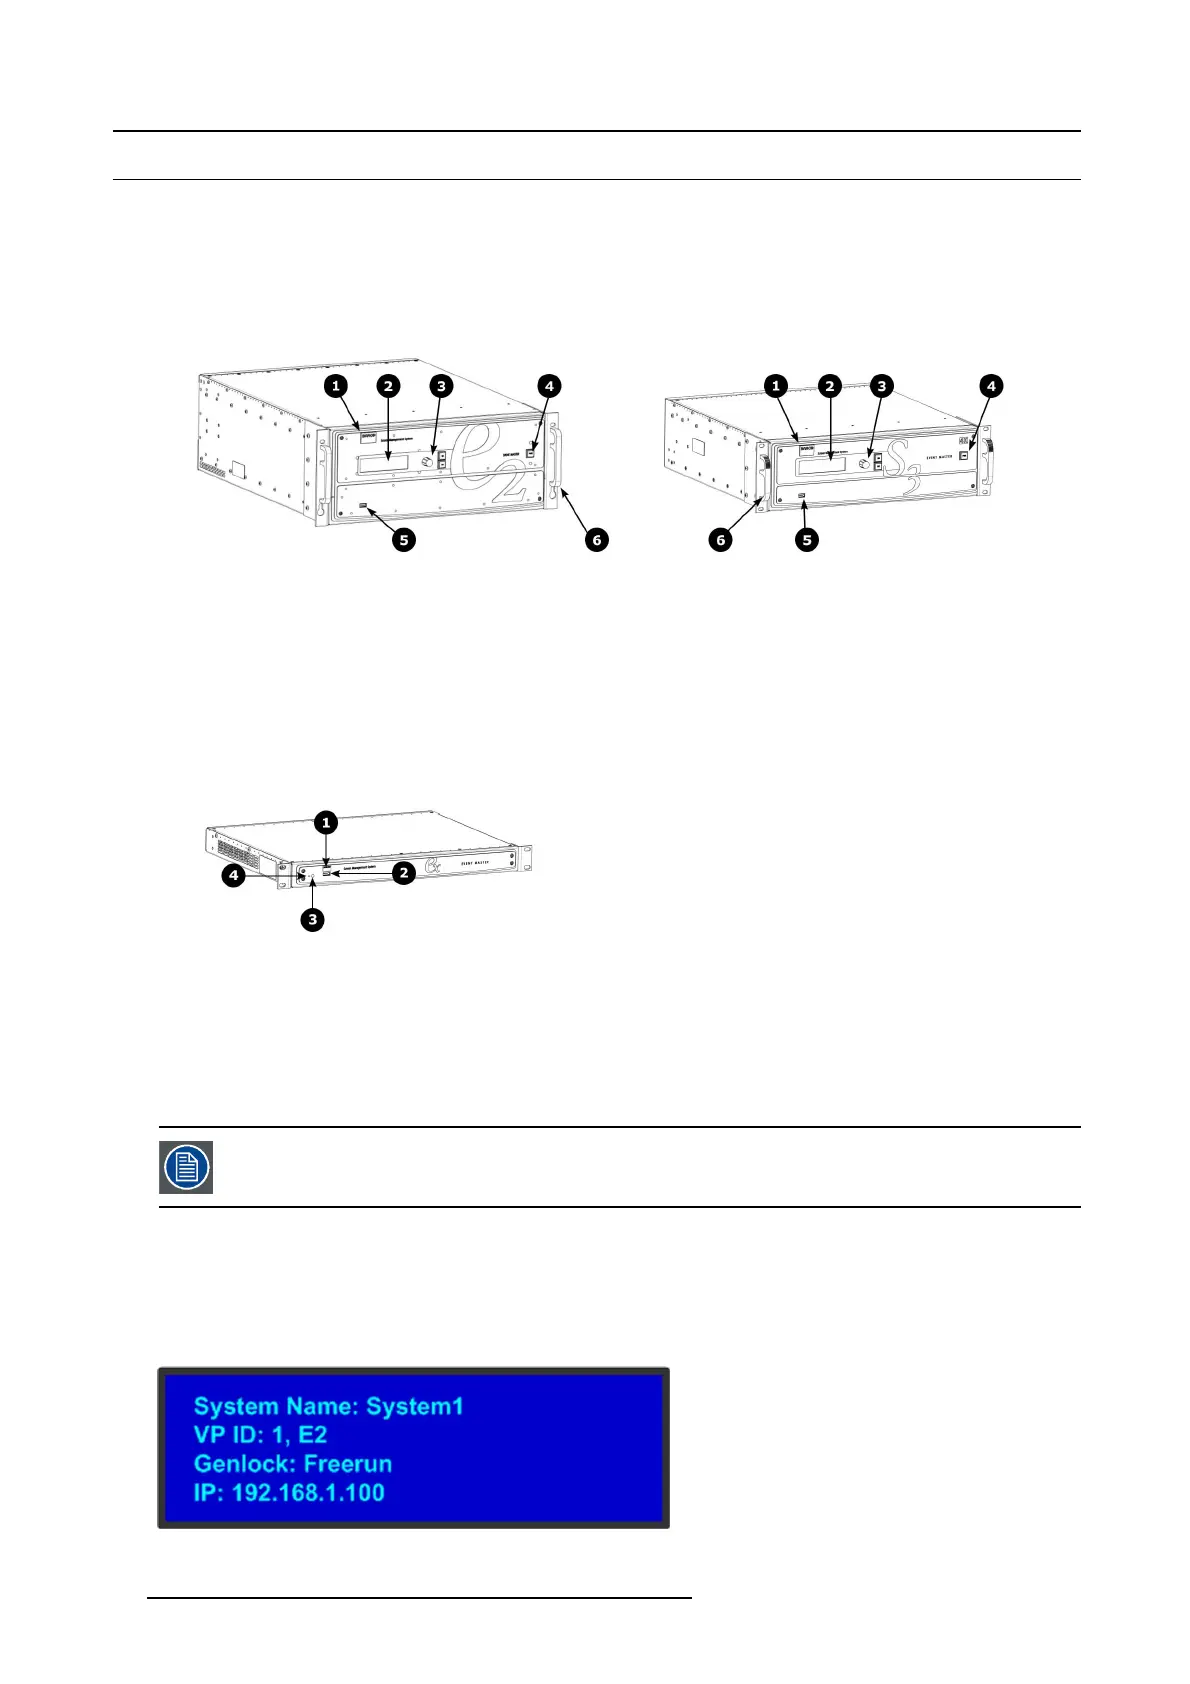
About front panel
See image 4-1 f or an illustration of the front panel of Event Master E2 (and E2 Jr.) and S3–4K (and S3–4K Jr.) series pr ocess ors.
See image 4-2 for an illustration of the front panel of the Event Master EX processor.
Image 4-1
E2 and S3 series front panel
1 Chassis handles
2 Barco logo
3 Display screen
4 Menu navigation buttons
5 P ower O N/O FF button
6 USB port
Image 4-2
EX front panel
1 Barco logo
2 USB 2.0 port
3 Power light
4 Recessed reset sw itch
Chassis Handles
Two C hassis Handles are provided for ease of installation and transportation.
When transporting the c hassis by its handles, do not set it down with the rear connectors towards the ground.
If you do , you may damage the rear connectors.
Display screen
The 4-line x 24-character screen shows all Event Master processors menus, sub-m enus, and messages. The dis play is dimmable.
At system startup, or when no menu buttons are selected, the screen displays the Status Menu. The following illustration shows
a sa mple Status Menu. For information about the contents of this menu, refer to the chapter titled "Front Panel Menu orientation",
page 63.
Image 4-3
e.g. E2 display screen.
42 R5905948 EVENT MASTER DEVICES 17/07/2017