5. Front Panel Menu orientation
5.3 Using menu system
General
This section describes the conventions for using the menu s ystem of the Event M aster device s. F or reference, the following illus-
tration shows the System Menu.
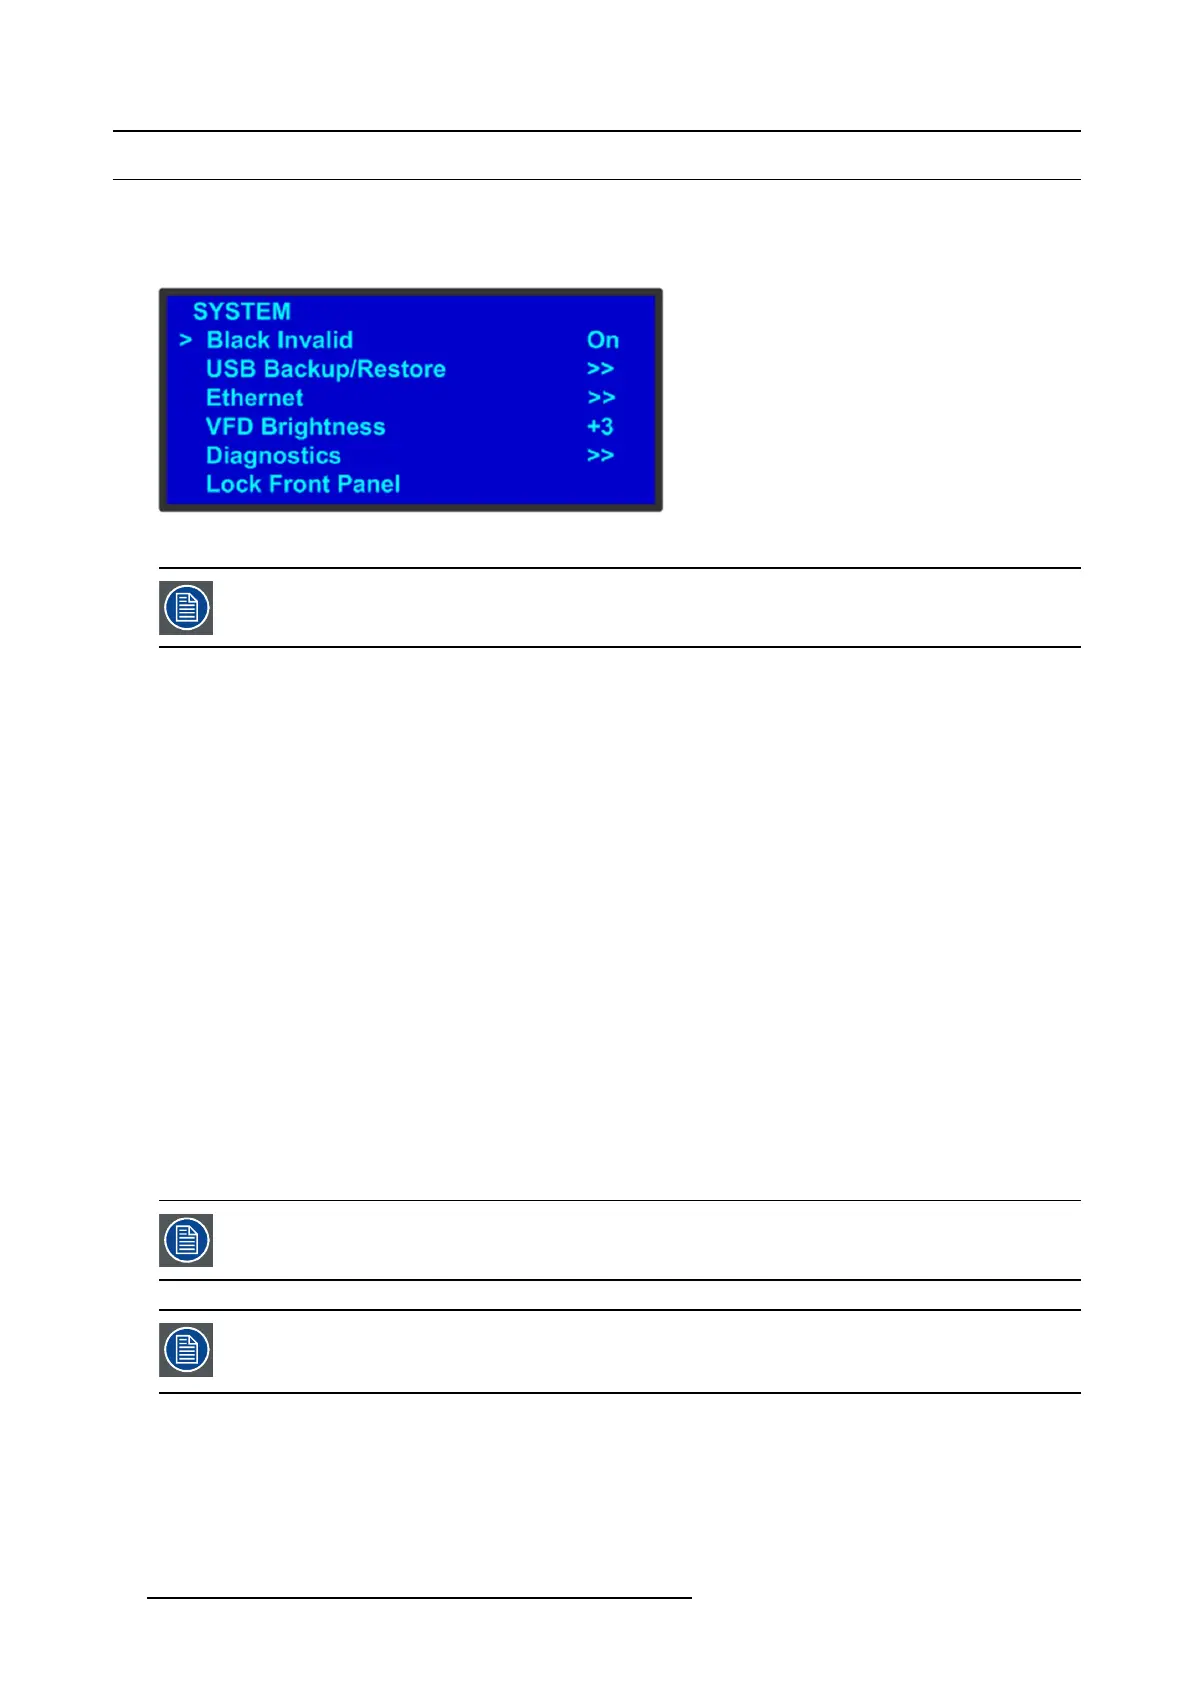
Image 5-3
System menu
The unit’s display screen is four lines high. Throughout this chapter, entire m enus are shown for ease of
reference, u nless otherwise noted.
Please note the following important m enu rules and conventions:
• The top line names the current m enu, in upper-case letters.
• Subsequent lines typically display two fields:
-Forafunction, the left-hand field names the function. Th e right-hand field shows the function’s current parameter (or value).
In the prec eding illustration, Black Invalid is a function and On is its current value.
-Forasubmenu, the left-hand field names the submenu that y ou can access. The right-hand field displays a double arrow
(>>), indicating that a s ubmenu is available. In the preceding illustration, USB Backup/Restore and Ethernet are two of
the available s ubmenu s. To use a submenu, scroll to it and pres s SEL. T hen scroll through the list t hat appears.
-Thenavigation cursor (>) in the left-hand column indicates the c urrent line on which you can take action. This arrow moves
as you rotate the ADJUST knob on the front panel. When you reach an editable field and press SEL, the navigation cursor
changes to an edit cursor (#).
Making a menu selection
To select a menu item, use the ADJUST knob to scroll to t
he item, then pr ess the SEL button on the front pa nel:
• To scroll through a menu:
- Turn the ADJU ST knob counter-clockwise to scroll down.
- Turn the ADJUST knob clockwise to scroll up .
• To open a submenu, scroll to the submenu line and press SEL.
• To change a parameter, scroll to the desired line an d press SEL. The navigation cursor changes to the edit c ursor. Us e the
ADJUST k nob to m odify the value:
- Turn the AD JUST knob clockwise to increase a value.
- Turn the ADJUS T knob counter-clockwise to decrease a value.
• Then pre ss SEL to ac cept a parameter or value. The edit cursor c
hanges back to the navigation cursor.
You mu st press S EL to accept the value.
Throughout this user’s guide, the term “select” is used as an abbreviation for “scroll to a menu line and press
SEL.”
Example: Select the Ethernet menu to beg in configuring network settings.
Exiting a menu
• In the edit mode (i.e., the edit cursor is v isible), press ESC to exit a menu without changing the original par ameter.
• To navigate back up the m enu structure, press ESC again. Each press takes you bac k up th e m enu tree by one level.
66
R5905948 EVENT MASTER DEVICES 17/07/2017