User's Manual 15. Advanced Networking Features
Version 4.4.0 283 MP26x/MP27x
3. In the ‘Start IP Address’ and ‘End IP Address’ fields, define the IP address range. This
determines the number of hosts that may be connected to the network in this subnet.
The 'Start IP Address' field specifies the first IP address that may be assigned in this
subnet; the 'End IP Address' field specifies the last IP address in the range.
4. In the ‘Subnet Mask’ field, define the subnet to which an IP address belongs (e.g.,
255.255.0.0).
5. In the ‘Lease Time in Minutes’ field, define the time for which each device is assigned
an IP address by the DHCP server when it connects to the network. When the lease
expires, the server determines if the computer has disconnected from the network. If it
has, then the server may reassign this IP address to a newly-connected computer.
This feature ensures that IP addresses that are not in use become available for other
computers on the network.
6. Select the ‘Provide Host Name If Not Specified by Client’ check box to enable the
device to assign clients a default name if they do not have a host name.
7. Click OK.
15.1.2 Configuring DHCP Relay
The device can act as a DHCP relay if you want to dynamically assign IP addresses from a
DHCP server other than the device's DHCP server. .
Note: When implementing DHCP relay, you must configure the WAN of the device to
operate in routing mode.
To configure a device as a DHCP relay:
1. In the 'IP Address Distribution' screen, click the Edit icon corresponding to the
entry that you want to edit; the DHCP Server settings for this device are displayed.
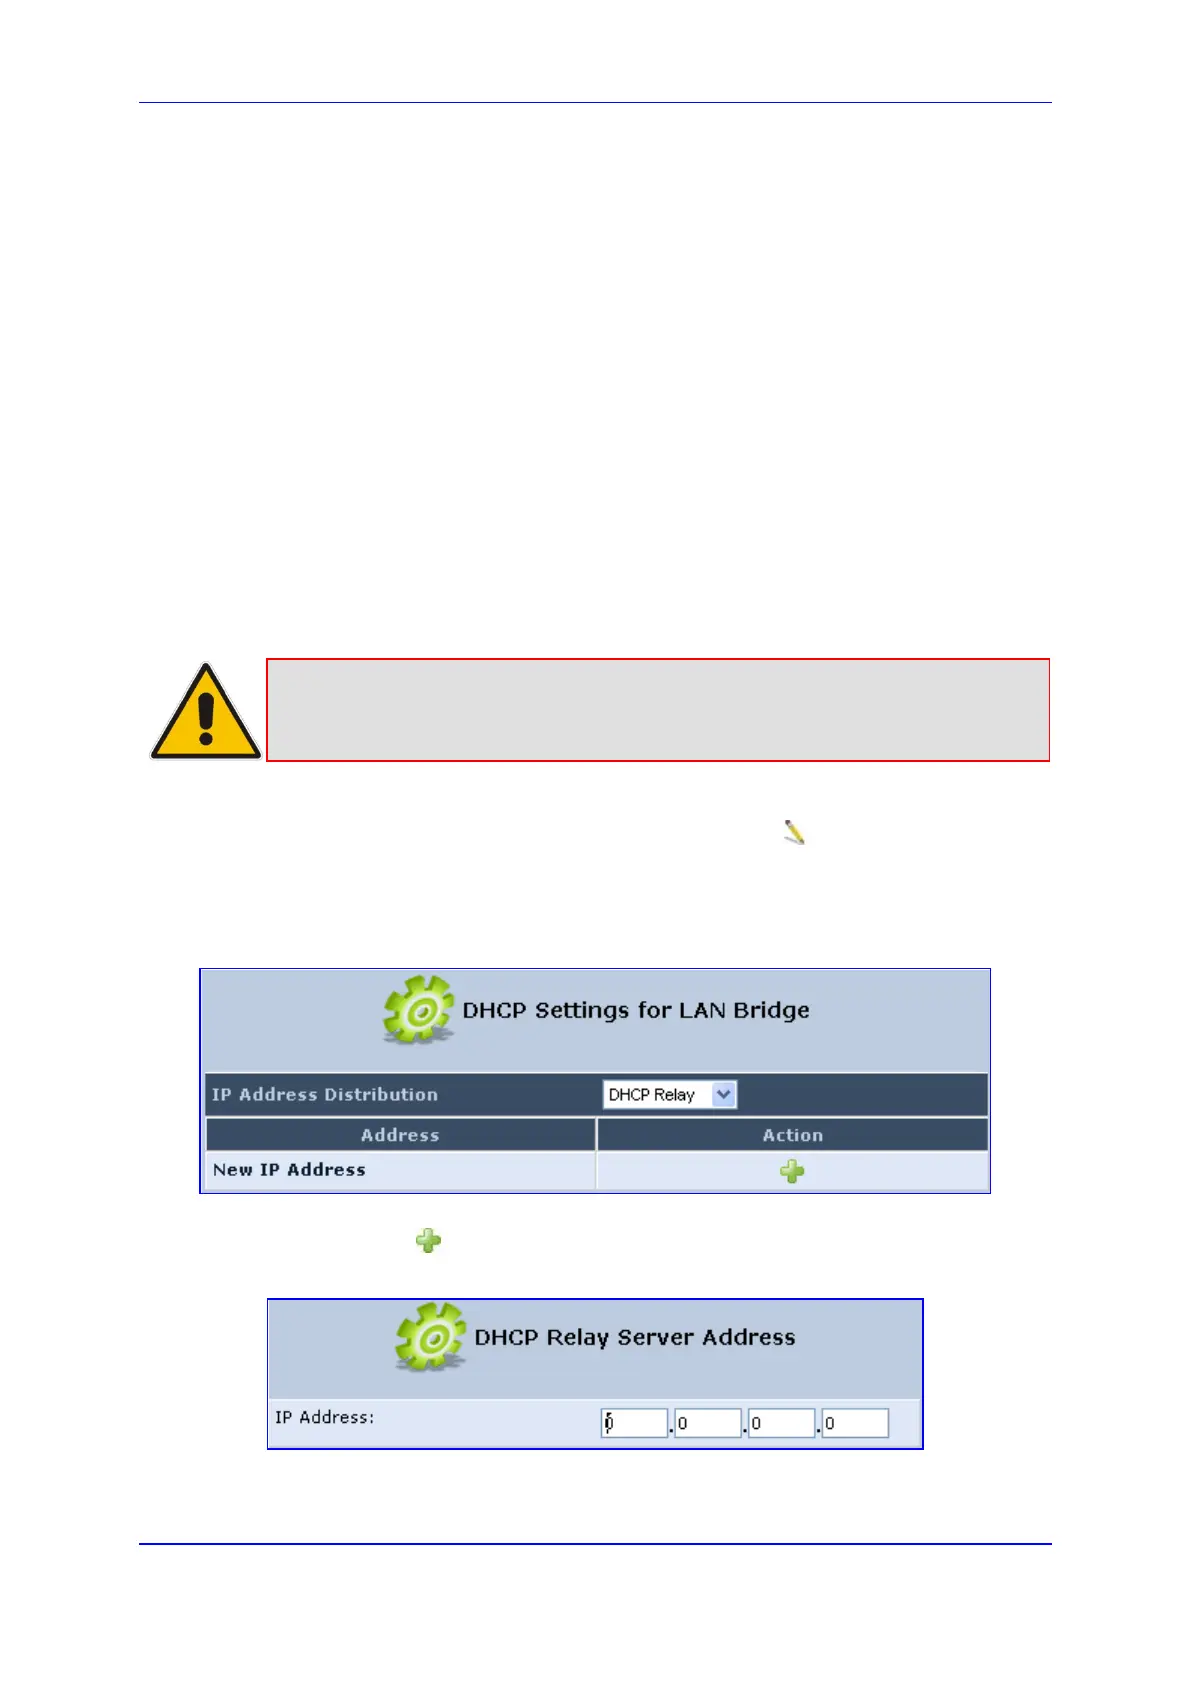
2. From the 'IP Address Distribution' drop-down list, select the 'DHCP Relay' option; the
'DHCP Settings' screen appears.
Figure 15-3: DHCP Settings
3. Click the New icon; the 'DHCP Relay Server Address' screen appears.
Figure 15-4: DHCP Relay Server Address Screen
4. In the 'IP Address' field, enter the IP address of the DHCP server.