User's Manual 17. Add-On Servers and Disk Management
Version 4.4.0 303 MP26x/MP27x
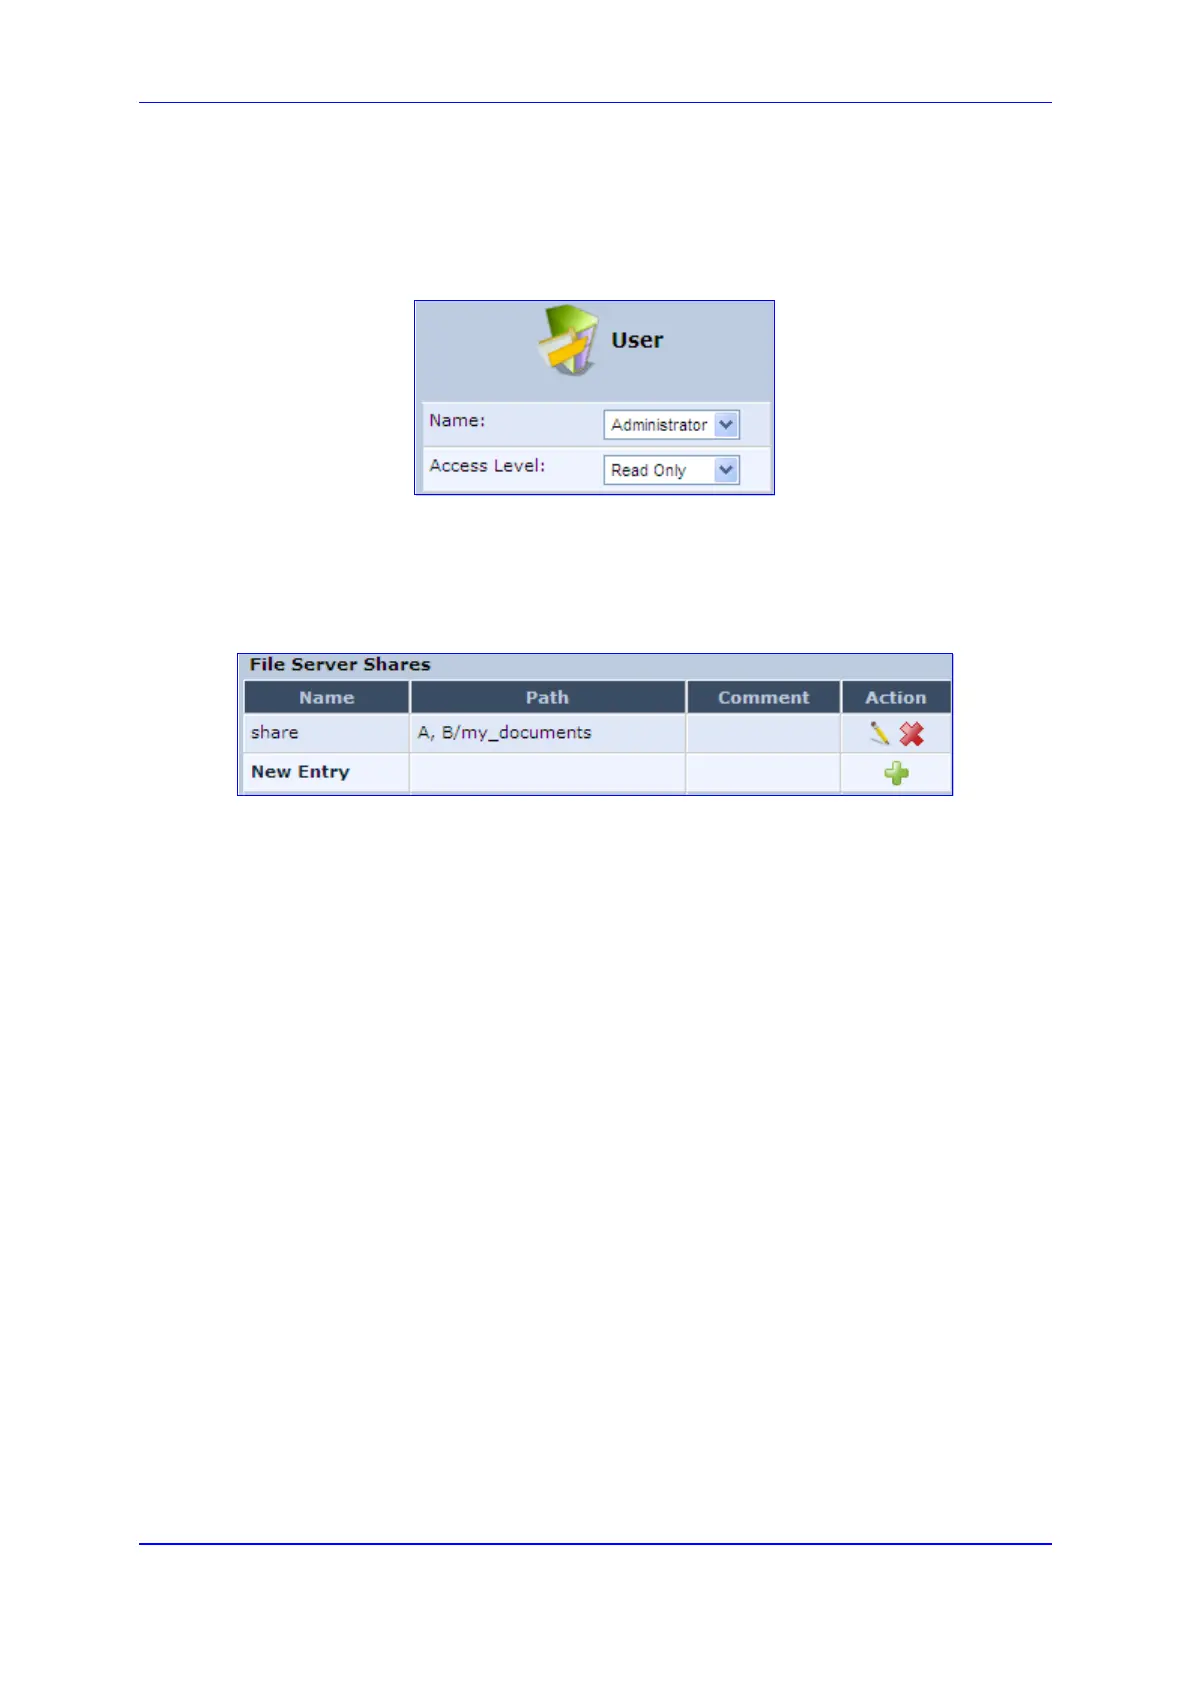
4. Associate a user or group of users with the share to grant them access to the shared
files, by clicking the New User or New Group link in the Users or Groups table. Note
that the user’s settings must have the ‘Microsoft File and Printer Sharing Access’
check box selected under the 'Permissions' section (see ‘Configuring Users’ on page
56); the ‘User’ screen appears:
Figure 17-3: User Screen
a. From the ‘Name’ drop-down list, select the user name and the allowed access.
b. Click OK.
5. Click OK to save the settings. The 'File Server' screen appears, displaying the share.
Figure 17-4: File Server Screen with the Share
Click the share's name to view its content. The screen refreshes as the share is accessed
This screen enables you to modify and view the content of your file share. In the upper
section of this screen, you can modify your file share by adding files or directories to it. Use
the drop-down list to select an action:
Upload a File: Uploads a file to the share. The screen refreshes - enter the location of
the file to upload, or click the Browse button to browse for the file. Click the Upload
button to upload the file.
Upload a Directory: You can also upload an entire directory of files, by performing
the following:
a. Create a tarball archive out of the target directory.
b. Enter the location of the archive, or click the Browse button to browse to its
location.
c. Click the Upload button to upload the archive.
Create a new Directory: You can create a new directory by simply typing its name
and clicking Go.
Paste from Clipboard: This option appears only after using the 'Copy to Clipboard'
option to copy a directory or file from one directory to another.
The lower section of the screen displays your share's content. You can click the different
directory names to access them or you can download, rename, copy or remove the
directories using the standard action icons.
 Loading...