6. EM GUI orientation
Image 6-60
Once the two keyframes ar e defined, the PIP can move between the two positions by pr essing the green arrow bu ttons. The rate
for the movement is adjusted by changing the number in the corresponding box.
Any of the two keyframes c an be deleted when the keyframe is highlighted and by pressing the “Delete K F” button.
The red LED in the k eyframe button indicates the current position of the PIP.
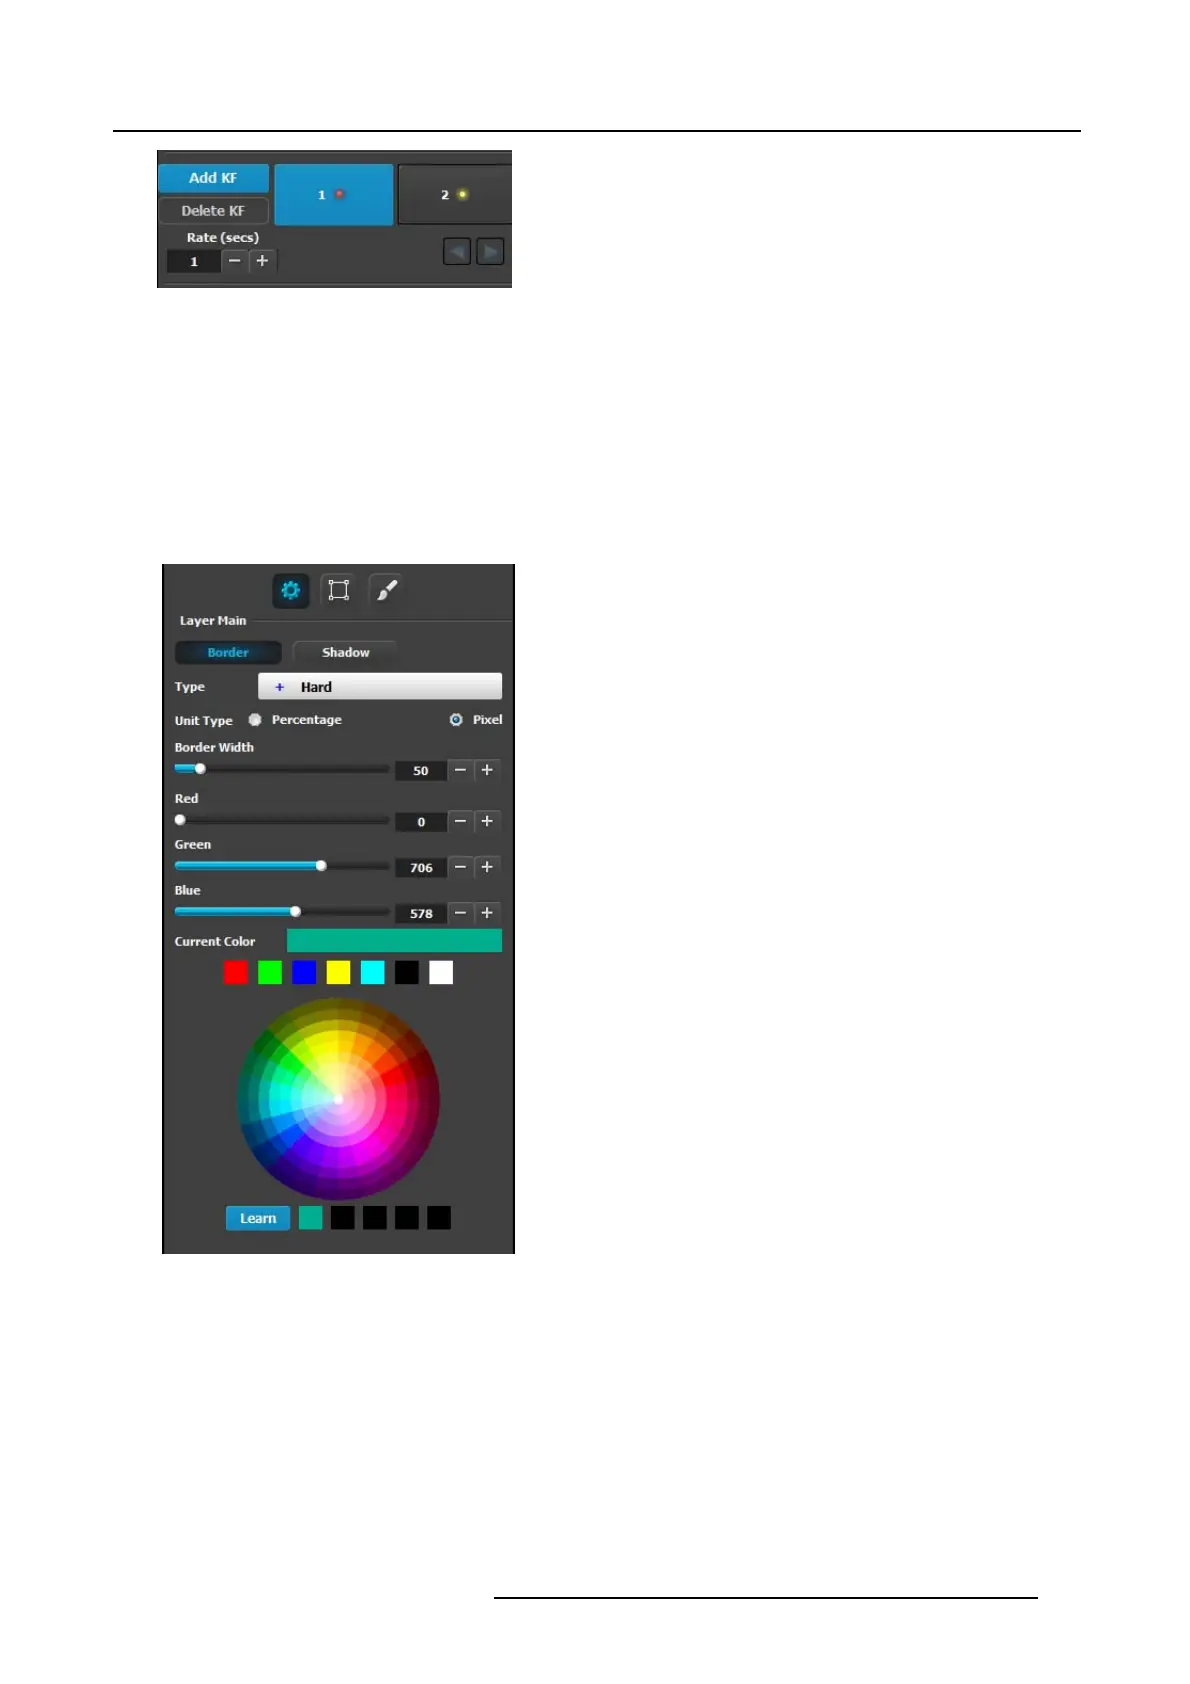
Layer adjustment panel > Main adjustment
The Main adjustment panel is variable according the Layer type.
Layer type = PIP (Border Tab):
This m enu allows users to adjust the P IP borders.
• Borders are e nabled by selecting the type of to app ly. Six
types are available:
-Hard
-Soft
-Halo
- Halo-in
- Halo-out
• Border width and color are selected by adjusting the
corresponding sliders o r entering a figure in the adjacent
edit boxes. The border width can be entered either in
Percentage of the ver tical size or in pixels.
• The selected color is shown in the Current Color bar. The
color can also be stored by clicking in one of the square
boxes at the bottom of the menu next to the Learn button.
These boxes are quick shortcuts to select that color f or
the Border.
• Another way to specify a color is to click on the Color
wheel. The slider values will change accordingly as the
mouse moves around the color wheel.
• Learn: The “Learn” button in the bottom is a way to store
custom colors to be used for later. The way to use this
area is to:
a) Pick a color to s ave, using color wheel or the R/G/B
adjustments.
b) Click Learn button.
c) Click any one of the buttons on the right.
d) The color that was picked is now stored in this button.
Lay e r type = PIP (Sh a dow Tab):
The Shadow Menu enables the user to plac e a shadow behind a PIP.
R5905948 EVENT MASTER DEVICES 17/07/2017
173