9. General operation example
Image 9-13
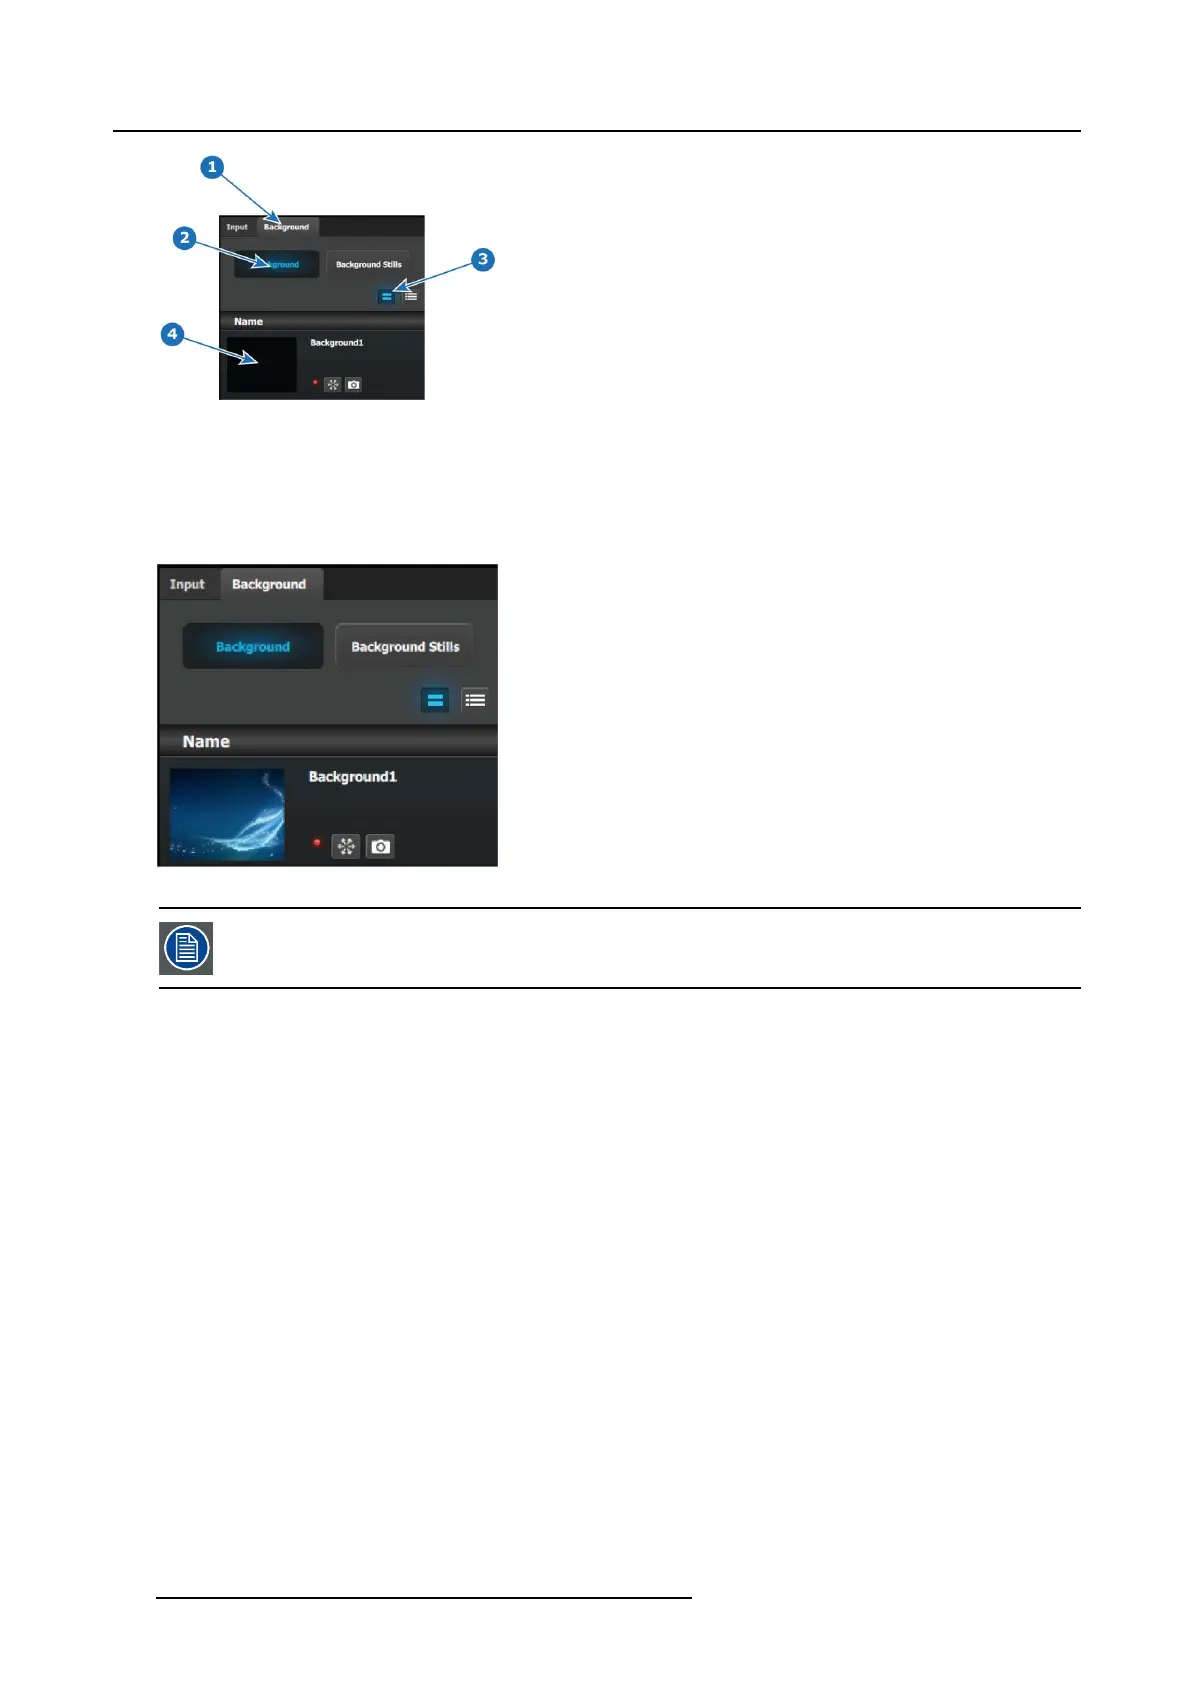
4. Now, you can navigate the computer to se lect the des irable pic by clicking in the black squa
re.
5. After a pic is s elected, the image will fill the black square as show n below.
Image 9-14
P2: You can skip this step if you don’t want thumbnail images to represent the inputs/sources. In this case,
the layers in the destinations area will be black and noted only by the assigned nam e.
P2: Select thumbnails for Inputs
1. From the left hand side, click on the Input tab.
2. In the Input menu, click on the Inputs tab
3. Click on the thumbnail button.
4. Click in the black box and navigate the compu ter to find and select the desired pic.
5. After a pic is selected, the image will fill the black square.
6. Repeat this sequence until a pic is selec ted for eac h input.
7. When these steps are com pleted, the section will appear as follows.
272
R5905948 EVENT MASTER DEVICES 17/07/2017