3. General
c) Re-install the moun ting screws. W hen properly adjusted, the end of each side rail will protrude through the slot in the rear
mounting bracket, once the chassis is rack mounted.
Image 3-12
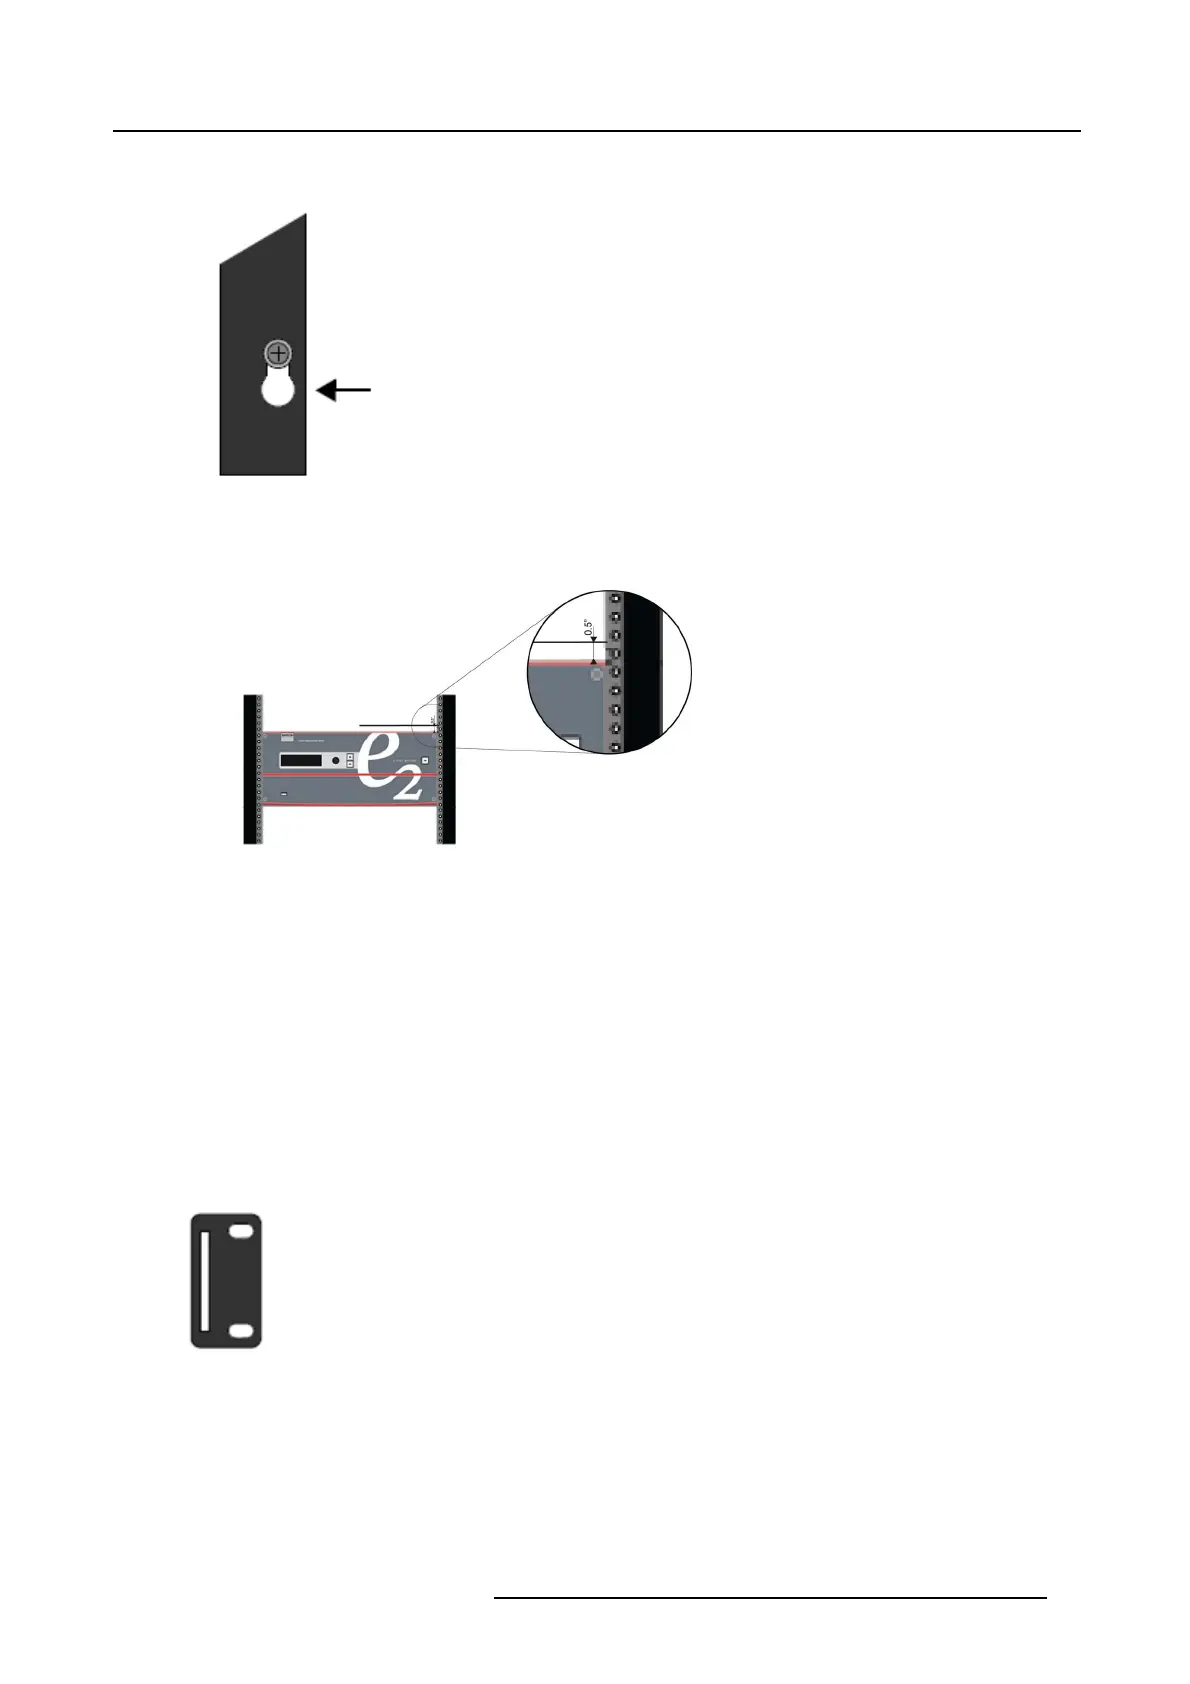
To take advantage of this feature, ensure that there is at least 1/2” of clearance above the chassis.
Image 3-13
2. For the E2’s two keyhole slots, measure and install two rack screws in y our equipment rack’s front ra ils. Allow each screw to
protrude approximately 3/4” from the surface o f the rails.
3. Lift the chassis, and while supporting it, slide the side rails through the slots in the rear mounting brackets.
4. While continuing to suppo rt the chassis, slide the s crews (in the front rails) through the two keyholes, and let the chassis settle
up into the keyhole slots.
5. Tighten the two lower s crews, then install and tighten the two upper s screws in the rack rail.
How to install S3 or EX in a rack
Use the following steps to rack mount the S3 or the EX:
1. S3 and EX units are shipped with side rails included in the shipping case and not installed onto the chassis. T hese side rails,
when they are properly installed and adjusted, assist with the distribution of ch assis (and c able) weight within your rack. U se the
following steps to properly adjust the
side r a ils:
a) Measure and install the two supplied mounting b rackets on your rear rack rails.
Image 3-14
R5905948 EVENT MASTER DEVICES 17/07/2017 39