Service Parts Disassembly 8-149
Fuser Fan
1. Open the Top Cover.
2. Remove the 1 (black, 10 mm) screw that secures the Upper Fuser Fan Duct to the
Top Output Chute.
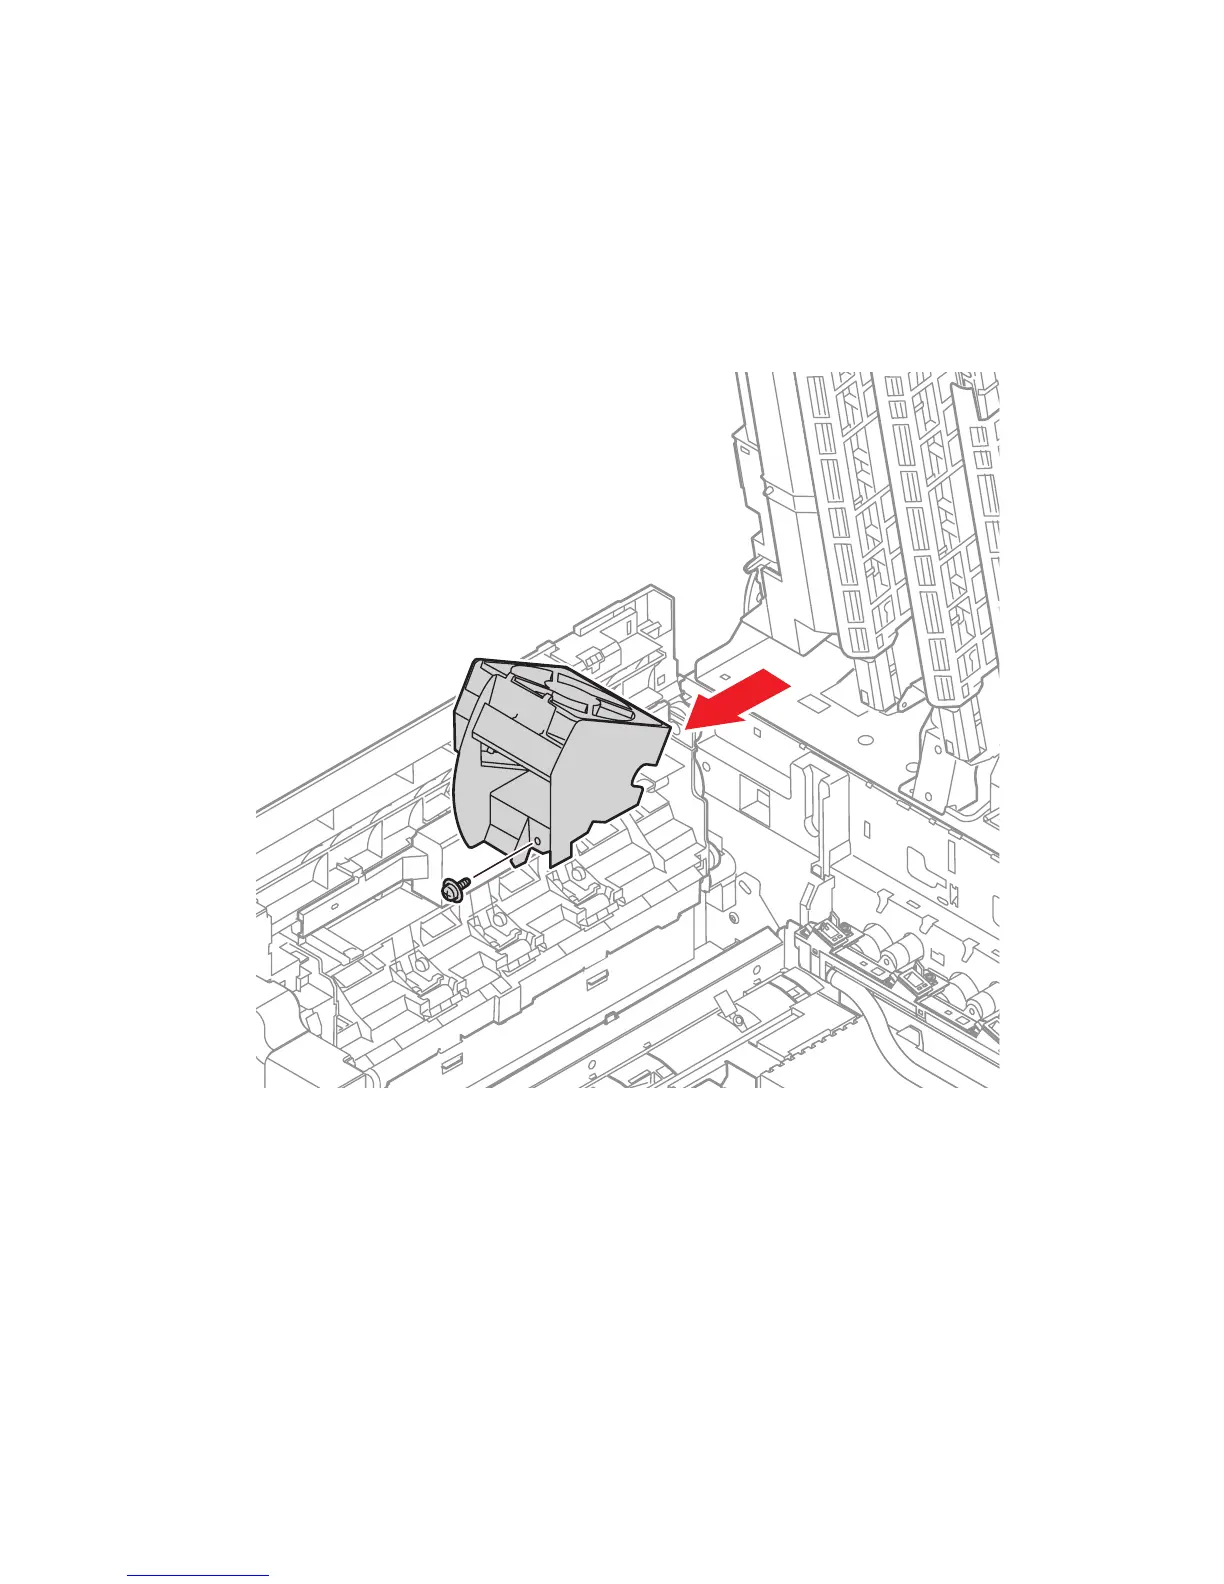
3. Remove the 1 (metal, 6 mm) screw that secures the Lower Fuser Fan Duct to the
frame.
4. Disconnect the connector (P/J250) at the top of the frame and remove the Fan and
Duct from the printer.
5. Release the 4 hooks that secure the fan to the duct.
s7400-190