Service Parts Disassembly 8-111
Electrical
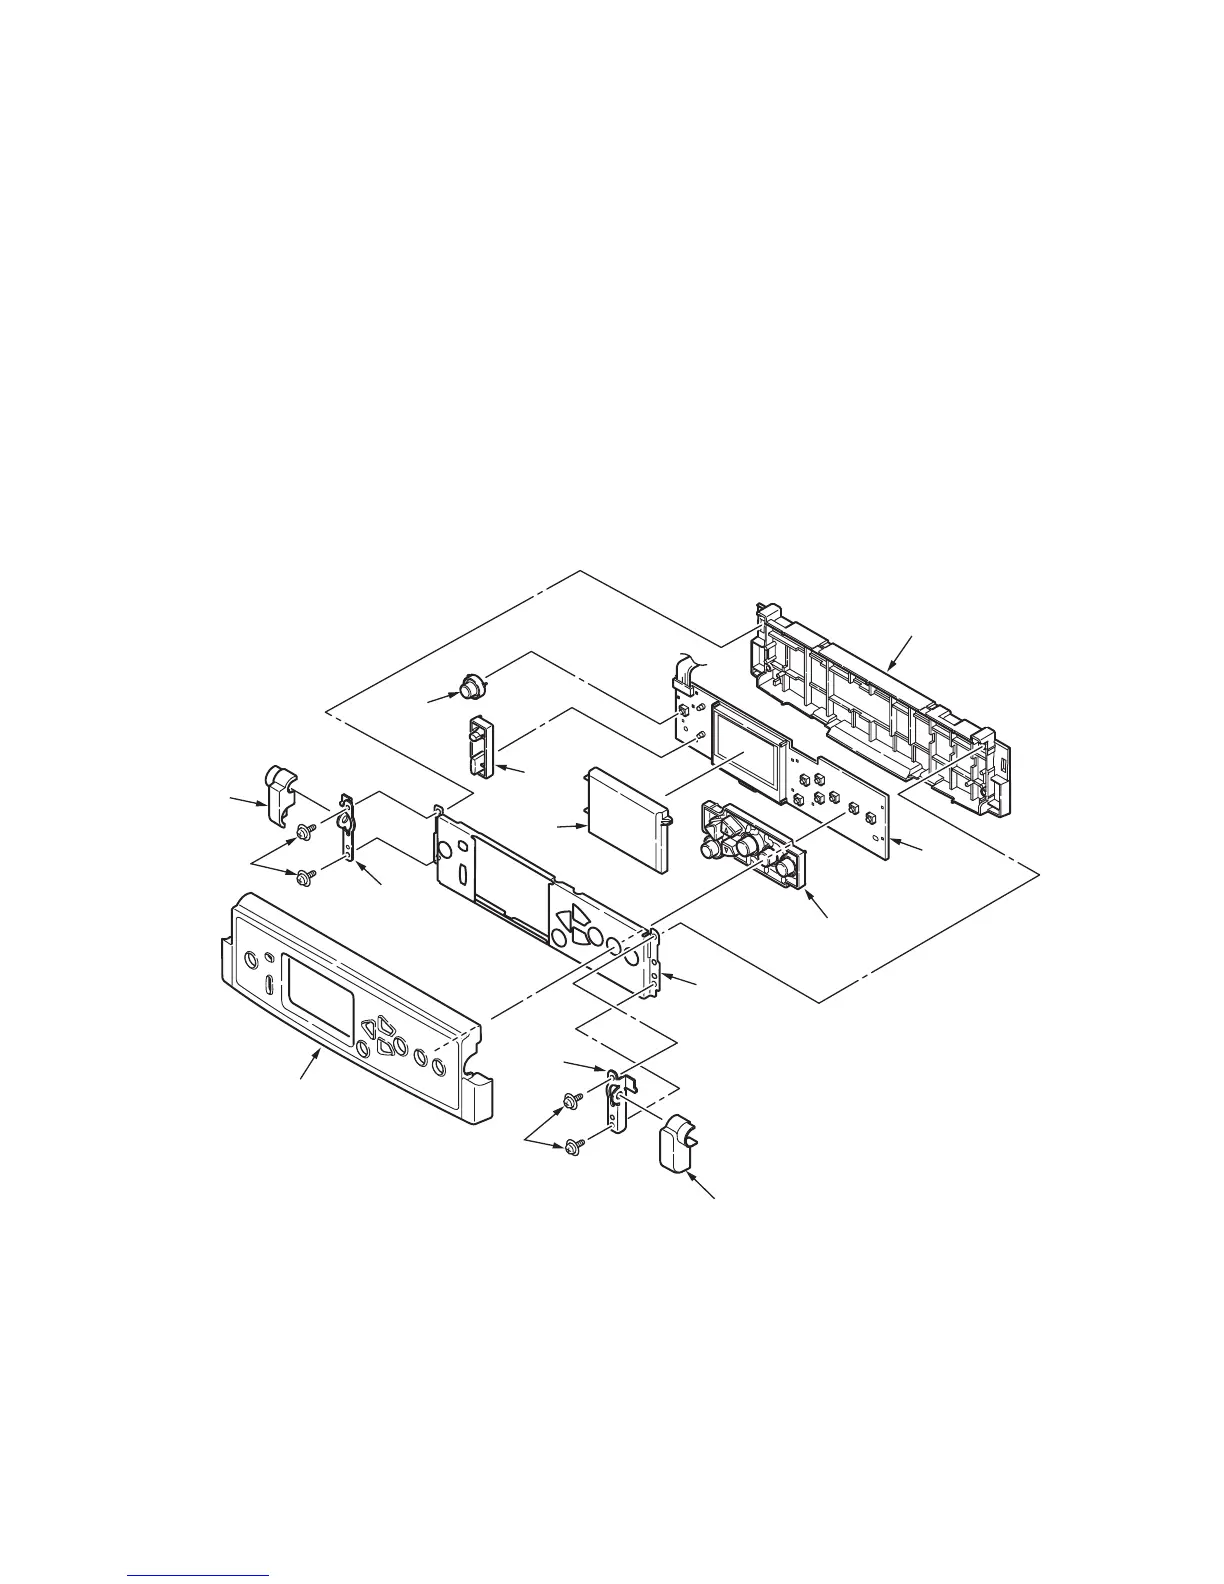
Control Panel
1. Release the 2 hooks closest to the printer from underneath the Control Panel.
2. Lift up on the part of the panel closest to the printer to remove the Control Panel
faceplate.
3. Remove 1 (metal, 6 mm) screw that secures the ribbon cable.
4. Disconnect the ribbon cable from the Control Panel Board.
5. Remove 4 (Black, plastic, 10 mm) screws to remove the Control Panel Hinges.
6. Remove the Control Panel and Rear Cover.
7. Release the mounting bracket by sliding it slightly downwards.
Replacement Note
Insure the Control Panel, metal mounting bracket, front, and rear covers are
assembled correctly before installing any screws.
s7400-062