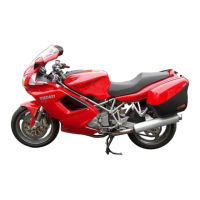
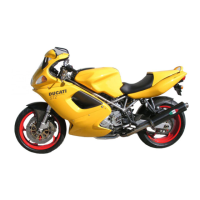
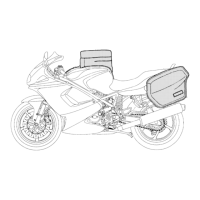
Vestizione
Fairing
sezione / section
E 2
19ST3 - M.Y. 2004 - edizione/edition 00
A
B
C
D
E
F
G
H
L
M
N
P
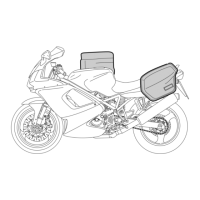
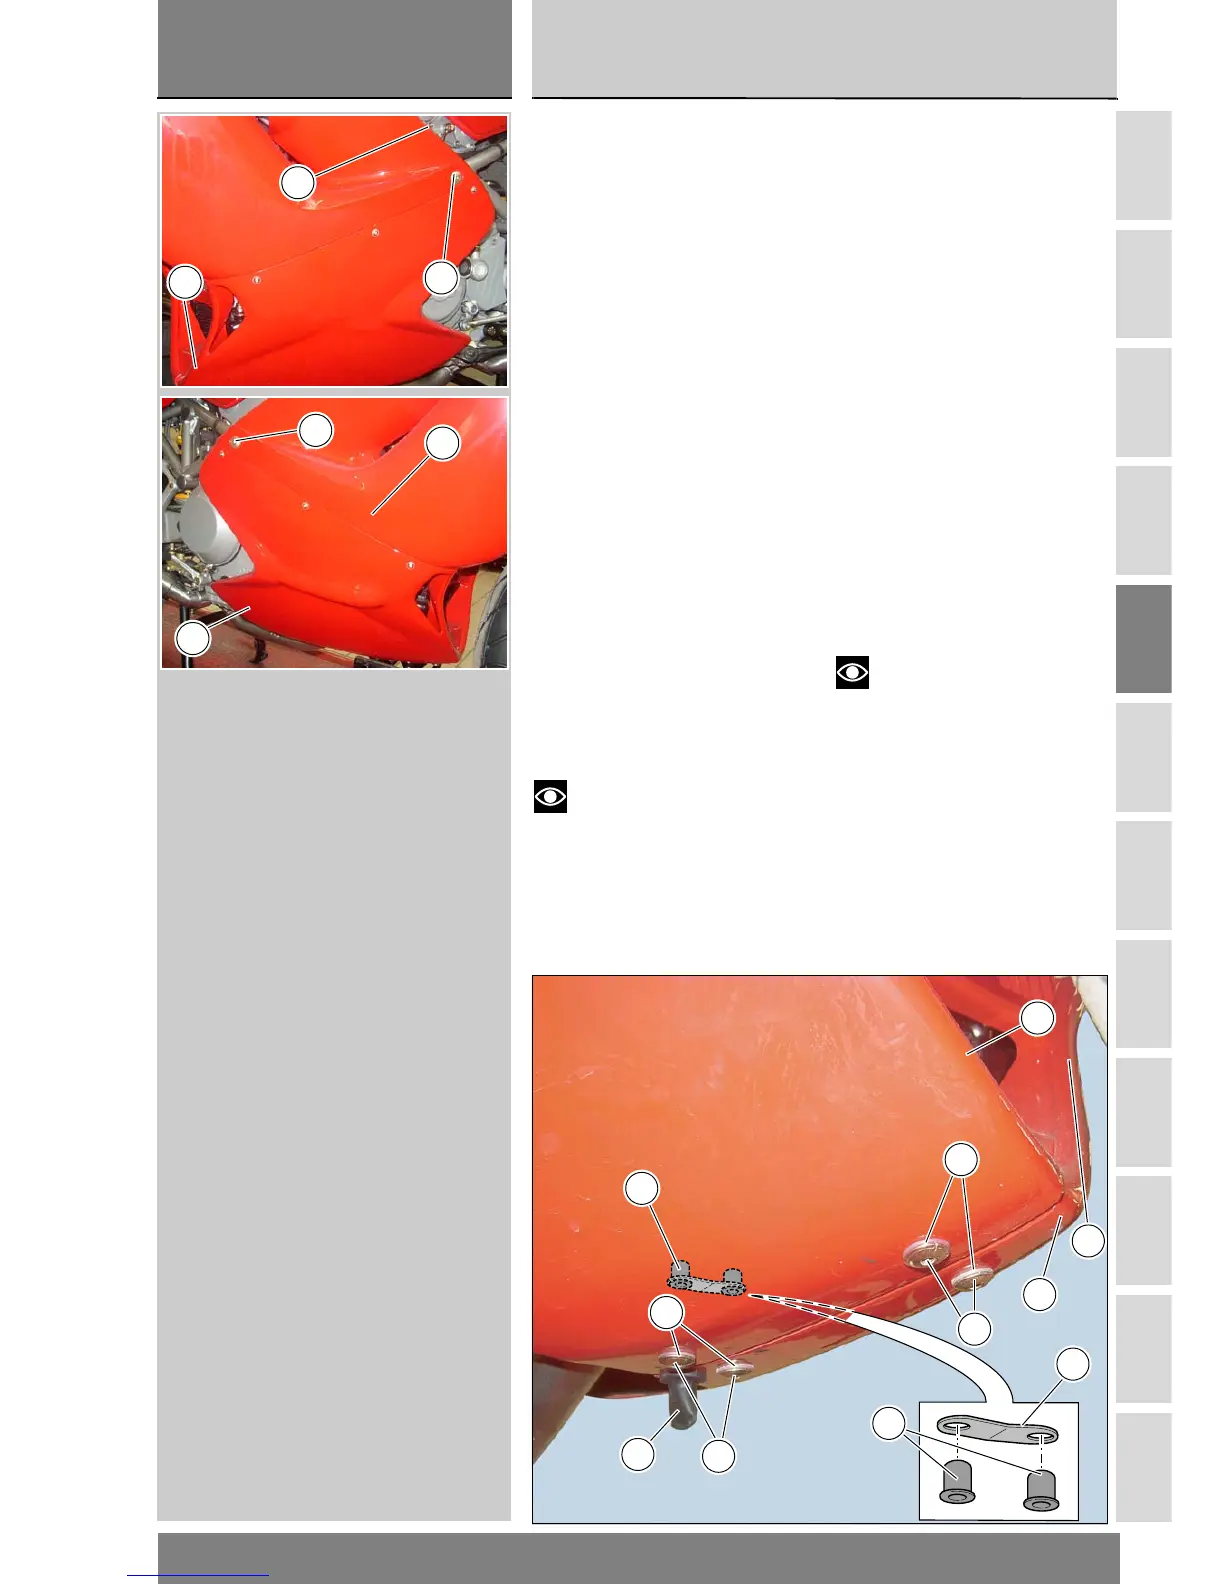
Install screws (13) with cap (14) inside
fairings rear seats.
Use one screw (17) and one nylon
washer (16) to fix the plate (18) and
threaded inserts (15) in the rear hole
of one of the two bottom side
fairings.
Position the bottom right and left side
fairings (4) and (2) at the threaded
fixing holes in the top side fairings.
Make sure that the breather tube (A)
is correctly engaged in its seat in the
bottom left side fairing (2).
Fix the front of the side fairings to the
front shield (7) with the two screws
(17) and nylon washers (16).
Join the rear of the fairings by fitting
the threaded inserts (15) and plate
(18) and screwing screws (17) and
nylon washers (16) into them.
Tighten screws (13) to the specified
torque (Sect. C 3);
Tighten screws (12) to the
specified torque on both side fairings
(Sect. C 3).
Note
In case new inserts are
installed, apply sealant on outer
surface while tightening the screws.
Inserire le viti (13) con relativo
scodellino (14) nelle sedi posteriori
delle carene.
Utilizzando una vite (17) con rosetta
(16) montare nel foro posteriore di
una delle due semicarenature il
piastrino (18) con i relativi inserti
filettati (15).
Posizionare le semicarene inferiore
destra (4) e sinistra (2) in
corrispondenza dei fori filettati di
fissaggio delle semicarene superiori.
Assicurarsi che il tubo di sfiato (A) sia
inserito nella propria sede sulla
semicarena inferiore sinistra (2).
Fissare la parte anteriore delle
semicarene allo scudo frontale (7)
utilizzando due viti (17) con relativa
guarnizione (16).
Unire la parte posteriore delle
carenature avvitando la vite (17) con
relativa guarnizione (16) sull'inserto
filettato (15) del piastrino (18)
precedentemente montati nella
semicarena.
Serrare le viti (13) di fissaggio
posteriore alla coppia prescritta
(Sez. C 3).
Serrare alla coppia prescritta le viti
(12) su entrambe le semicarenature
(Sez. C 3).
Note
In caso di sostituzione degli
inserti, mentre si bloccano le viti,
applicare adesivo sulla superficie
esterna.
7
A
18
17
16
15
18
17
16
4
2
1
13
2
13
4
3