Repairs/Adjustments 08/20/2015 GBC AdvancedPunch Pro
4-22
Connect Cable 7715267 at Connector J20 on the Control Board
(PL 7.1 and PL 7.4).
Install the Screws (4) from the front and tighten the Nuts (4) from
the rear of the Bracket.
Place Cable 7715267 into the Wires Saddles.
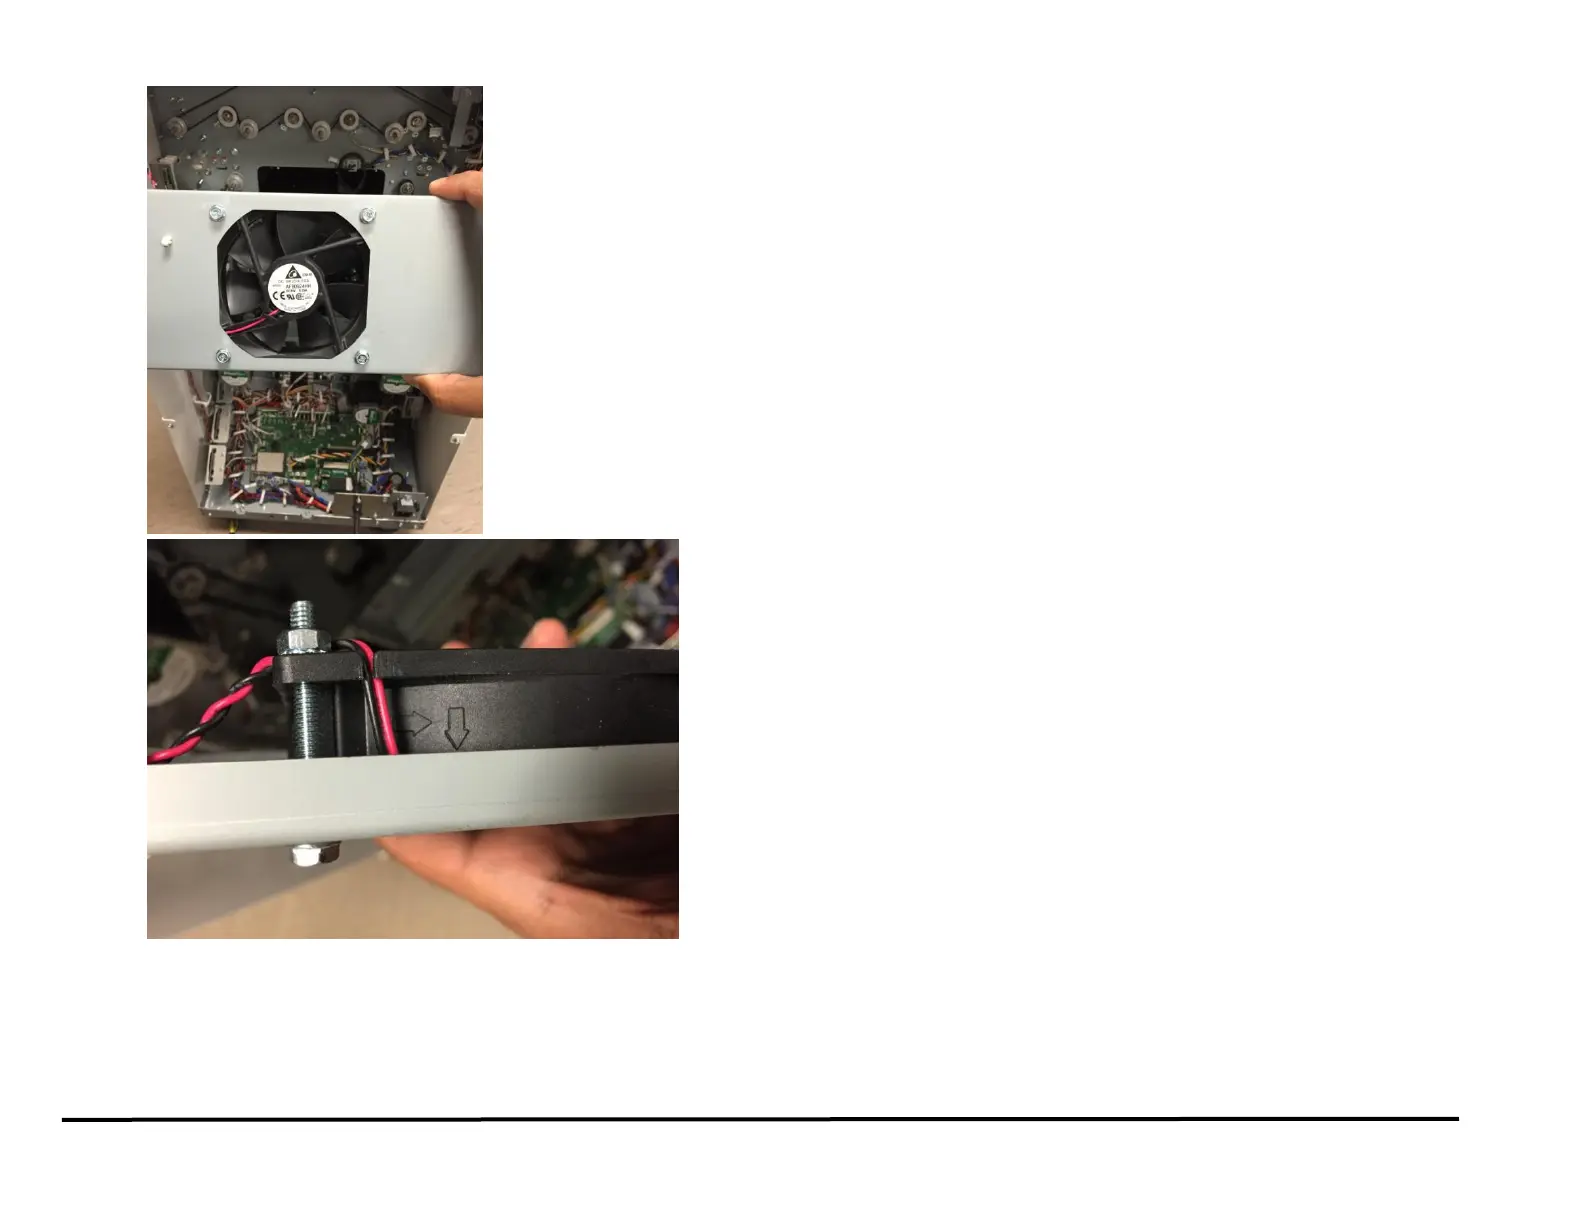
2. Place the Exhaust Fan Bracket Assembly in position and tighten the
Screws (2).
3. Connect Cable 7715267 at Connector J20 on the Control Board (7.1).
4. Do REP 1.6 to install the Rear Cover.
5. Connect the Power Cord.
6. Power ON the entire printing system.
 Loading...