Repairs/Adjustments 08/20/2015 GBC AdvancedPunch Pro
4-124
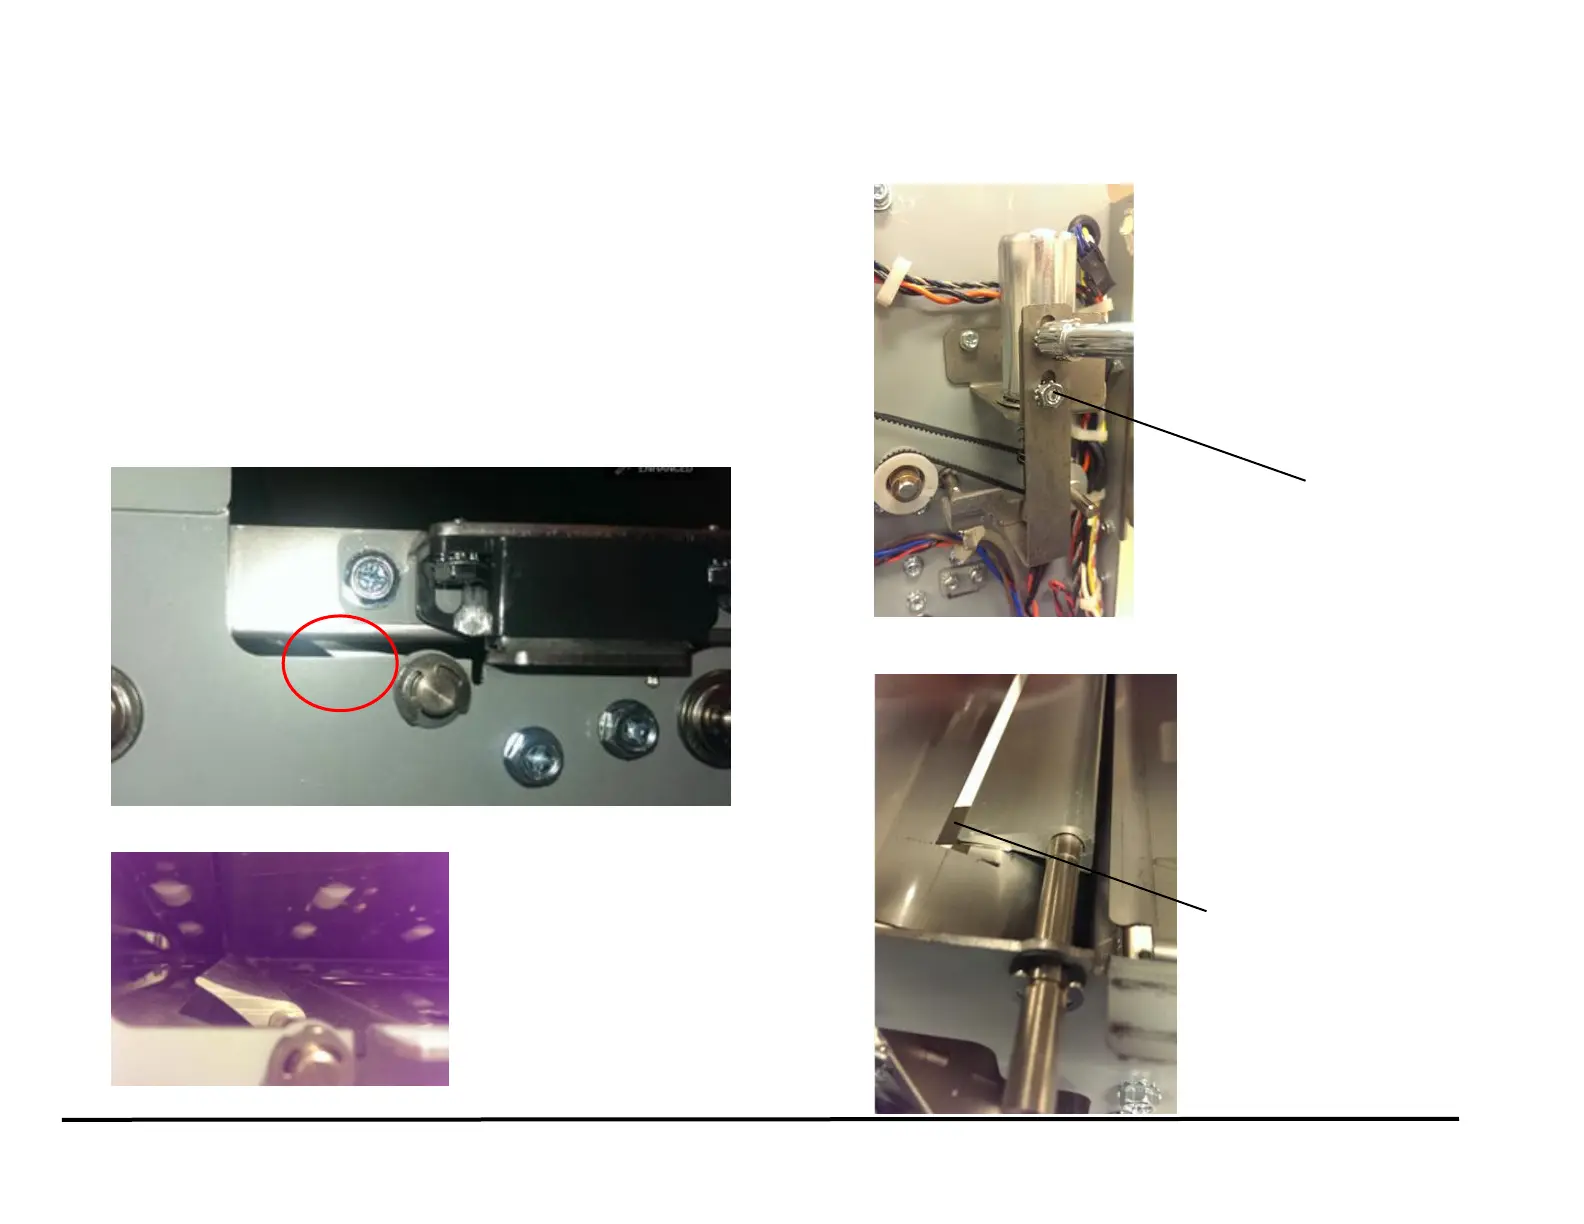
ADJ 1.2 Diverter Solenoid Adjustment
PARTS LIST ON PL 3.3
Use this procedure to adjust the position of the Diverter Solenoid
Assembly.
WARNING
Do not perform repair activities with the power on or electrical power
supplied to the machine. Some machine components contain
dangerous electrical voltages that can result in electrical shock and
possible serious injury. See Section 0, page vi for other languages.
1. Open the Front Door.
2. Do REP 1.6 to remove the Rear Cover.
3. With the Interlock cheater inserted, do GP 6.2.5 to actuate SOL1
(L1-Diverter Solenoid). This will switch the diverter gate to punch
mode. The Diverter gate will rise and hit the upper bypass panel.
4. When the solenoid in not actuated, it needs to rest on the Diverter
limiter bracket. To properly adjust the position of the limiter bracket do
the following:
a. Loosen the Screws (2) that hold the Limiter Bracket.
b. Insert a 0.25 to 0.5mm shim between the Diverter and the Lower
Entrance Panel.