GBC AdvancedPunch Pro 08/20/2015 Installation Instructions- DFA
8-13
8.12. Install the Lift Kit Cover
Do the following to install the Lift Kit Cover.
1. Place the he Lift Kit Cover in position at the bottom front of the Lift Kit.
2. Tighten the M4X10 Screws (2).
3. Close the Front Door.
8.13. Dock the AdvancedPunch Pro
to a Downstream Device
Do the following if the installation includes a downstream DFA device.
1. Move the downstream device into position against the AdvancePunch
Pro.
2. Level in accordance with the instructions in the installation manual for
the DFA device.
3. Connect the required cables.
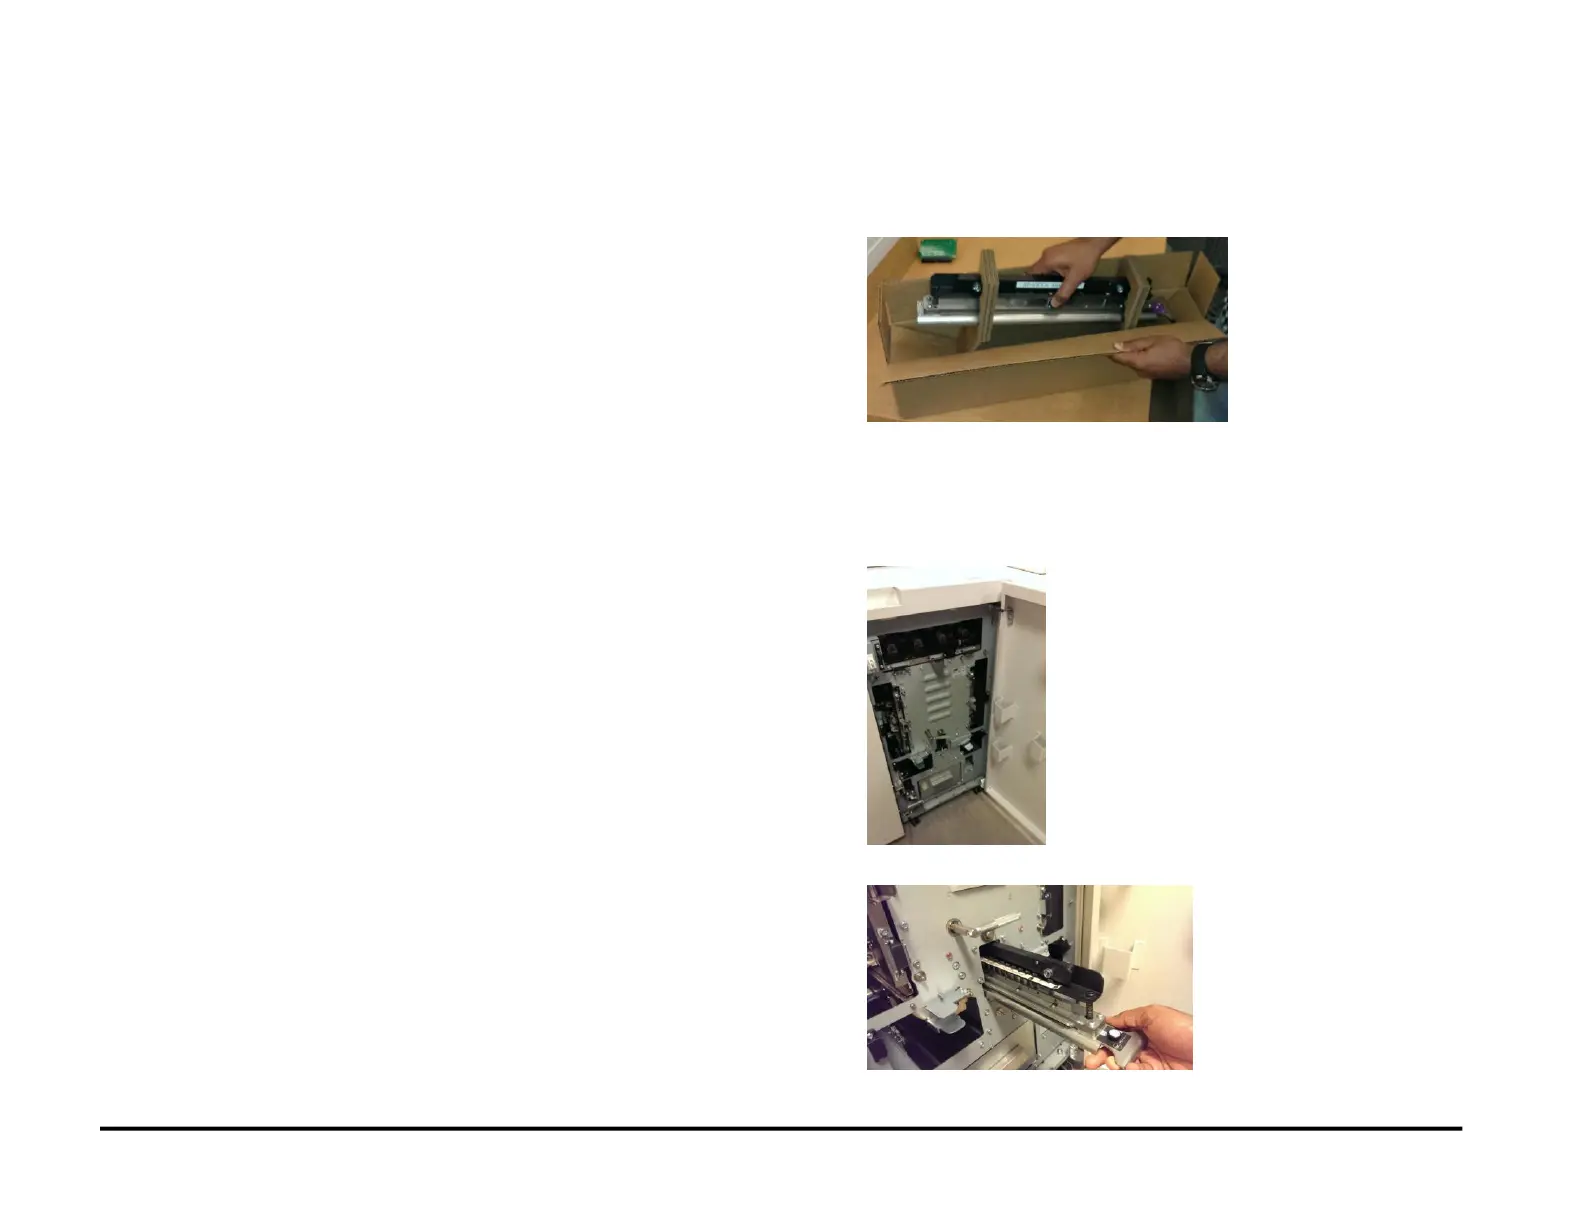
8.14. Install the Die Set
Do the following to install the Die Set.
1. Locate the box for the Die Set.
1. Remove the Die Set from the box.
2. Remove the Pins as needed to set the correct paper size. (Refer to
the labels on the Die Set to properly configure the Die to punch the
desired sheet size).
3. Open the Front Door.
4. Install the Die Set (See Operator Manual).