GBC AdvancedPunch Pro 09/11/2018 General Procedures and Information
6-51
GP 6.2.16 FIRMWARE UPGRADE Procedure
Do the following to upgrade the firmware.
1. Open the Front door of AdvancedPunch Pro before performing the
Firmware upgrade procedure. It is required to have the Front door
open during the process to prevent the system from accidentally
starting a print job or from entering a mode that may interfere with the
Firmware upgrade process.
2. Remove (2) M4 screws and the USB port cover from the back of the
machine.
3. Save the firmware file you want to upload to the USB flash drive
provided.
IMPORTANT NOTE: Only one Main and one Comm file should be
present in the USB flash drive.
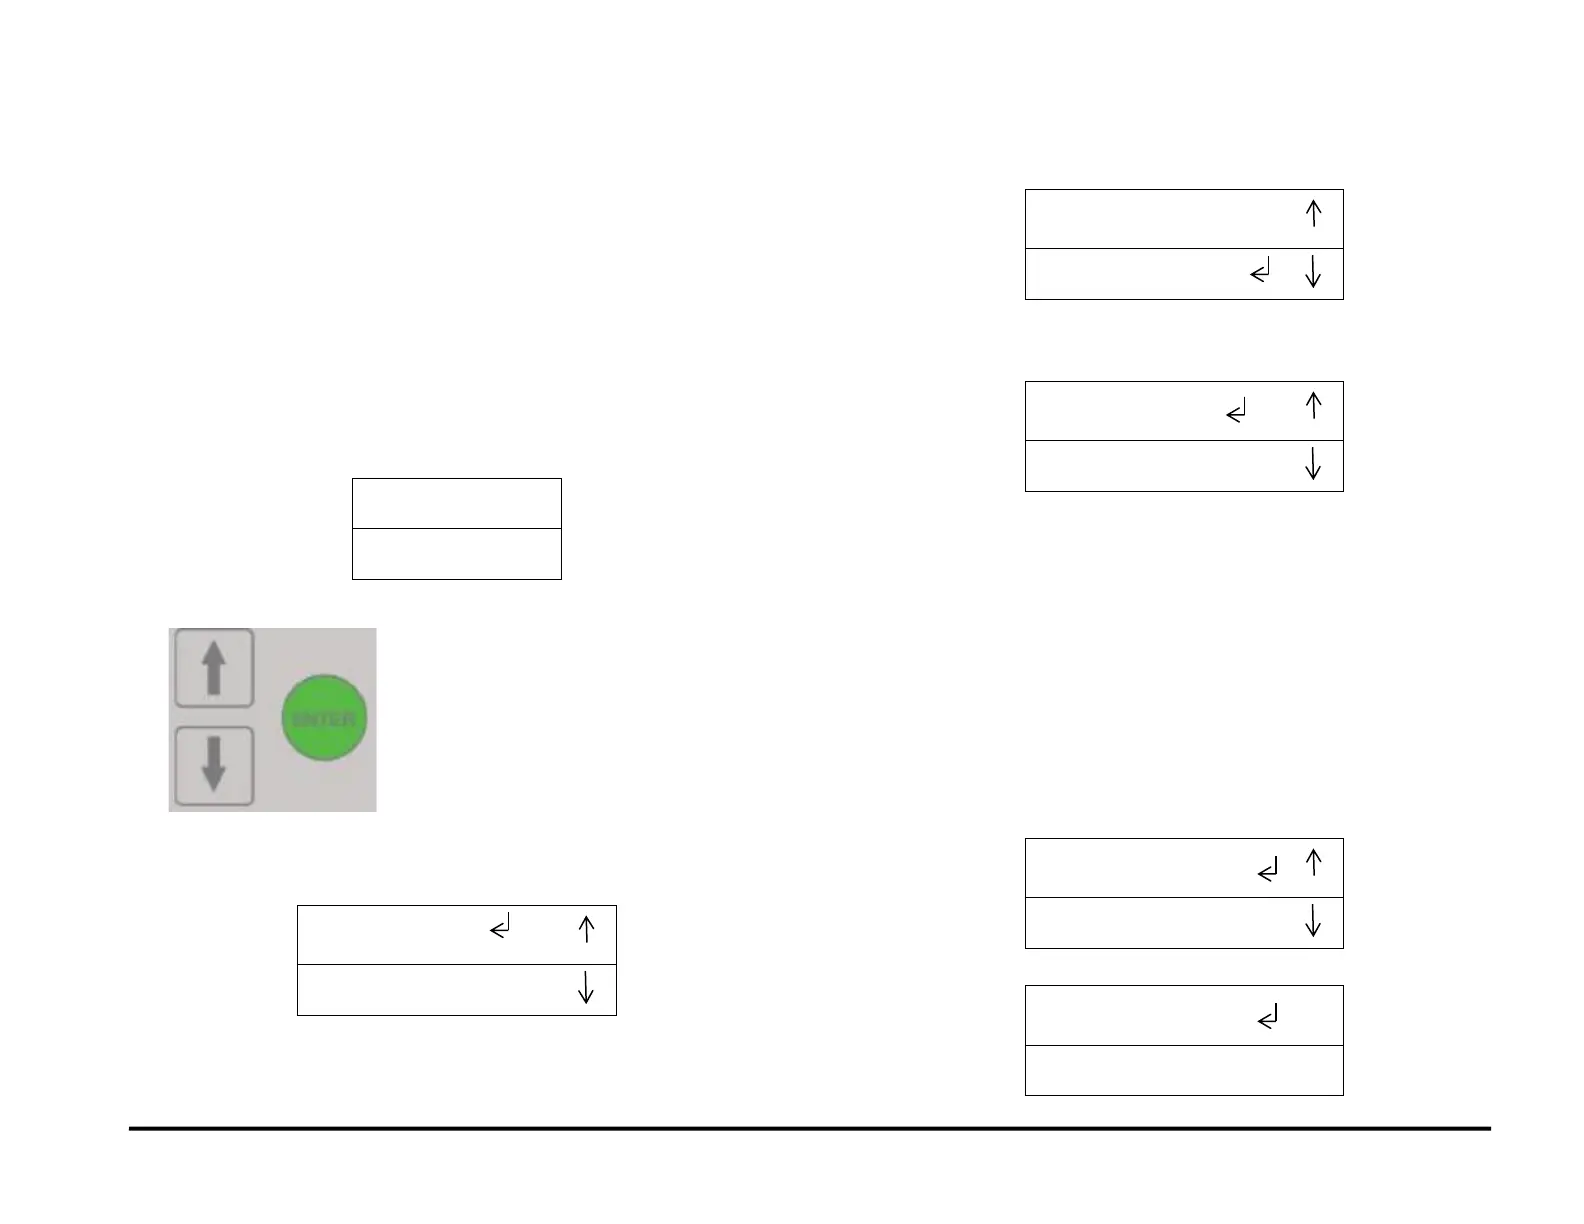
4. At the top level screen,
Press and hold both the Up Arrow button and the Down Arrow button
for 5 seconds.
Then while still holding down the Up Arrow button and the Down
Arrow button, press the Enter button.
The Service User Interface screen will appear.
5. Insert the USB Flash drive with the firmware file you want to upload.
Note: this step can be done at any time before you press the Enter
button for Main or Comm firmware upload (in Step 8).
6. Press the down arrow button so the return symbol is next to the words
FIRMWARE UPGRADE.
7. Press the ENTER button when the return symbol is next to the words
FIRMWARE UPGRADE to display the FIRMWARE UPGRADE
screen.
8. Press the down arrow to scroll through the Firmware Upgrade
options.
MAIN (the Control Board) – Select this to update the Main
firmware.
COMMS (The Communications Board) – Select this to update the
Comm firmware
If uploading both, do MAIN first.
PREVIOUS MENU takes you to the FIRMWARE UPGRADE /
EXIT screen
9. If you press the ENTER button when the return symbol is next to the
word MAIN, the system displays this screen.
When the update is complete, the system displays this screen
Press ENTER to return to the Main Screen.