GBC AdvancedPunch Pro 08/20/2015 Repairs/Adjustments
4-67
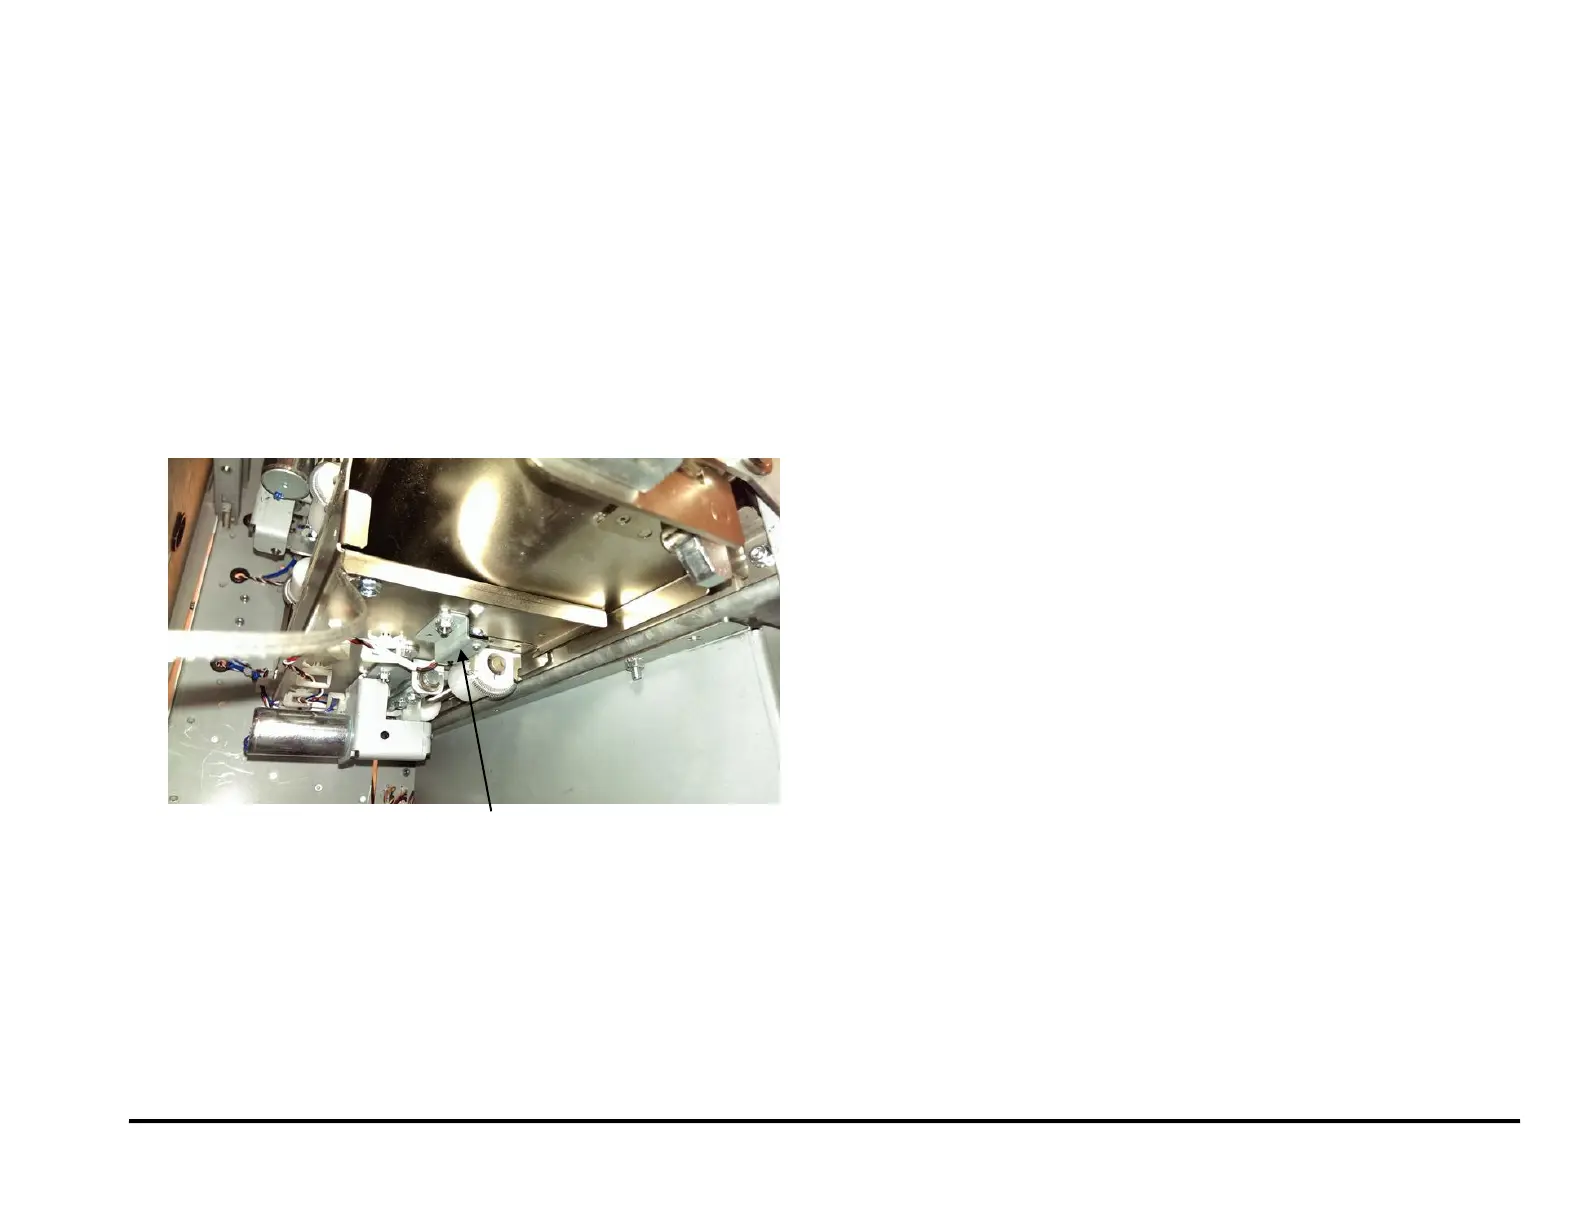
REP 2.25.3 Accel Sensor (S5) Replacement
PARTS LIST ON PL 4.3
Use this procedure to remove and install the Sensor and Bracket
Assembly for the Accel Sensor (S5).
1. Switch power OFF to entire printing system.
2. Disconnect the Power Cord.
3. Do REP 1.8 to remove the Upstream Side Frame Cover.
4. Open the Wire Saddles and release the Sensor Cable.
5. Disconnect the sensor connector at the Sensor.
6. Remove the Barrel Screw and Lock Washer that secure the Sensor to
the sheet metal part.
7. Remove the old Sensor.
8. Place the new Sensor in position, then install Lockwasher and Barrell
Screw.
9. Place Sensor Cable in the Wire Saddles.
10. Connect the Power Cord.
11. Power ON the entire printing system.