General Procedures and Information 09/11/2018 GBC AdvancedPunch Pro
6-40
GP 6.2.10 SOLENOIDS Procedure
Do the following to test any of the solenoids.
The Solenoid feature allows you to test the operation of each of the 8
solenoids to the AdvancedPunch Pro.
Do the following to check the solenoids.
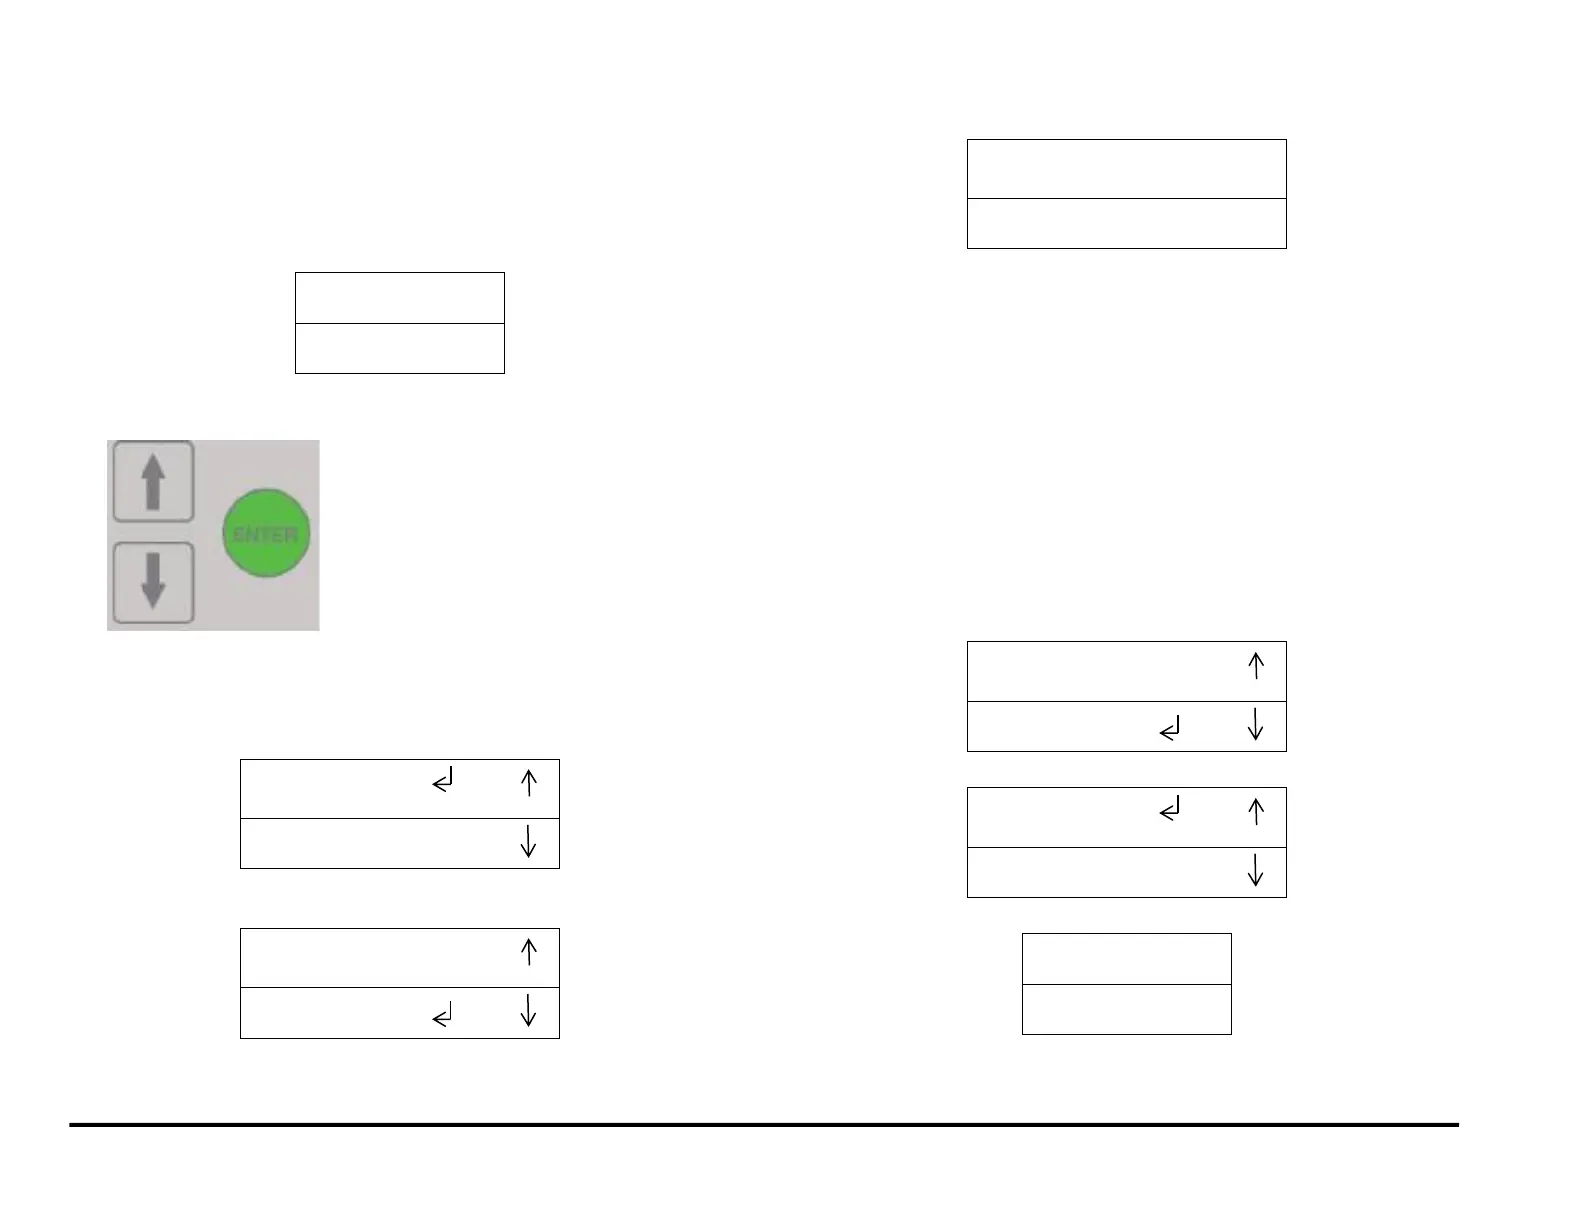
1. At the top level screen,
Press and hold both the Up Arrow button and the Down Arrow button
for 5 seconds.
Then while still holding down the Up Arrow button and the Down
Arrow button, press the Enter button.
The Service User Interface screen will appear.
2. Press the down arrow five times so the return symbol is next to the
words SOLENOIDS.
3. Press the ENTER button when the return symbol is next to the word
SOLENOIDS to display the display the SOLENOIDS screen.
4. To check the Solenoids:
NOTE: Door needs to be closed or Interlock Cheater inserted to do
this.
Press the down arrow to scroll through the solenoid options.
The selected solenoid will flash on and off.
Press the Enter button to turn the selected solenoid on.
You should hear the Solenoid click.
Repeat as needed to check the other Solenoids.
If a Solenoid does not operate do GP 6.22 Solenoid Cleaning and
Inspection.
5. When you finish checking the Solenoids:
Press the up arrow or down arrow to highlight the BACK option.
Press the ENTER button to display the I/O SIGNALS /
SOLENOIDS menu.
6. Press the up arrow to display the EXIT / SPEED ADJUST screen.
7. Press the ENTER button to return to the top level screen