Installation Instructions- DFA 08/20/2015 GBC AdvancedPunch Pro
8-18
8.19.1 Punch Quality
Check the punch quality of the finished sets for any defects (see the
Defect Table in Section 3 of the Service Manual)
8.20. Alignments/Adjustments
Perform these alignments/adjustments.
8.20.1 Center the Punch
Do the following to align the centerline of the Punch with the Centerline of
the Nuvera.
1. Start the Punch.
2. Run a test sheet through the Punch.
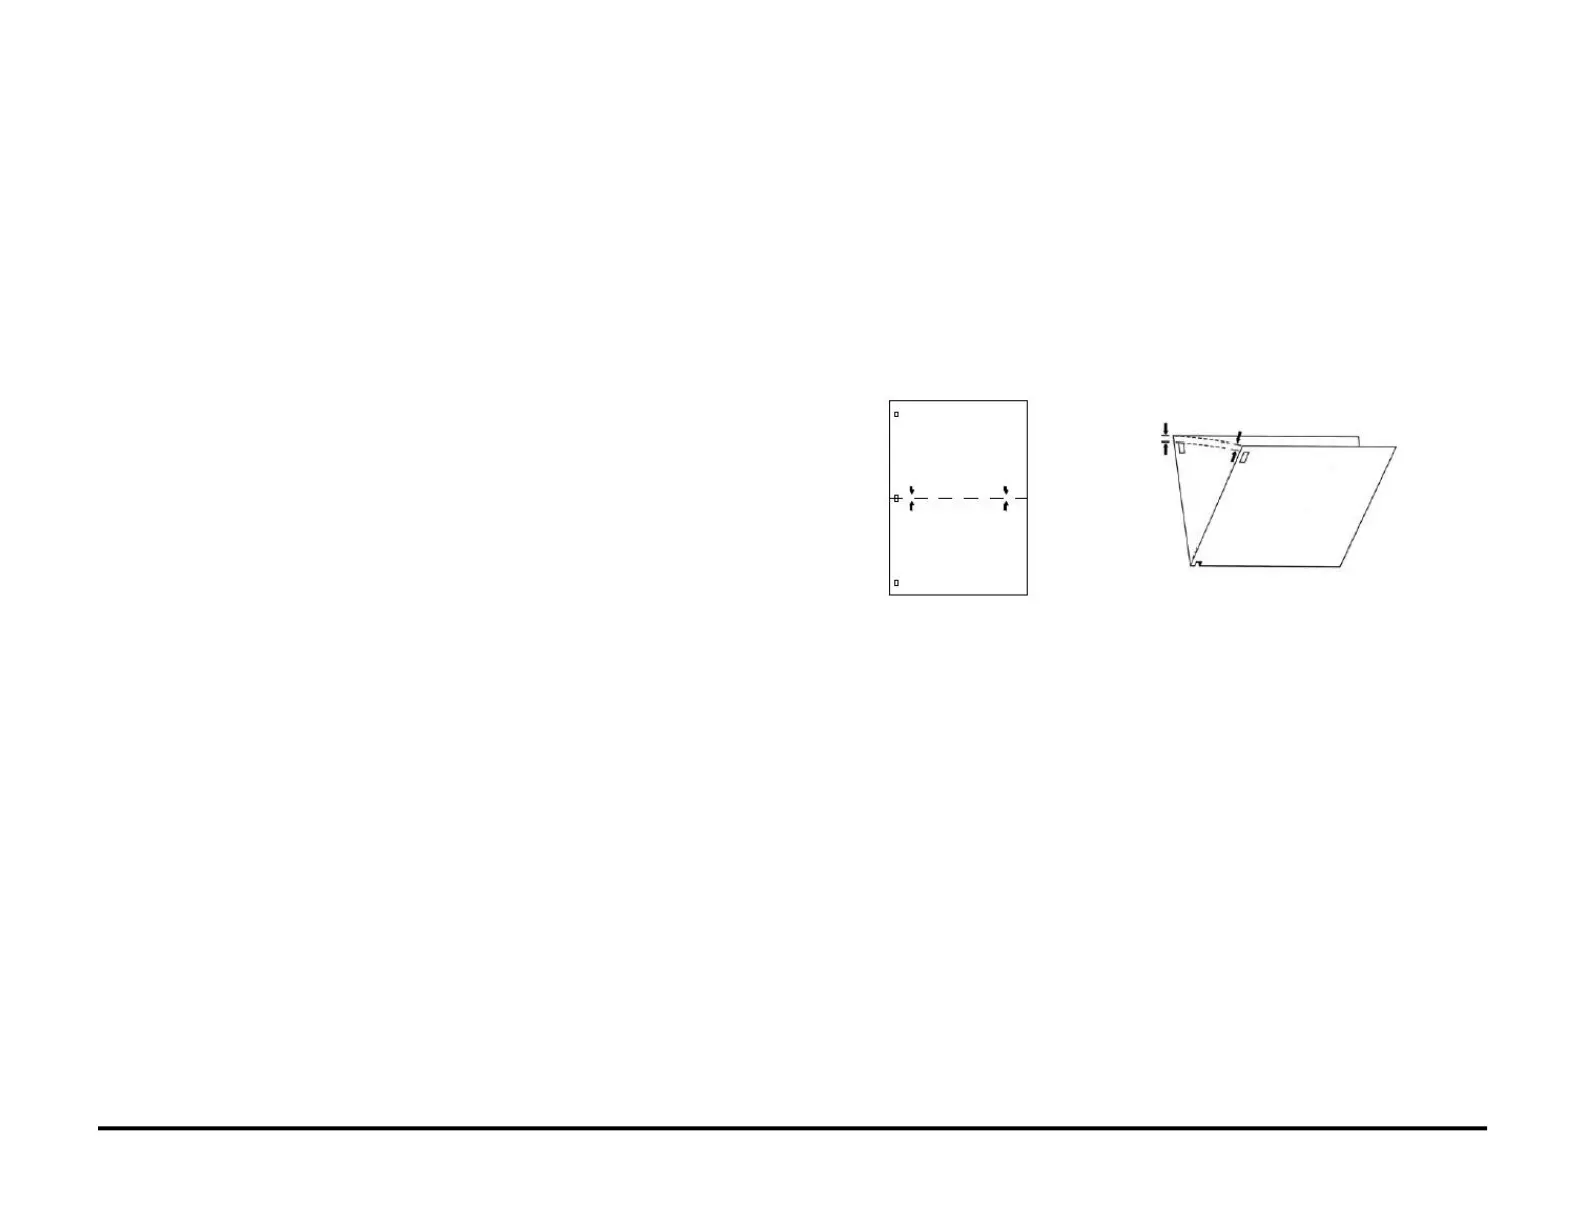
3. Check that the holes in the paper are aligned from an end to end as
shown in the Figure below.
Check the position of the punched holes from the trail edge of the
sheet.
Check the position of the punched holes in the onboard/outboard
position.
If not, go to Section 6, General Procedures, and follow the adjustment
procedures explained in:
GP 6.1.1 BACKAGE MODE Procedure.
GP 6.1.3 ALIGNMENT MODE Procedure
GP 6.2.13 SKEW OFFSETS Procedure
4. Repeat this procedure to check the location of the holes again, until
the holes are aligned properly.

 Loading...