General Procedures and Information 09/11/2018 GBC AdvancedPunch Pro
6-44
GP 6.2.13 SKEW OFFSETS Procedure
Do the following to setup the skew offsets to straighten and offset punch
depth.
Do the following to setup the skew offsets.
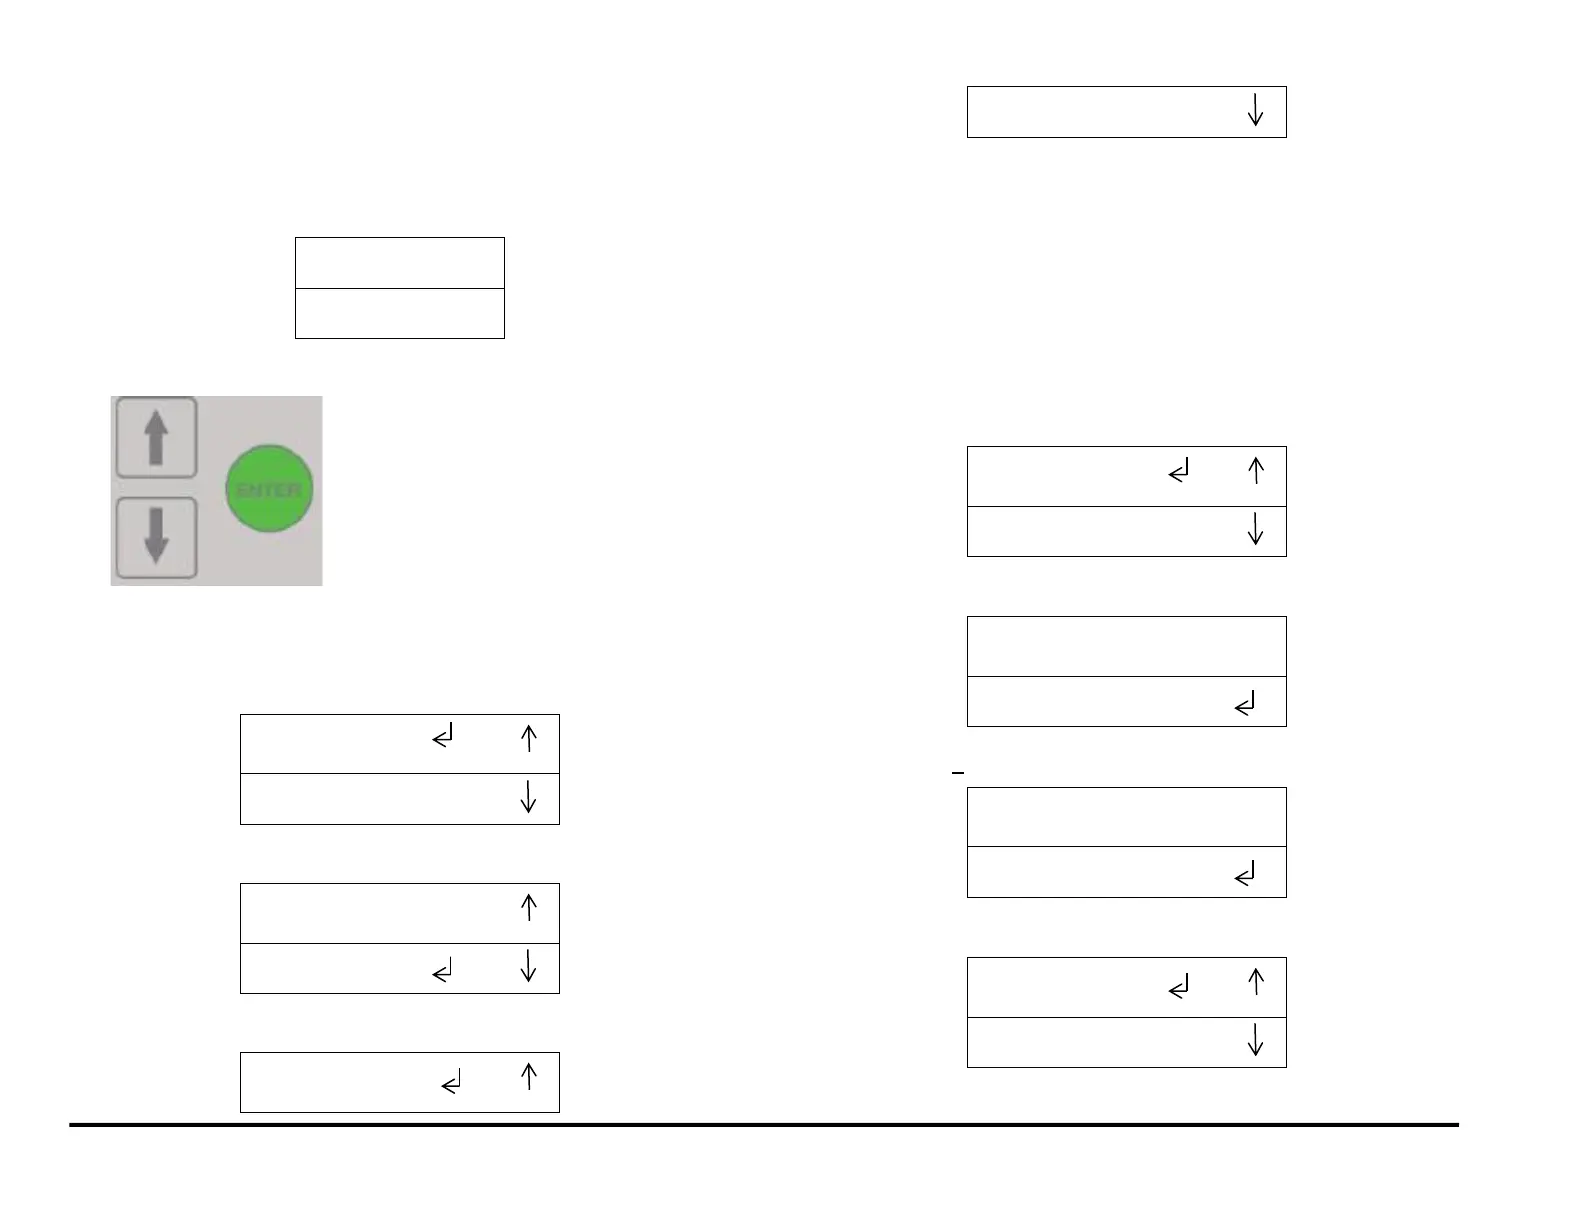
1. At the top level screen,
Press and hold both the Up Arrow button and the Down Arrow button
for 5 seconds.
Then while still holding down the Up Arrow button and the Down
Arrow button, press the Enter button.
The Service User Interface screen will appear.
2. Press the down arrow so the return symbol is next to the words
SKEW OFFSETS.
3. Press the ENTER button when the return symbol is next to the words
SKEW OFFSETS to display the SKEW OFFSETS screen.
4. Press the down arrow to scroll through the Skew Offset options.
BG LEFT
BG RIGHT
BG DP L LEFT- DFA Configurations only.
(for LTR Short Edge and A4 Short edge Double punch)
BG DP L RIGHT- DFA Configurations only.
(for LTR Short Edge and A4 Short edge Double punch)
BG DP XL LEFT- DFA Configurations only.
(for 11 x 17 Short Edge and A3 Short Edge Double punch)
BG DP XL RIGHT- DFA Configurations only.
(for 11 x 17 Short Edge and A3 Short Edge Double punch)
5. Scroll until the return symbol is next to the desired Skew Offset,
Press the ENTER key to display the Skew Offset screen for that
setting.
Press the up arrow button or the down arrow button to change the
offset by + 1 increment.
When you reach the desired Skew Offset, press the ENTER
button to return to the previous Skew Offset screen.