GBC AdvancedPunch Pro 08/20/2015 Repairs/Adjustments
4-89
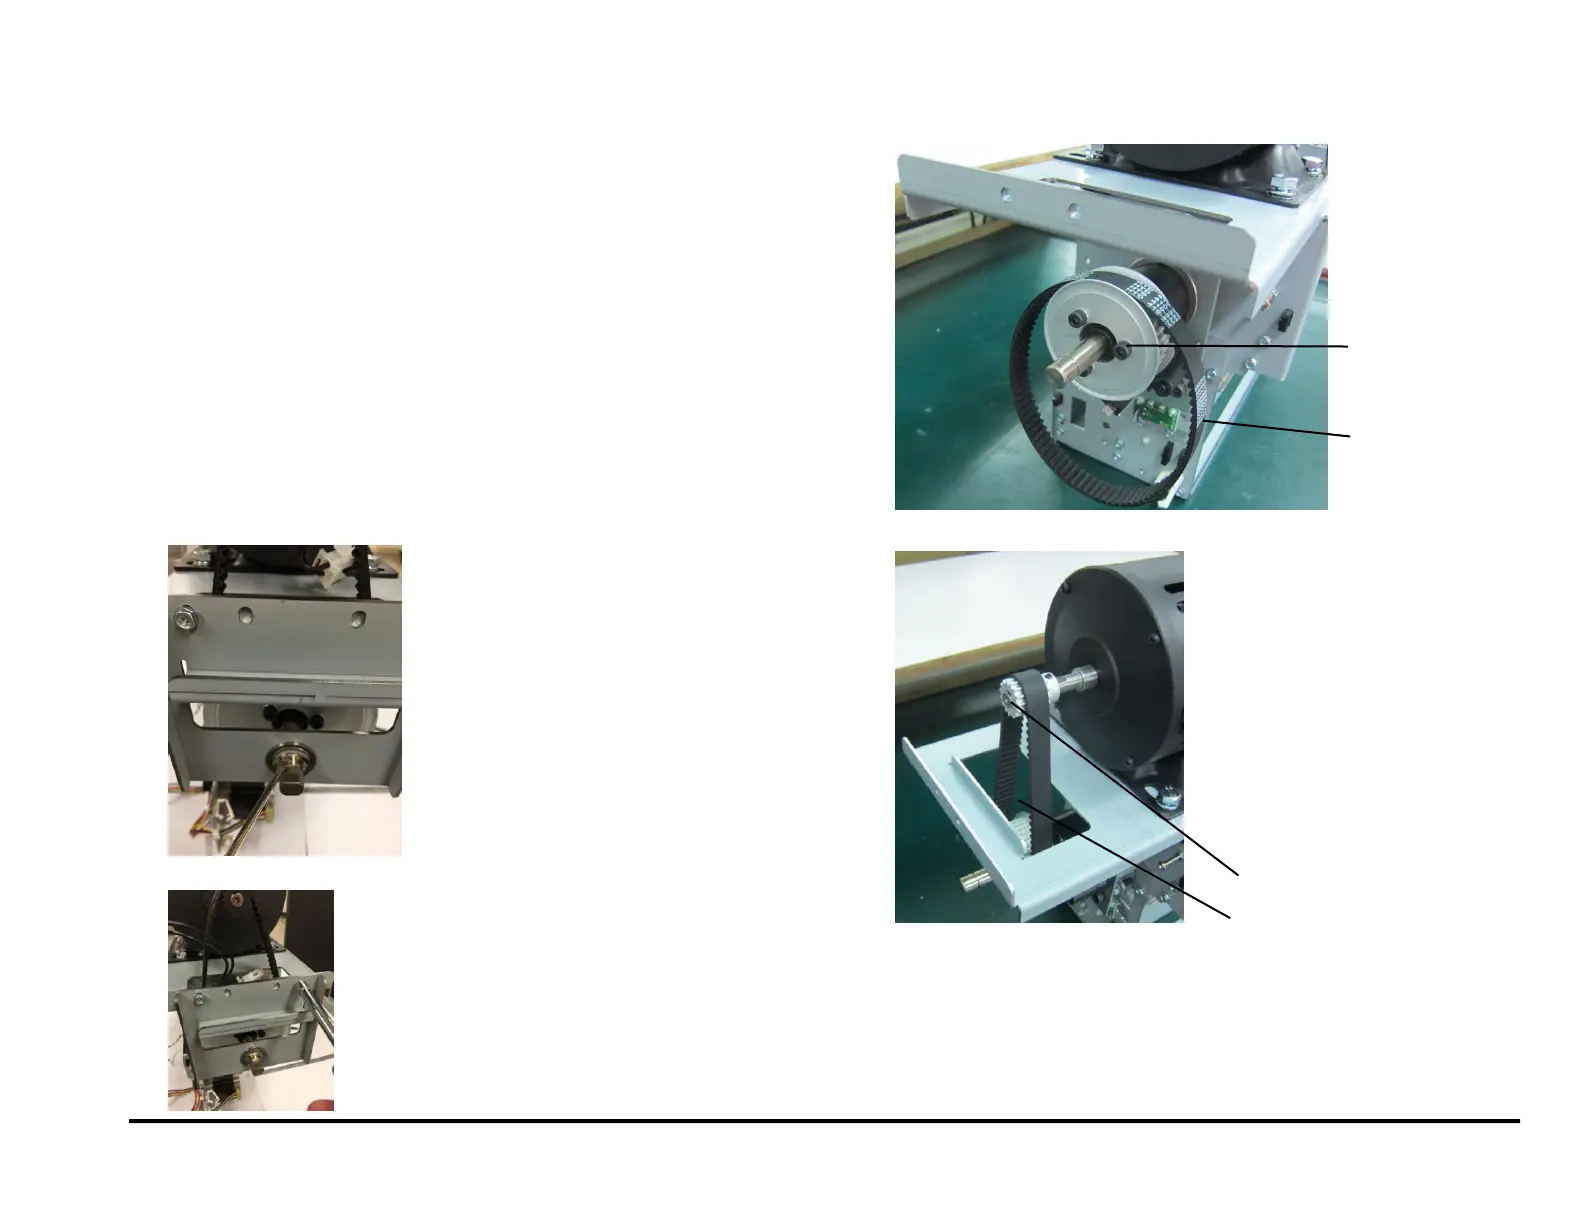
REP 3.3 Punch Motor Belt Replacement (Timing Belt)
PARTS LIST ON PL 5.1 (page 2)
Use this procedure to remove and install the Punch Motor Belt.
(Belt, Timing, Punch Pulley, 115V)
Belt, Timing, Punch Pulley, 230V
WARNING
Do not perform repair activities with the power on or electrical power
supplied to the machine. Some machine components contain
dangerous electrical voltages that can result in electrical shock and
possible serious injury. See Section 0, page vi for other languages.
1. Switch power OFF to entire printing system.
2. Disconnect the Power Cord.
3. Do REP 1.6 to remove the Rear Cover.
4. There is no need to uninstall the punch module, however for ease of
operation it is recommended to uninstall it, using REP 3.1
5. Remove the E-Ring, nylon washer and ball bearing.
6. Remove the Screws (2) and the Bearing Bracket.
7. Remove the old Belt.
8. Place the new Belt around the Clutch Pulley.
9. Place the new Belt around the Timing Pulley on the Punch Motor.
(Cont.)



 To Next Page