EasyManuals Logo

GBC AdvancedPunch Pro Service Manual

GBC AdvancedPunch Pro
400 pages
To Next Page IconTo Next Page
To Previous Page IconTo Previous Page
Page #178 background imageLoading...
Page #178 background image
Repairs/Adjustments 08/20/2015 GBC AdvancedPunch Pro
4-90
10. Place the Bearing Bracket in position and tighten the Screws (2).
11. Place the Ball Bearing in position.
12. Place the Nylon Washer in position.
13. Place the E-Ring in position.
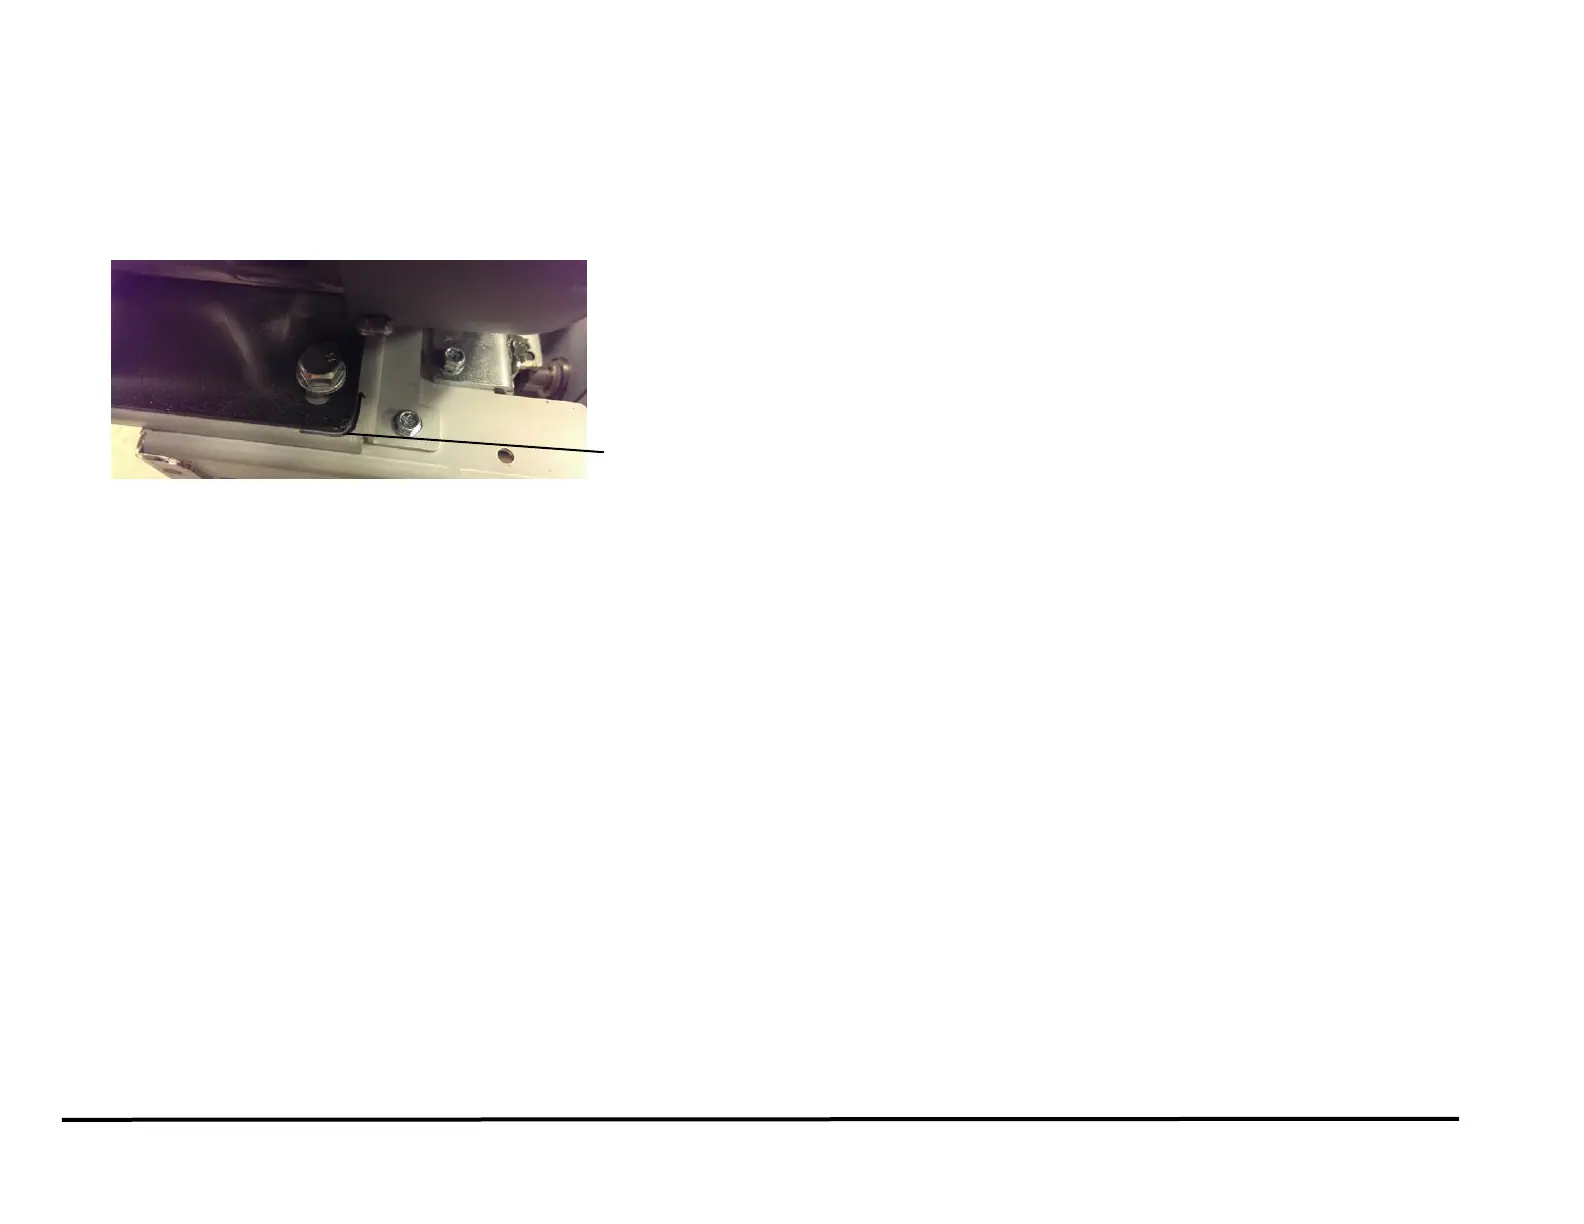
NOTE: The tension on the Belt is set using the reference marks on
the punch motor bracket (see REP 3.2).
14. Do REP 1.6 to install the Rear Cover.
15. Connect the Power Cord.
16. Power ON the entire printing system.
Mark

Table of Contents

Other manuals for GBC AdvancedPunch Pro

Questions and Answers:

Question and Answer IconNeed help?

Do you have a question about the GBC AdvancedPunch Pro and is the answer not in the manual?

GBC AdvancedPunch Pro Specifications

General IconGeneral
BrandGBC
ModelAdvancedPunch Pro
CategoryPrinter Accessories
LanguageEnglish

Related product manuals