Repairs/Adjustments 08/20/2015 GBC AdvancedPunch Pro
4-82
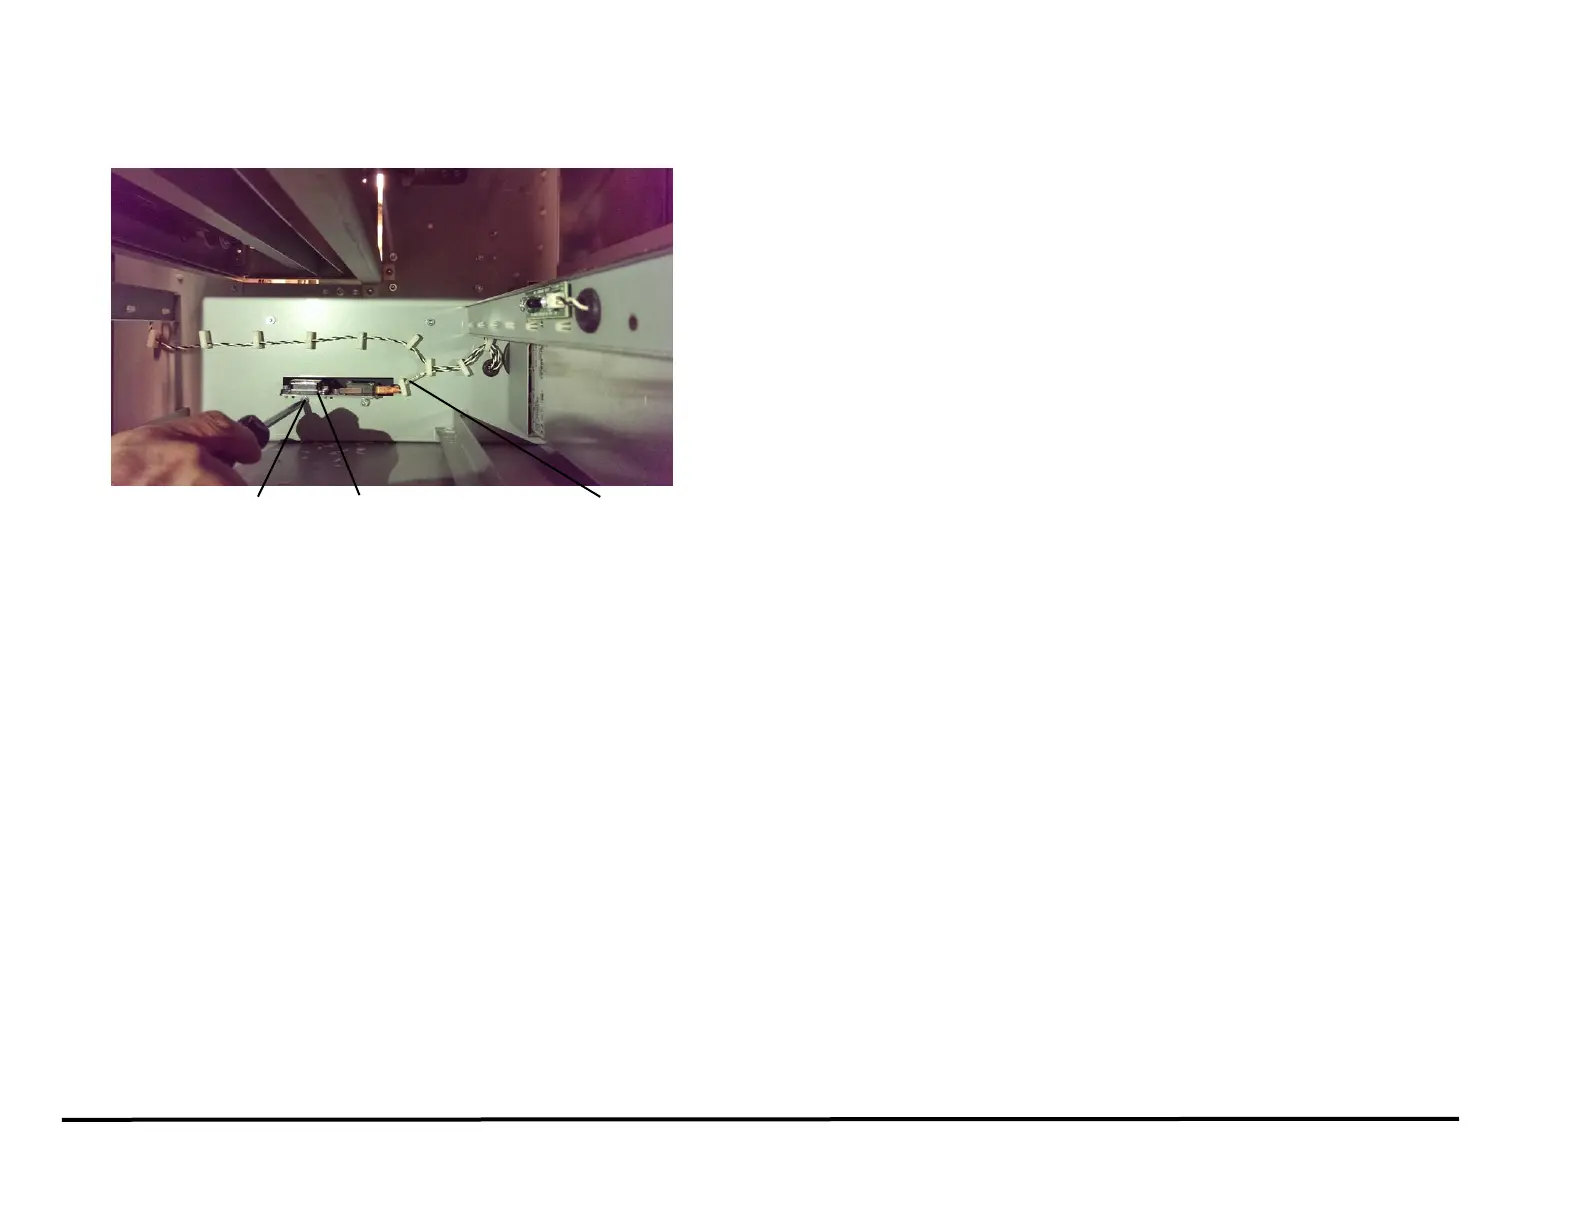
3. Disconnect Cable 7715485 at the Chip Tray Home Switch.
4. Remove the Screws (2) and the old Chip Tray Home Switch Bracket.
5. Place the new Chip Tray Home Switch Bracket in position and tighten
the Screws (2).
6. Connect Cable 023N01327 at the Chip Tray Home Switch.
7. Put the Chip Tray in position and push the Chip Tray Assembly in
firmly until it latches.
8. Close the Front Door.
9. Connect the Power Cord.
10. Power ON the entire printing system.



 To Next Page