GBC AdvancedPunch Pro 08/20/2015 Repairs/Adjustments
4-97
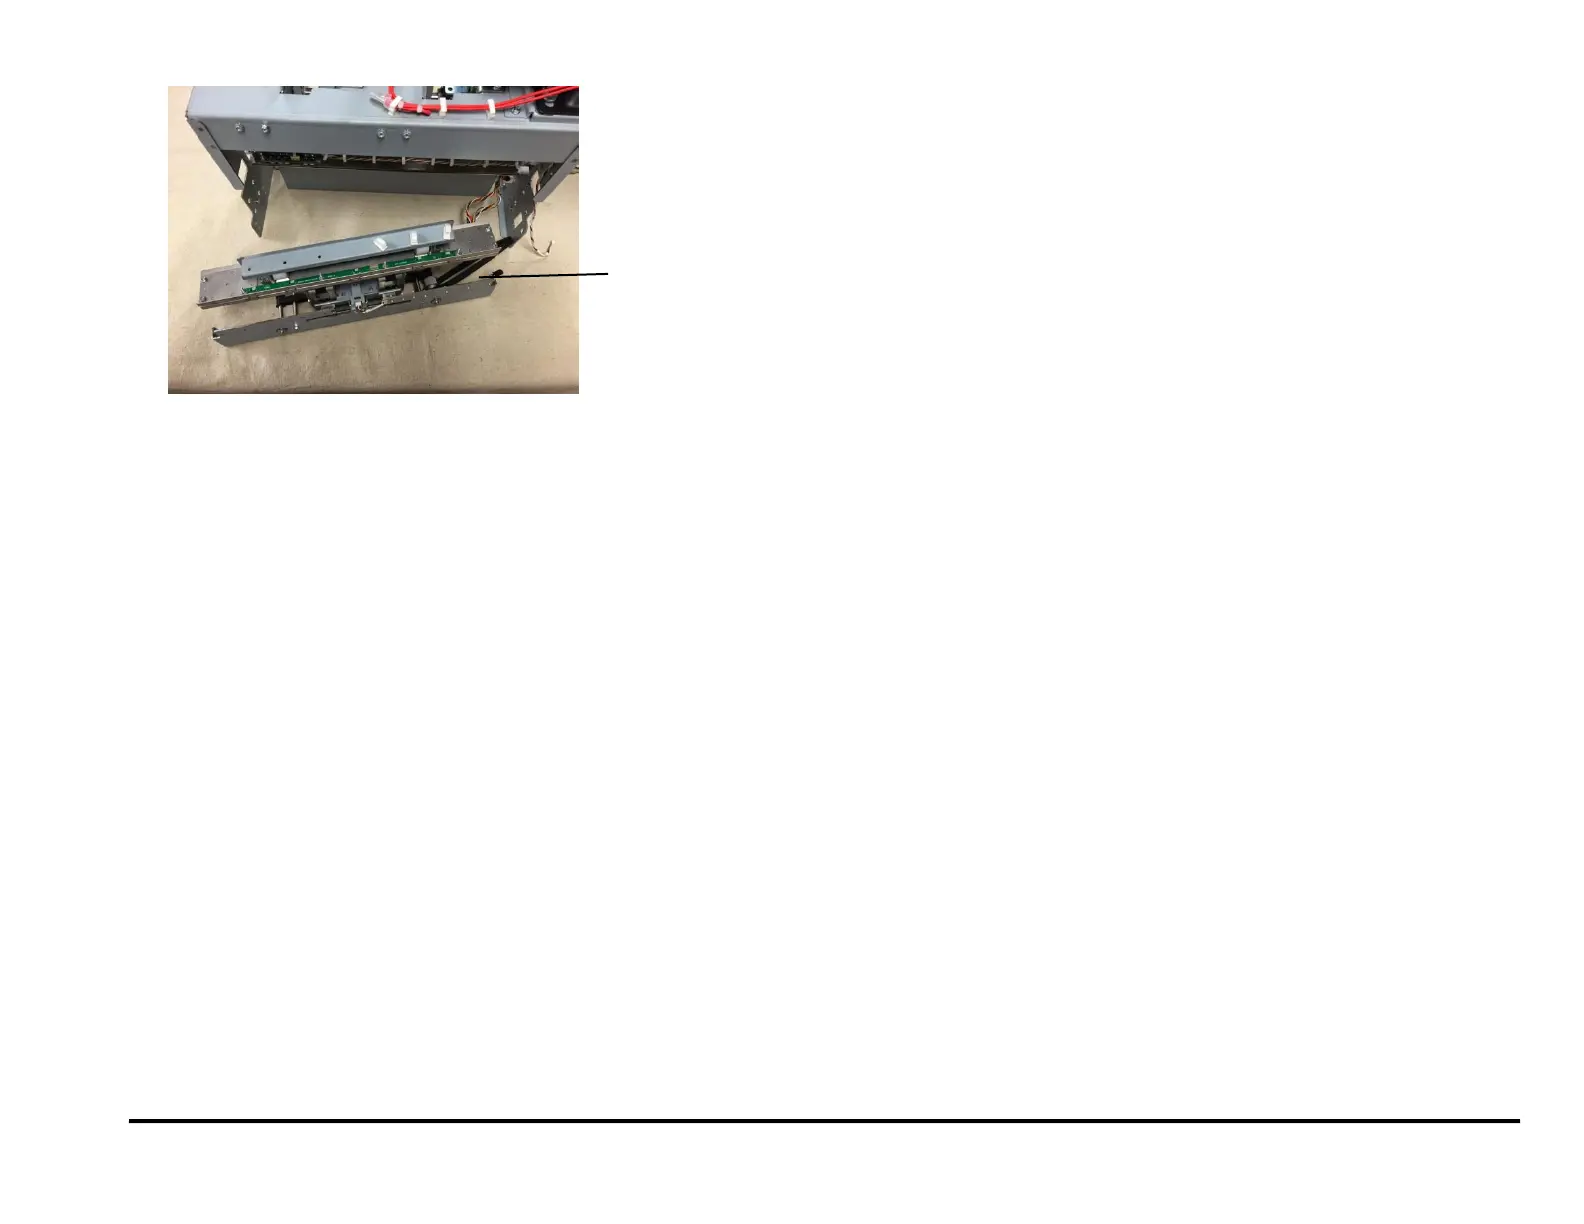
Installation Procedure
1. Place the Steering Module into the Punch Module.
2. Push the Steering Belt out through the hole in the Frame.
3. Install the Phillips Screws (8).
When installing (8) screws that hold the die rail, use 3mm reference
holes for positioning the part. A 3mm pin can be inserted to hold the
part in position while the screws are tightened.
4. Connect the Alignm Home Sensor and the Left/Right Steering Motor
Connectors.
5. Place the Alignment Stepper motor Belt around the Pulley.
6. Tighten the Phillips Screws (2).
7. Do REP 3.1 to install the Punch Module.
8. Close the Front Door.
9. Do REP 1.6 to install the Rear Cover.
10. Connect the Power Cord.
11. Power ON the entire printing system.
 Loading...