GBC AdvancedPunch Pro 08/20/2015 Repairs/Adjustments
4-99
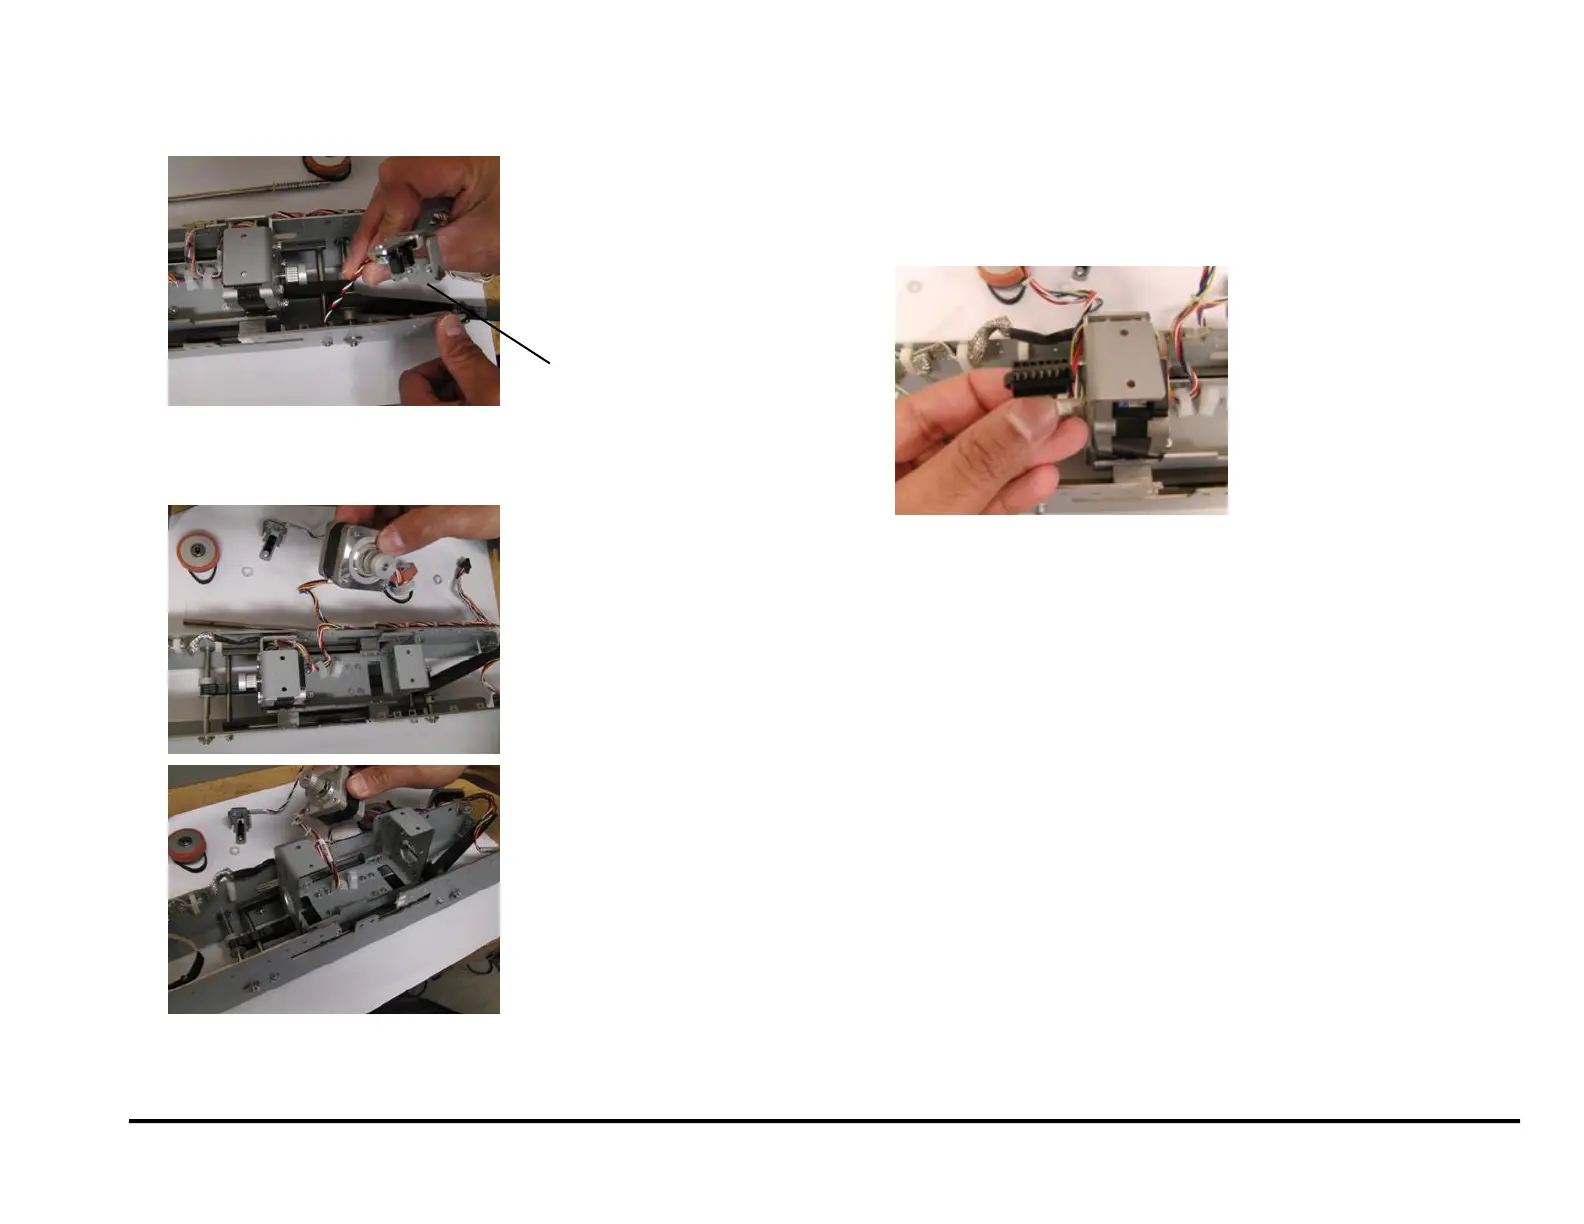
8. Remove Align Home Sensor Bracket sub assembly by removing the
screws (2) and its cable.
9. Remove Left and Right Steering Stepper Motors along with their
corresponding cables, by removing the Screws (8).
Installation Procedure
1. Install the parts that were removed in the new Alignment Carriage
Sub assembly.
Installation tip:
The cable of the motor closer to the ground strap has a 7 pin
connector (the other cable has a 6 pin connector).
2. Do ADJ 1.4.5 and ADJ 1.4.1 to adjust the tension on the timing belts
installed.
3. Do REP 3.1.2 to install the Punch Module.
4. Do REP 1.6 to install the Rear Cover.
5. Connect the Power Cord.
6. Close the Front Door.
7. Power ON the entire printing system.
Align Home Sensor
Bracket
 Loading...