GBC AdvancedPunch Pro 08/20/2015 Repairs/Adjustments
4-113
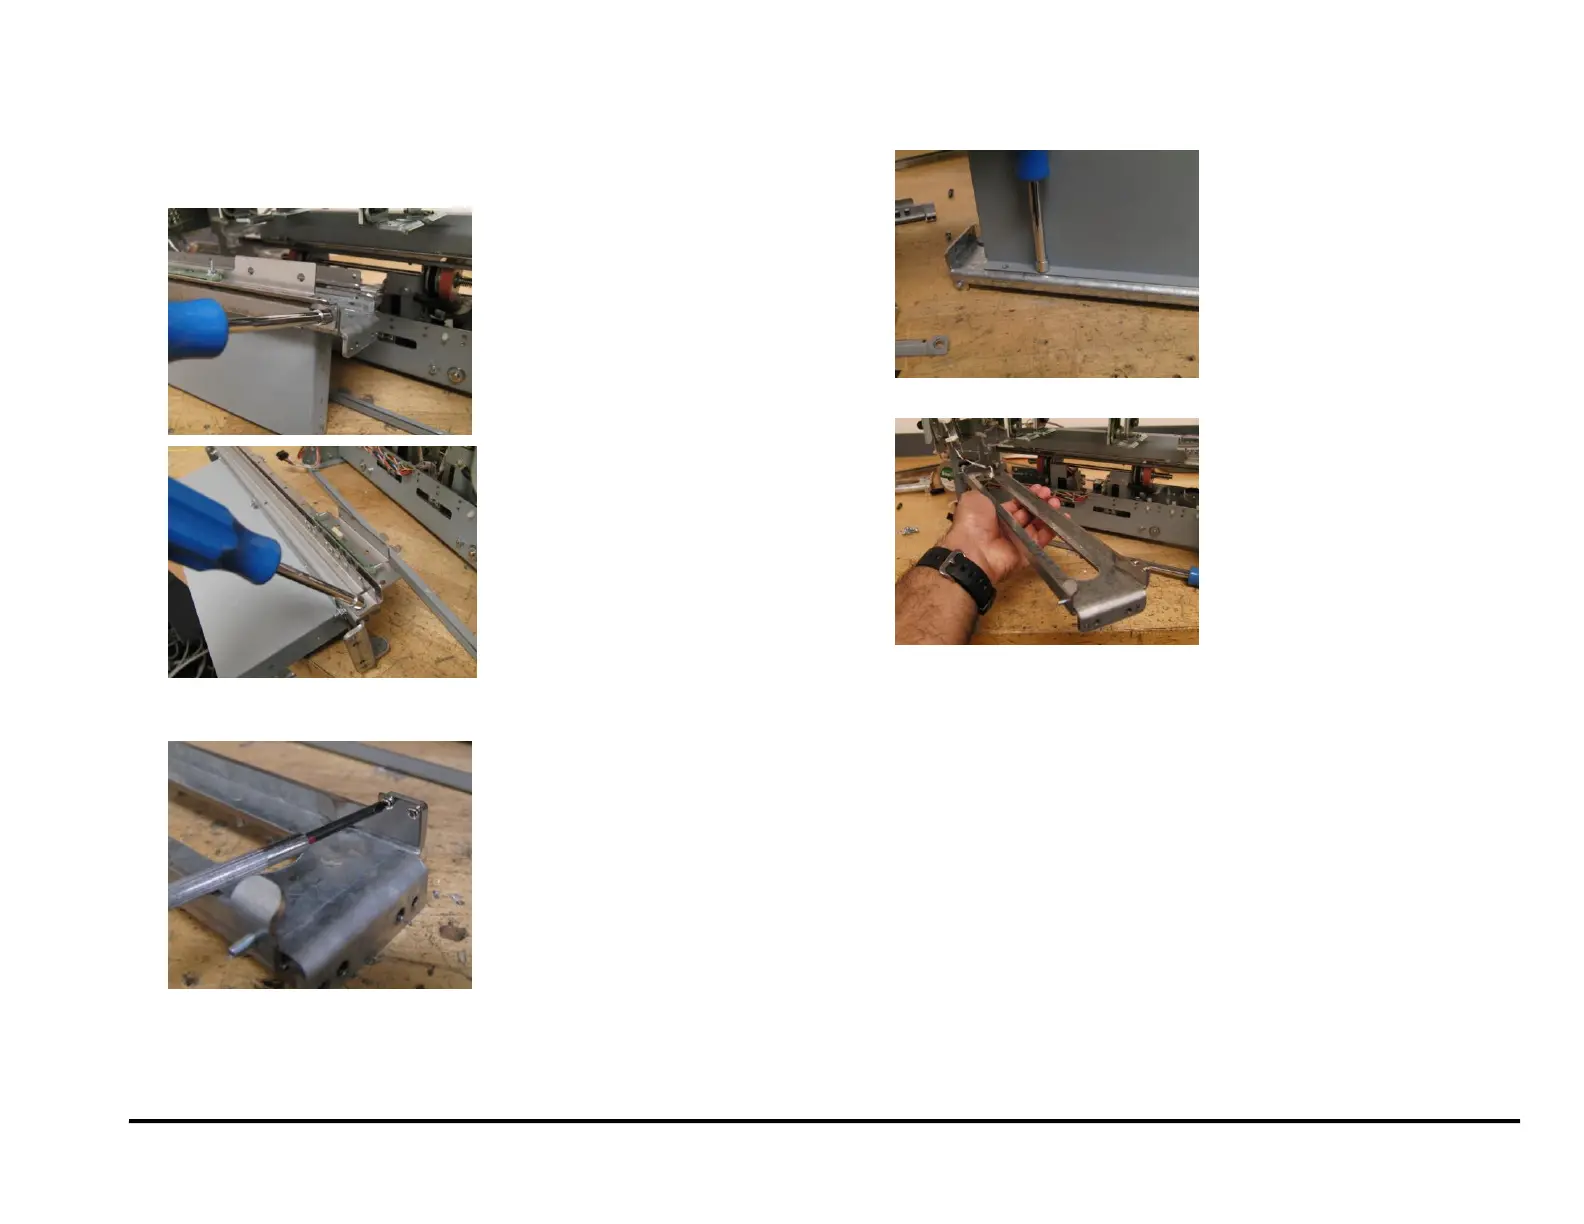
11. Remove all brackets from both sides.
If replacing only the Die rail springs, remove only the brackets from
the Alignment sensor side.
12. Unscrew the M2 Screws (4) and M2 Lock Washers (4) to remove the
Springs.
NOTE: If you are replacing only the Springs, skip the next two steps.
13. Remove Nuts (3) and the Chip Chute.
14. Remove the old Die Rail.
 Loading...